

Part Four
Trim the bottom points off, there should be enough glue to hold the edges together.
 Fold the top point down and glue.


Trim the top point off.
What are we going to use to cover all of this up with, boxing.
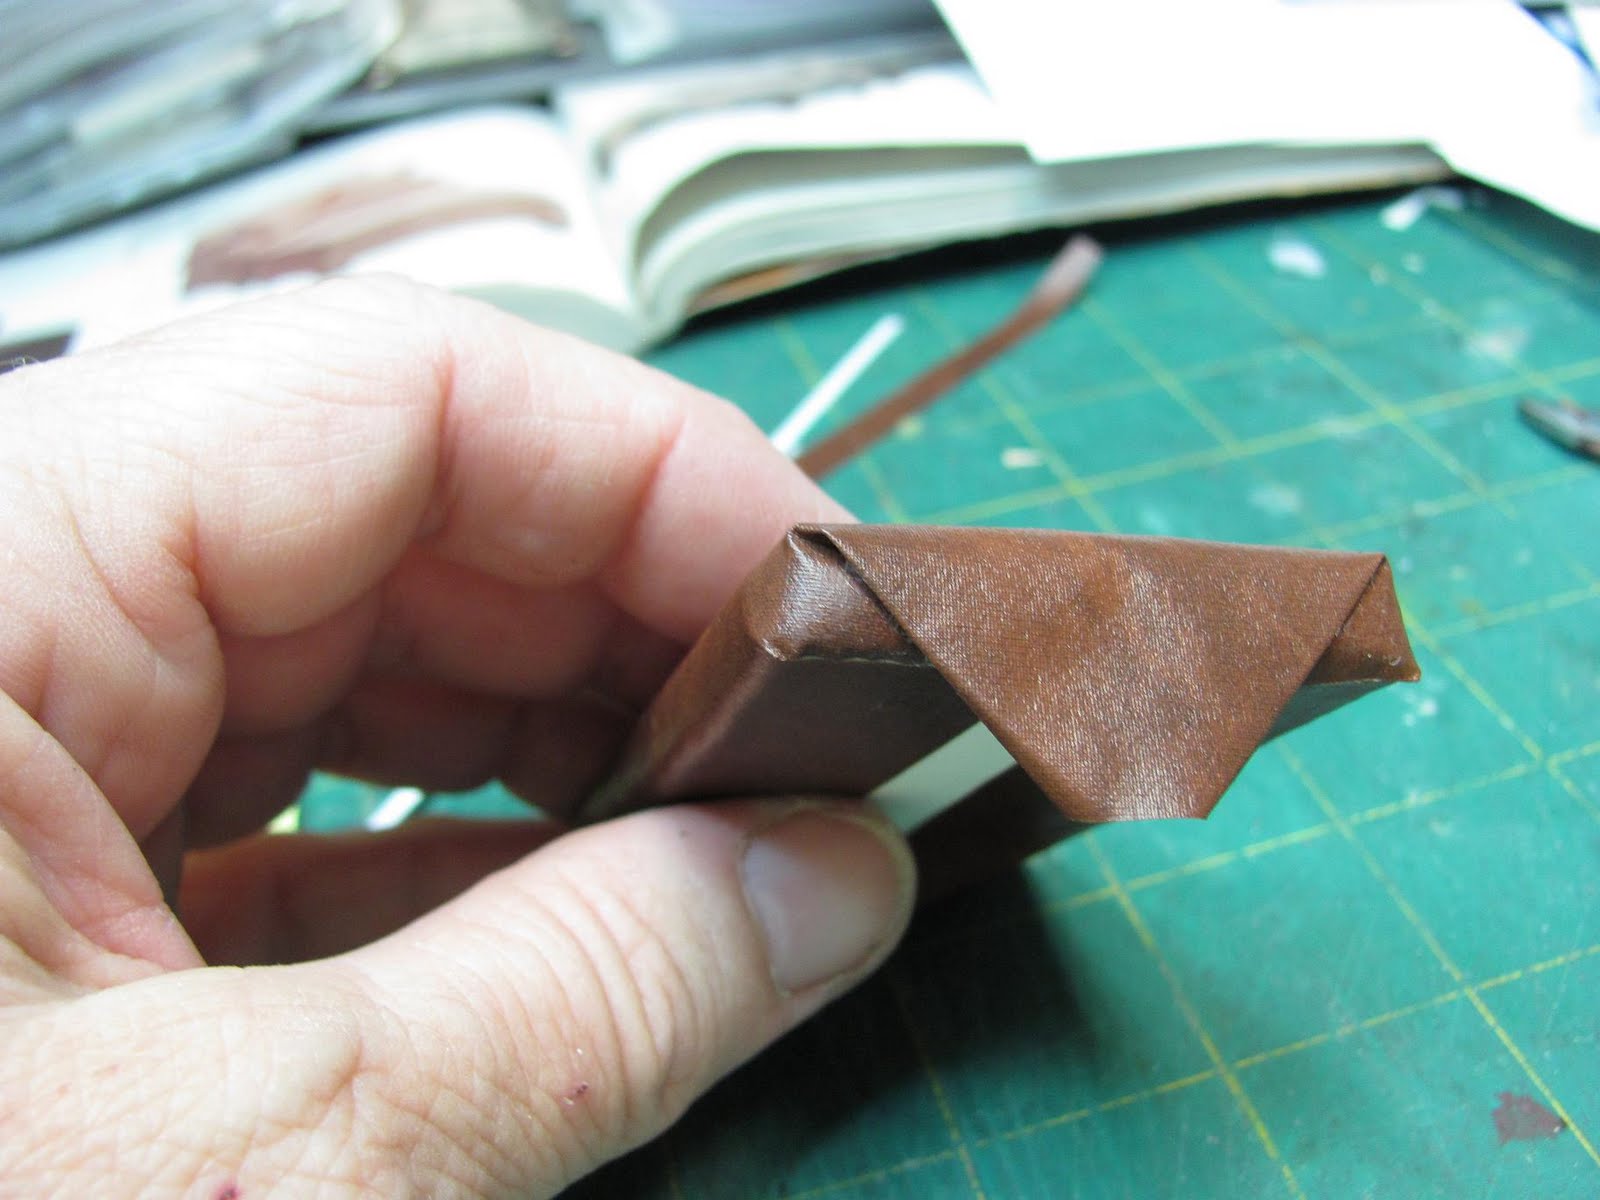
Measure a corner of the cushion, see the corner on the right hand side of the picture, this would be a good corner to measure. Measure top to bottom of the corner. Mine measured 5/16 inch.
Cut the fabric that width and long enough to go around the cushion plus a little extra to fold under both ends where they meet.
We do not turn the raw edges under on the long sides, this will be covered by trim or piping.
Glue the boxing on using the tacky glue, smear it before you press the boxing into place. You want a smooth surface, I hadn't smeared the glue yet when I took the picture.
Make sure all the edges of the boxing are glued down and smooth.
Glue the cushion to the top of the base.
Make piping according to a previous blog project.
Glue the piping on at the edge of the boxing on the top of the cushion and in the seam where the cushion meets the base.
Finished ottoman.
I used Tulip Dimensional Fabric Paint Metallics Gold for making the "nail heads" around the bottom. You can also use Classics #CLA 05558 for real nails.
This ottoman has the round beads for feet.
You could make this in other fabrics to match the furniture you have.
TTYL Kris