

I saw a set of French doors in an ad in a magazine the other day and thought they would make a good tutorial for you.

Although I don't make room boxes anymore these did make me want to put them in a scene somewhere.

I looked in the Hobby Builders catalog and found some door knobs for French doors.
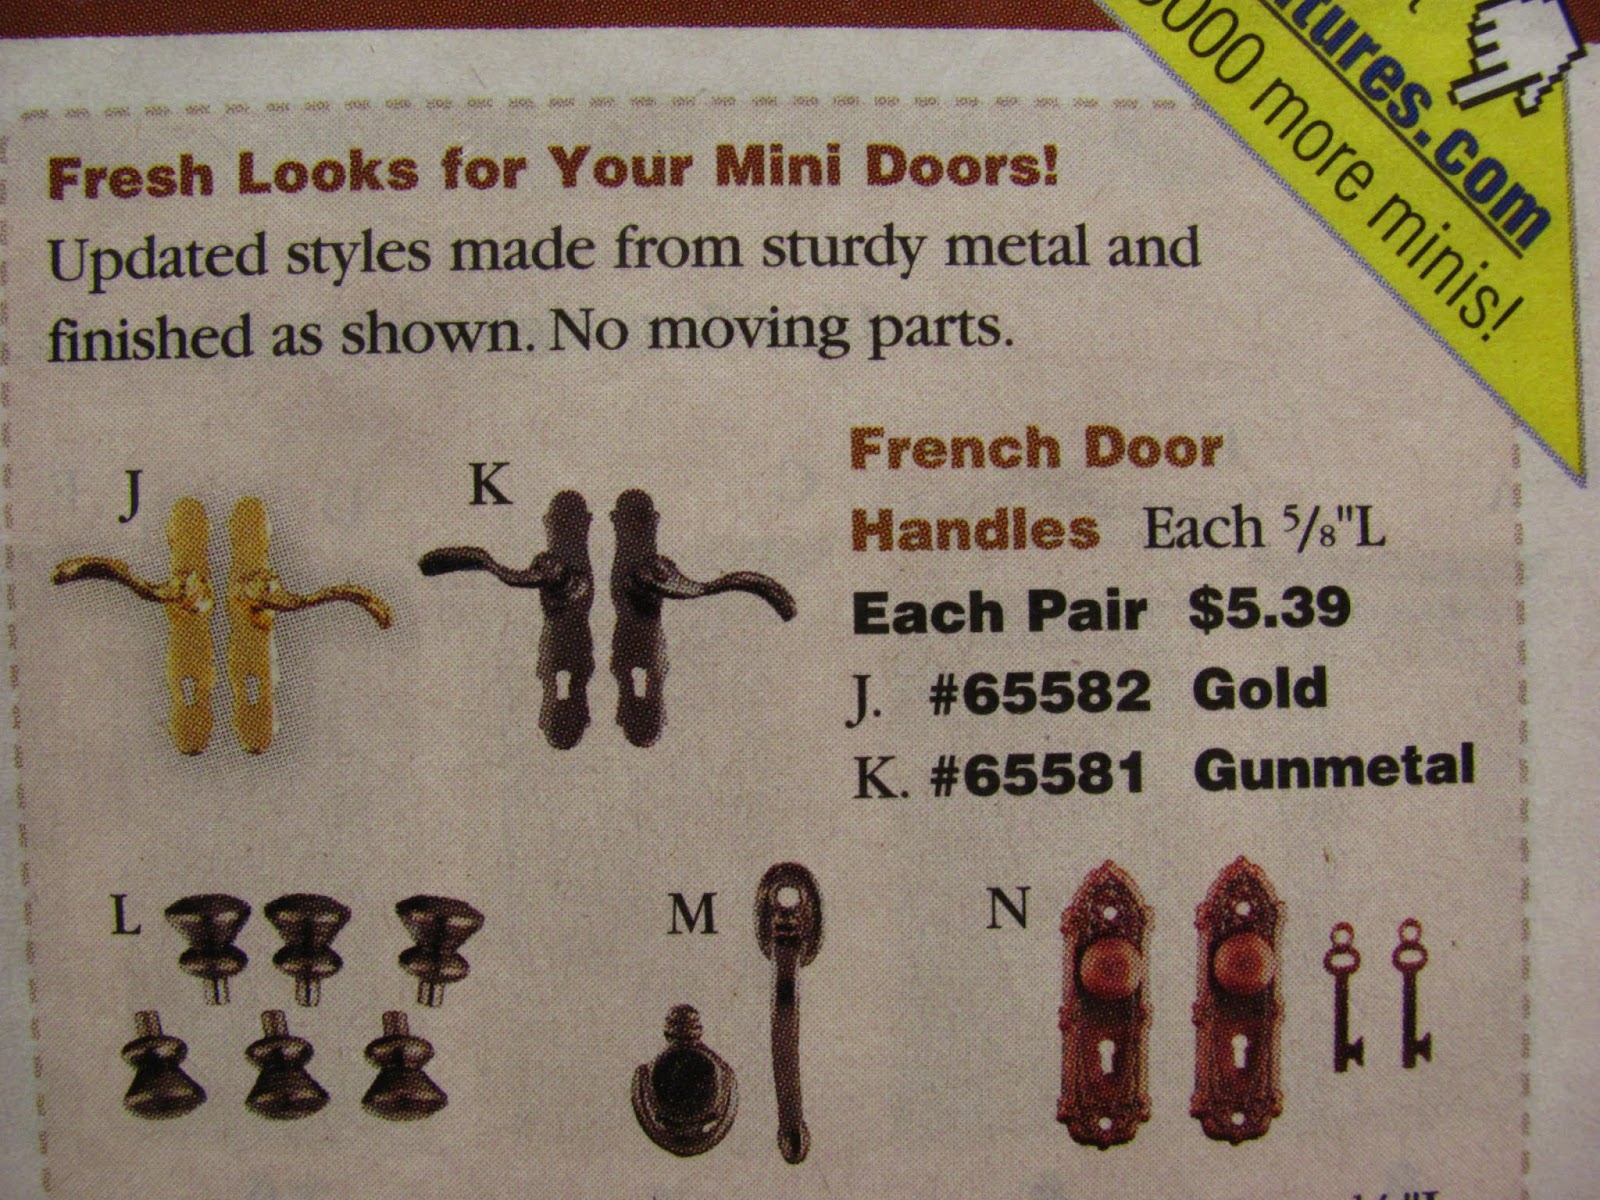
Here is another set with key holes.
I don't have any of these so my doors will go knobless for awhile.
www.miniatures.com

Use the instructions HOW TO RE-SIZE PATTERNS found in the "Things to do, Things to see" list at the left of the blog. Remember, the 1 inch square is important, that is what is going to tell you when your patterns are the right size. When the pattern is printed out and the square measures 1 inch you have the patterns right.

Print out onto paper 4 of the outer layer and 2 of the inner layer.
Use glue stick to glue the patterns onto mat board.

Use your craft knife to cut the doors out.
Please use light cuts, it's better to use 5 or six light cuts than to use heavy pressure in 3 cuts and make a miss-cut.
Put in a new blade and take your time.
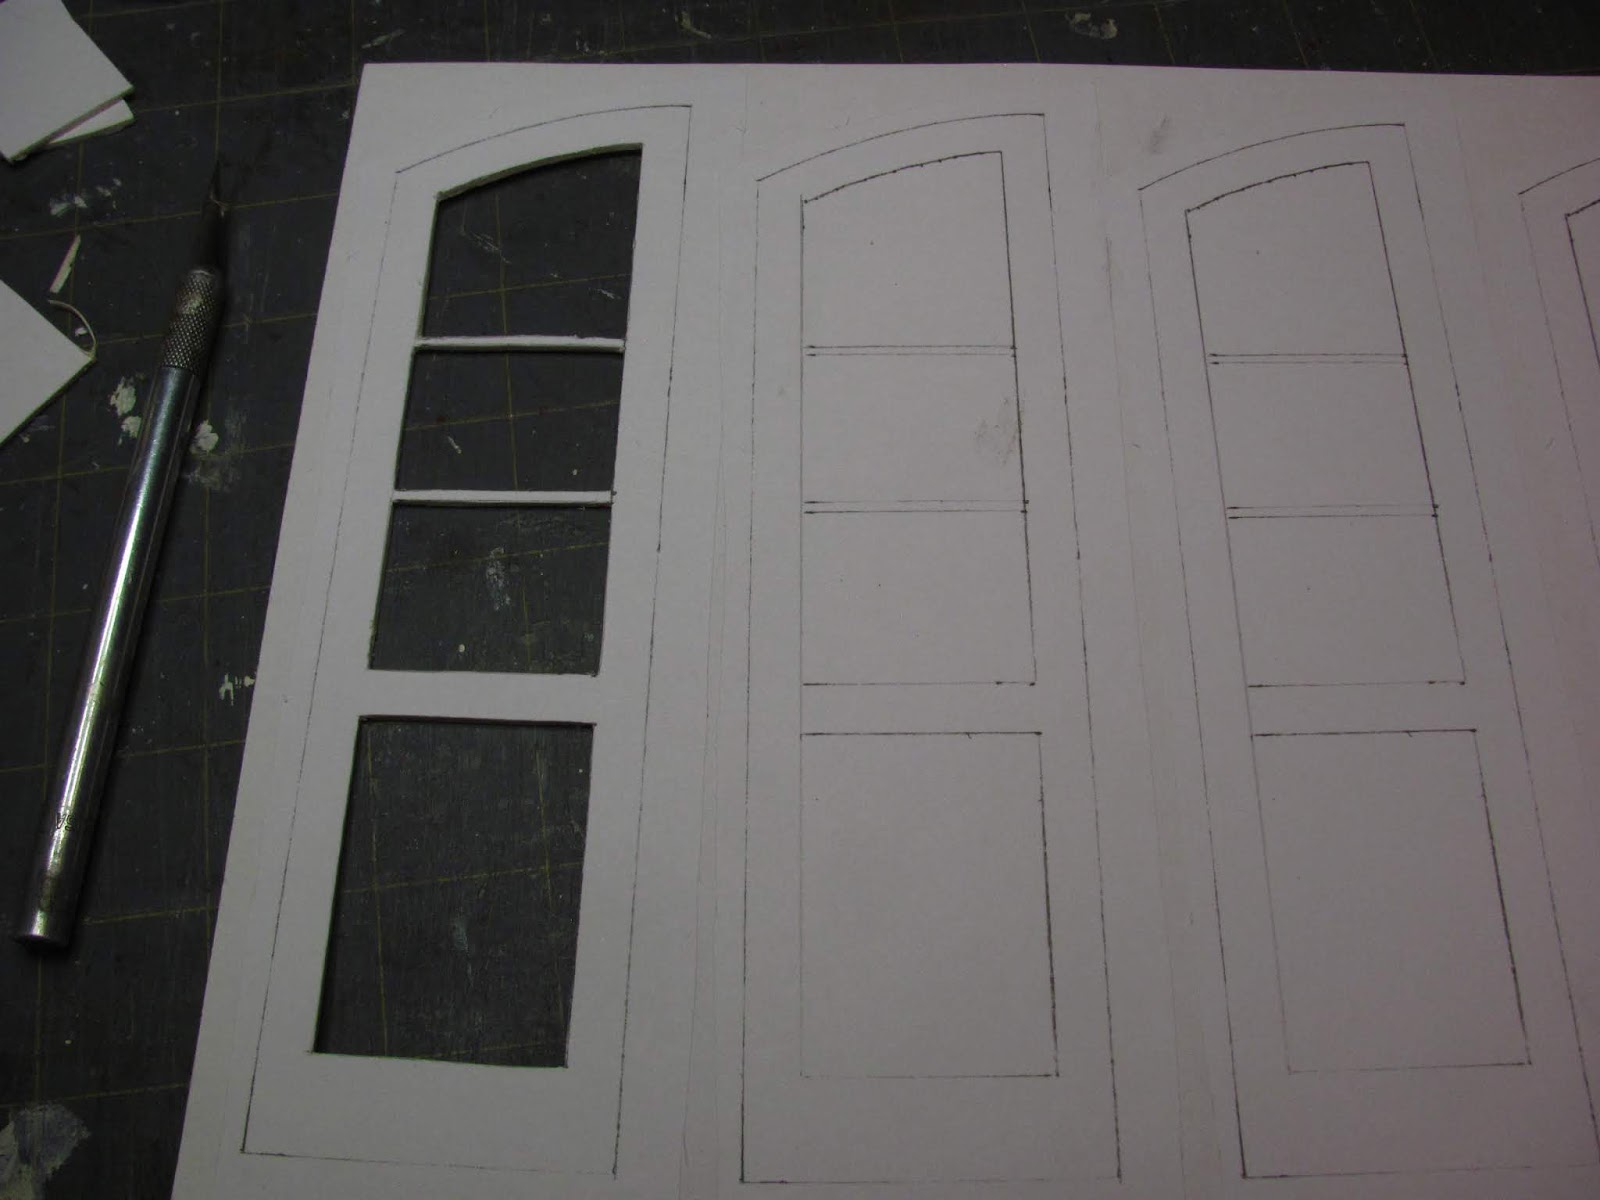
I cut out the inner parts first, then I cut around the door to cut it apart from the rest.

I took a couple of breaks to give my hands a rest but I have both doors cut out.

This is how they stack-up.

For "glass" I use 1/16" thick acrylic. I buy a poster frame from Walmart, it uses 1/16" thick acrylic. A large poster frame will last a very long time.

I have the inner part of the doors on the acrylic.
Use a sharp pencil to draw around the inside of the window opening.

I have the windows traced and I will use my craft knife to cut the acrylic out.

I am trying the fit. The acrylic should fit easily into the opening.

Take the acrylic out and set it aside for now.
Apply yellow carpenter's glue around the edge and below the window of the inner part of the doors.

ONLY glue on one side of the outer part of the door for now.

Cut strips of mat board 1/2" wide.
Cut 2 lengths that are long enough to fit over both doors .
Apply the yellow glue and glue them together.

I want to have this piece dry in the curved shape of the top of the door, this the top part of the jamb.
Put your doors together and trace around them so you will have a drawing like mine.
You don't have to trace the inside of the windows, this is my initial drawing.

Now, if you are reading this before you start your set of French doors you can look around your cupboards to find something that has a curve that's close to the top of the doors. It doesn't have to be exact, just close. The mat board will still bend a bit after it's dry.
I let this dry over night.

Cut out a few more strips for the side of the jamb and glue them together using yellow glue.

Put your doors together and measure the width.
I added a fat 1/16" for space to open and close the doors.

Cut out a couple of strips for the threshold, 11/16" wide.

My measurement is 4 1/8". Your measurement might be slightly different.
Do you see the area marked with an "X"? This area is cut out. It measures 1/2", the width of the jamb, by 3/8".
So, this piece is 4 1/8" plus 3/8" plus 3/8" for each side.

Here is the threshold in place.
The side with the"ears" will be on the outside of your house.
If the doors will be used between rooms in the inside of the house you can cut the threshold 1/2" wide and what you measured for length.

I know this is overkill but I like to glue, using the yellow glue, the threshold to card stock.
Show you why later.

Hold a piece of the jamb in the threshold notch and then hold the door up to that piece.

Measure the height of the door.

I am going to cut my jambs 6 3/4" long. That will leave some space for the doors to open.

I've cut my jambs and have glued them into the notches on the threshold.
The jamb is glued to the threshold and the small bit of card stock then I trimmed the card stock away.
Like I said the card stock is overkill but I like to think it helps with more gluing surface.

My sides are glued on.

The top of the jamb is dry.

I've set the top onto the sides and marked where I need to cut it off.
Notice where the line is, it's coming straight up from the inside of the jamb. The mark is straight up.

Here is a picture of the jamb on the top.
I've got my squares up to the sides to make sure everything is square.

I am cutting the top with my craft knife.
Notice the angle, this is going to fit against the sides of the jamb.

One side done.

Both sides done.

If you have cut too much off don't worry, it happens.
If it's just a little bit you can glue card stock onto the ends.

Just like this, you can glue more than one layer to fill in.

Also, if you have taken your jamb apart too many times and the glue just won't stick anymore you can dowel it together with toothpicks.
Drill a couple of holes, remember to slant the drill up to go into the top of the jamb. Insert some yellow glue and insert the whittled down toothpick. Cut the toothpick off.
Just showing how to fix goof-ups. We all make them and I have a few fixes I thought I would share.

While the jamb is drying and please let it dry, paint the outside of the doors.
Turn the doors that you glued together and paint the bottom panel, too.

I haven't glued the doors together, yet. They are still just 2 layers and no acrylic. I am just dry fitting them into my jamb.

Peel off the plastic on the acrylic, I love the look when this first comes off and then . . . I have this love/hate relationship with acrylic sheets. They cut easily but they collect bits and pieces of fluff AND cat hair and scratch easily, too. Anyway, put the acrylic in, you don't have to glue it. Apply the yellow glue around the outside edge and below the window.

I am using a picture from before to show you where to put the glue when you glue the two pieces together.

The doors are glued together and I am dry fitting again.

Now, for the casing.
Cut mat board strips 3/8" wide.
I've got the bottom of this strip setting ON the threshold, it will be glued to it later, mark this strip where the center of the top jamb is. Can you see that my mark is in the center of the top of the jamb, where the two pieces are glued together?

Cut a couple of more piece of mat board 1/4" wide.
Glue these onto the 3/8" pieces, one side even.
Using sandpaper round off the two edges to shape them. Leave the edge where the two pieces are even alone.

Get out your protractor and draw a 30 degree angle on a sheet of paper.
This arched top has to have a 30 degree angle, not a 45.
Lay your casing on and match that mark you made earlier, that mark on this piece is on the left side of the casing. Continue to draw from that mark the angle . Make sure your casing is straight.

I drew another angle for the left side of the door. Again, making sure that the casing is straight, I used my square to draw a line that I used to lay my casing on, draw your angle on this piece.

I know this is hard to see but I am trying to show the "reveal". That's the little part of the jamb that is left showing when you glue on the casing.
The casing is the first two pieces that you see on the right, that tiny piece on the left is the jamb. I would say it's about a 1/16" wide.

I cut my casing and have it glued to the jamb and the threshold.

I am making the top of the casing.
Trace the inside of the jamb onto card stock.

Measure 1/16" up from that line.
This is new line is the bottom of the casing.

Cut on the new line and try it out.
Re-cut if you don't have it right. This needs to be right.

When you have the curve right measure 3/8" away from it and cut out leaving enough to cut your angles.
Lay the card stock pattern onto the top of the jamb and using the straight casing's angles mark angles onto the card stock and cut.

Use the card stock pattern to trace and cut out the first piece of the casing for the top.
Dry fit, make sure this fits.

Use your mat board casing piece or the card stock as a pattern and trace the outer curve.
Measure down from that 1/4" and draw that line onto mat board.

Here are the two pieces of the top casing.
Glue them together matching outside curve.
Sand the two inner edges so they have rounded edges.

Glue the top casing to the sides.

Cut a couple of strips of mat board a fat 1/8". These are the parting stops. This stops the door from swinging both ways.

The parting stops are glued toward to the outside of the door. Doors that are on the outside of the house swing into the house.
Lay the jamb flat with your doors in. Apply glue to the parting stop and glue to the jamb leaving a little space between the doors and the parting stop.

Glue on the parting stop for the other side and the top.

Paint the jamb and the casing.

I used straight pins for hinges. I just don't have the hands for tiny hinges.
I put the jamb and doors flat on the the table and drilled using my Dremel through the jamb and into the doors.

You will have to make casing for the inside of the doorway, too. As you know you will slide the door into the hole of your room box or house and then glue the other casing to the wall and jamb of the door.

These are my straight pins.
I hope you try this door out. I love French doors, they are so pretty in a room.
Hey, remember to go to the Etsy site for my upholstered sofa and chair kits. I am working on some new kits, just so many other things to do!!
Talk to you later,
Have fun, Expand on it, Make it better . . . .
Just Keep Making Minis!!
Kris