

I am making half buckets to hang on a wall.
These buckets can be filled with flowers for a very pretty display.
I have directions to make geraniums on the blog. There is a list at the left side of the blog, "Things to do, Things to see", in this list is the tutorial "Rusty Pan of Geraniums". This tutorial will give the instructions to make geraniums.

To make the bucket you will need a scrap of card stock, old greeting cards work well.

You will also need a scrap of mat board or illustration board.
This can be found at art stores or stores that frame photographs. Sometimes the framers will give you the scraps left over from framing the photos.

Paint the mat board an acrylic craft paint color you would like your half bucket to be.
I've painted mine red this time, before I used green. The card stock can be painted black or a brass color.

Apply a coat of acrylic varnish that is compatible with your acrylic craft paint. I apply this because I am going to age the surface of the half bucket with more paint. The acrylic varnish lets me wipe off the paint I age with off.
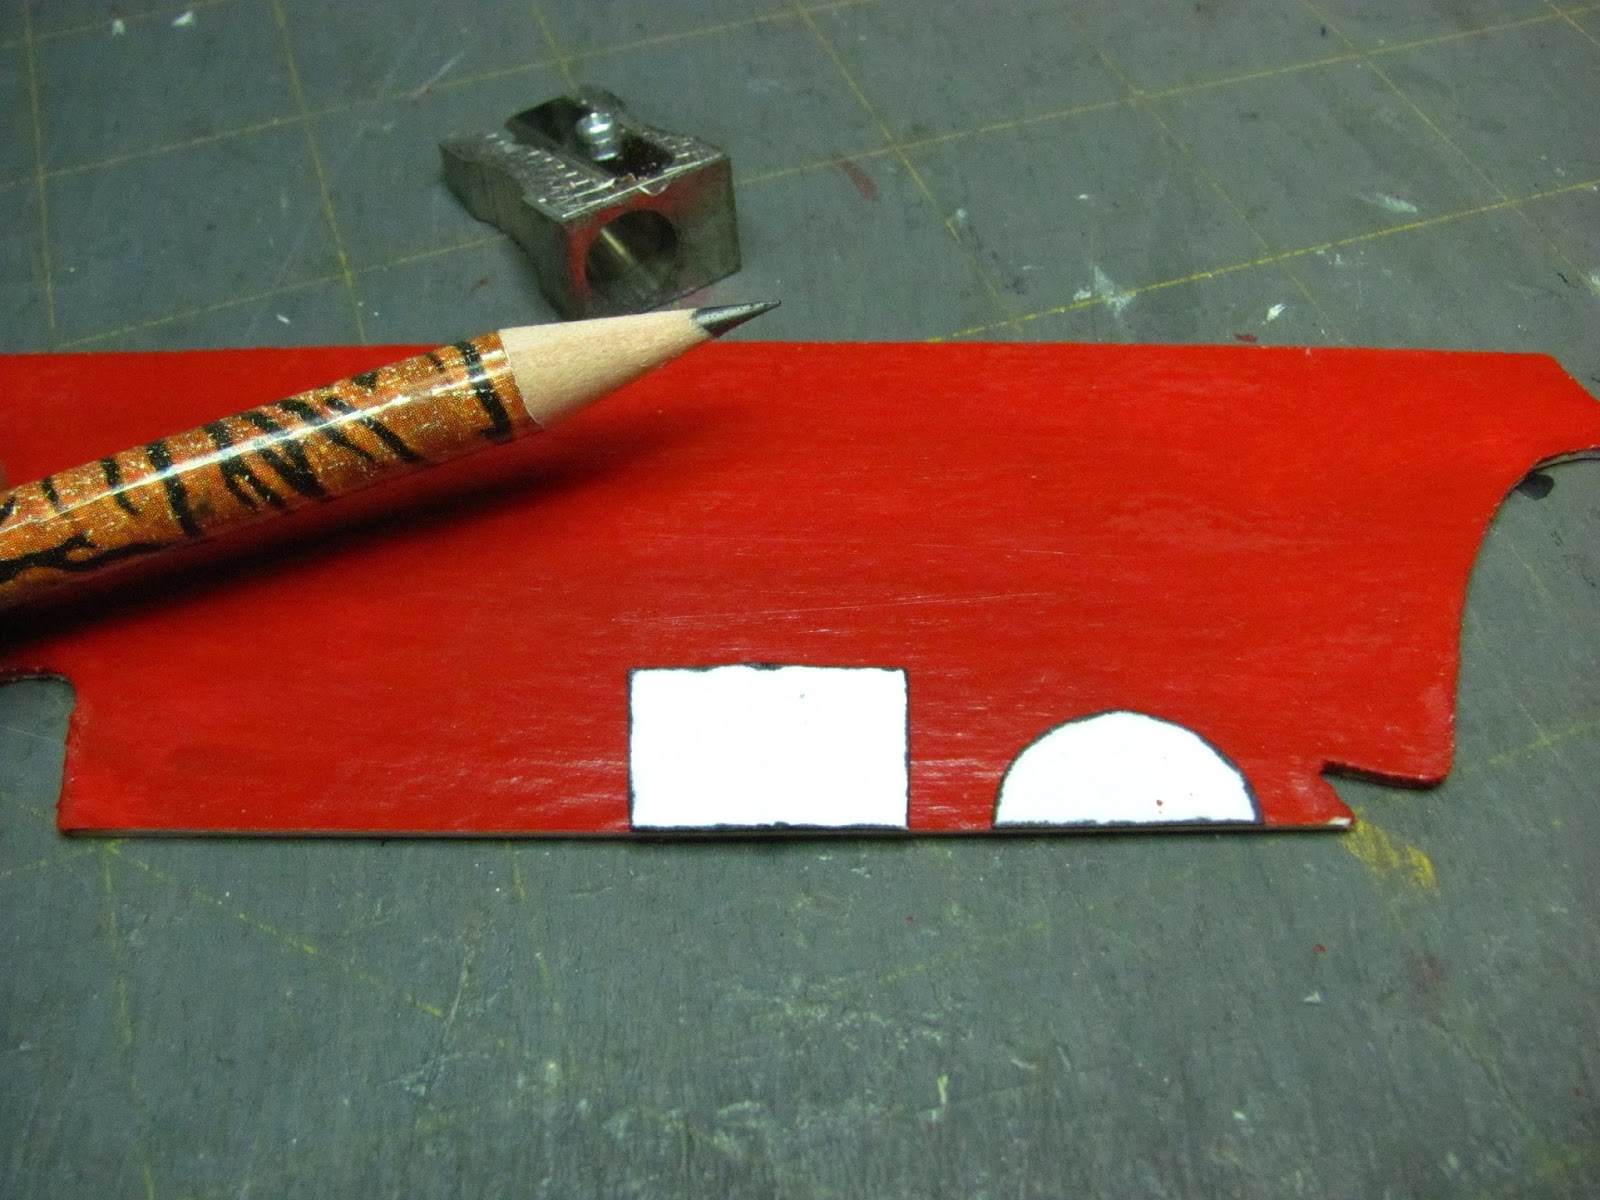
Use Nancy's patterns to trace the back and bottom onto the mat board.

Cut the back and bottom out.
Please notice the slight difference in the top and bottom of the back.
The top of the back is slightly larger than the bottom. The bucket tips out a bit at the top.

Use fine sandpaper, 180 to 220 grit, to sand off the paint along the bottom edge of the back.
This will allow the glue to adhere better.

I've sanded the varnish and paint a bit.

For my paper projects I like to use yellow carpenter's wood glue.
When tacky glue dries it remains flexible, I don't want my bucket to be flexible. The carpenter's glue dries hard.

Apply the glue to the bottom of the back on the sanded area.

Press the back to the flat edge of the half round bottom.

Let this dry.

Cut a couple of strips from the mat board 3 mm wide.

Paint the edges of the strips.

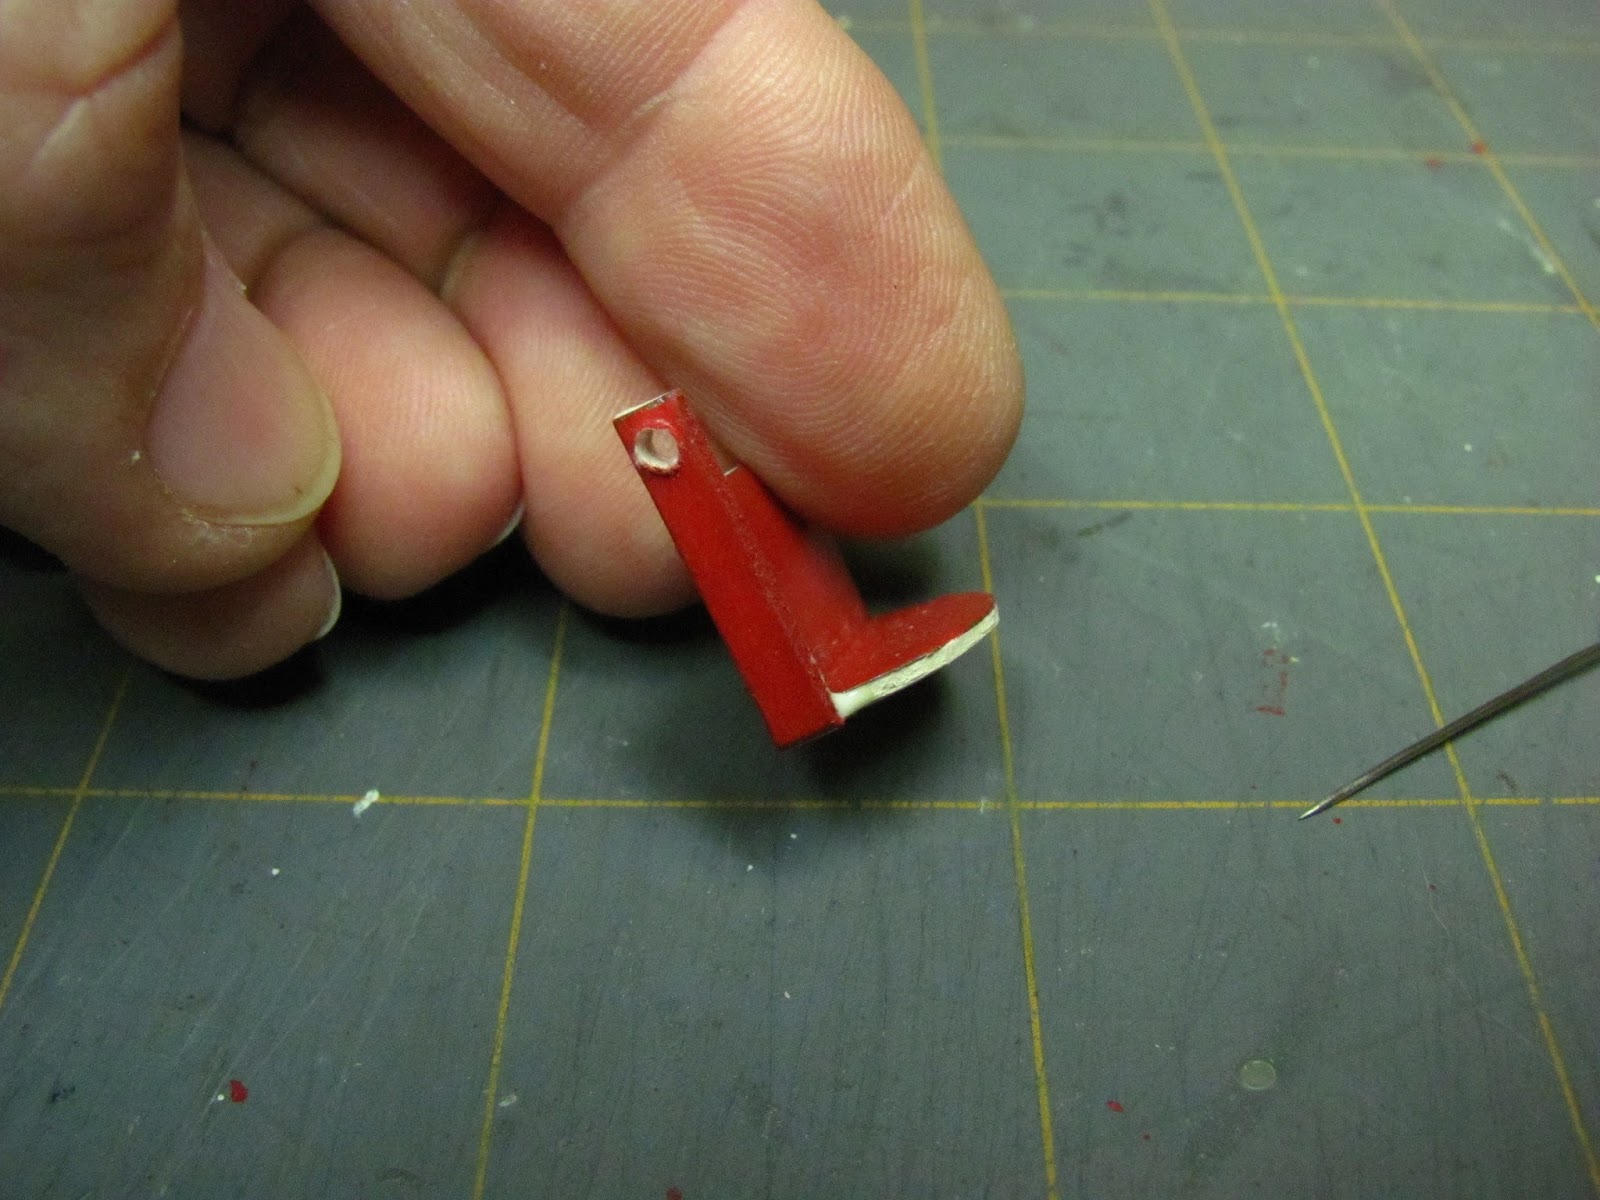
Cut 2 pieces from these strips 17 mm long.

Before you drill holes in the ends of these strips use a "T" pin or corsage pin to start the hole.
This gives the drill bit some place to sit when you start to drill and will make a more successful hole.
Drill your holes in the ends of the strips.

Apply glue to the back and bottom.
Press one of the strips onto the glue.

Press the other strip onto the other side.
Let this dry.

Cut at least 8 pieces 13 mm long from your mat board strips.
I say at least 8 pieces because depending on your measuring and cutting you may use 7 or 8 pieces to finish the bucket. On the green bucket I used 8 pieces and on the red bucket I used 7. We are not machines and we all have slight differences in measuring and cutting.

Start gluing the pieces along the bottom. Don't glue the sides together just glue the bottom.

I've got my pieces glued on with one extra.

Cut from your card stock scrap a strip 2 mm wide. You can paint the edges is you want to.
Apply glue to the back of the bucket.

Press the 2 mm strip onto the glue.

Apply glue to the strip and bring the strip over the front and to the back of the bucket.

Finish gluing the strip to the back of the bucket.

I apply another strip towards the top of the bucket, when I glue the strip on I keep my finger in the bucket so the pieces will stick to the strip and not cave in.
Finish by gluing the strip to the back of the bucket.

To age the bucket I use dark brown acrylic craft paint and an acrylic thinner. Mix these two together. You don't need very much of either one. Can you see my brush? It's an old brush with its bristles all out of shape, this works well for applying the paint.

Apply the paint.

I wipe off as much paint as I want. I will also add more paint and wipe off again. If you want your bands to appear rusty you could add a little rust color paint to them in specific spots.

I used some twine to make a handle. You could also make a wire handle.

The buckets are ready for flowers.

Here are Nancy's beautiful patterns to make the half buckets. Go to "Things to do, Things to see" list to get the directions for transferring the patterns, "HOW TO EN-LARGE PATTERNS".
You noticed that the measurements are mm, this is an article I used for a European miniatures magazine a couple of years ago. I've gotten a little busy lately crocheting things for my first grandchild and miniatures have been put on the back burner at times. Please excuse that you don't have a "new" tutorial.
Some of you also may have noticed that I have not added to my CDHM site and are announcing something new for 2016. I am still working on that and will get it all together between things.
As always I hope you can try this out, spring is around the corner and every dollhouse needs flowers.
Pictures for the Follower's Gallery and questions can be sent to camceiling@frontiernet.net.
Have fun, Expand on it, Make it better . . . .
Just Keep Making Minis!!
Kris