This is the finished bed. I used a light weight linen to upholster the bed.
I've added the pillows and duvet cover. I still have the pins in from steaming the duvet down.
I find it difficult to dress a miniature bed. Finding the right colors, patterns and textures to mix is hard to do. I will find the right mix but the size of pattern will always be off. I asked my professional photographer son-in-law to help, he has a very good eye for these things. This is what he came up with out of my many boxes of fabric. I like it, Tigger is not too thrilled about it, though.
This is my chopper. Look on www.miniatures.com (Hobby Builders) or MicroMark.com.
I found this to be the easiest and cheapest way to have you cut your legs.
If you all ready have a small miter saw you can use that, too. I don't have mine anymore so I couldn't take a picture of it.
The legs are from 5/16" x 5/16" basswood.
Set the stop to 9/16".
Press down, not through, rotate the wood and press down, not through on all four sides.
You don't have too press hard. Just keep rotating the wood.
You will cut through after a couple of rotations.
Cut four legs.
Draw a square on one end of the legs.
The square is roughly 1/16" away from the sides.
Use 220 grit sandpaper to sand down to the square on one end leaving the other end the original size.
I use 220 grit because I don't want this to get away from me.
Rotate the leg around until you have a nice taper.
Here are my legs.
Drill a hole in the center of the large end and glue a toothpick in.
I stained my legs and finished with a clear varnish.
This is the bed base/box spring. Cut 4 layers of foam core 5 1/4" x 7" and glue them together using tacky glue.
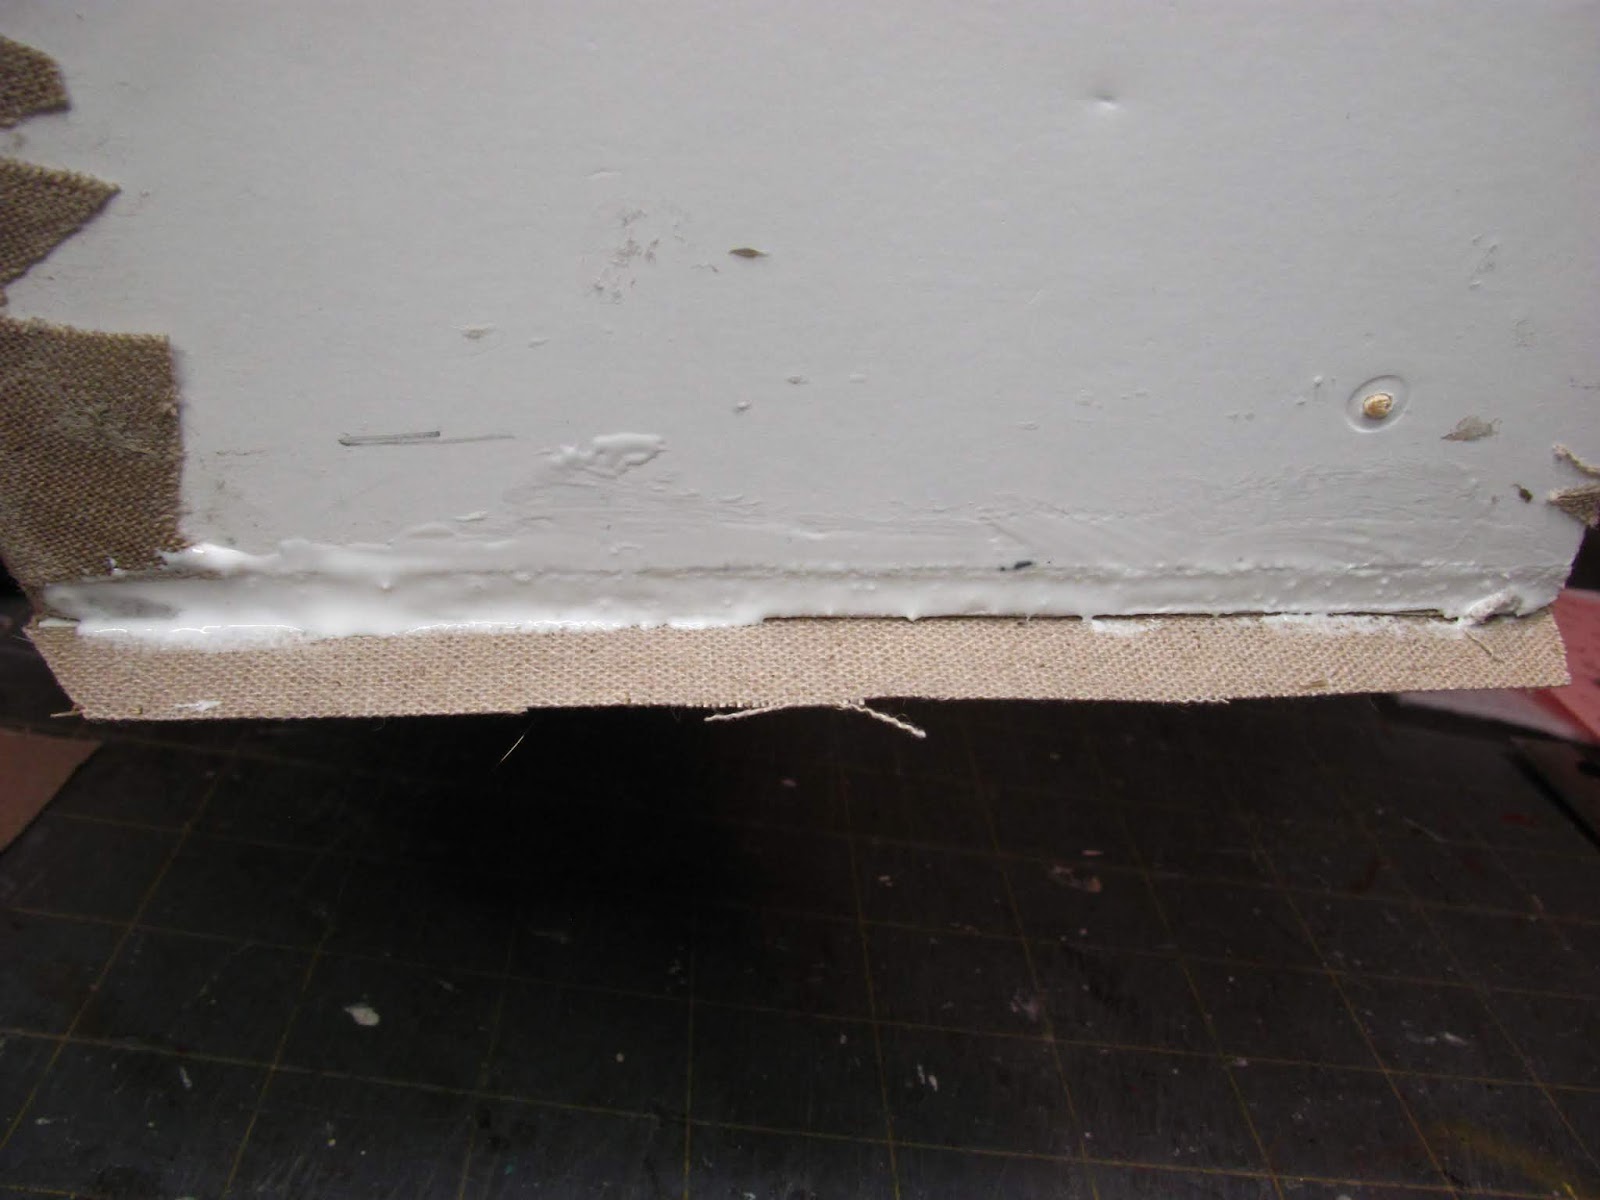
Cut a strip of card stock and glue it to the cut edge of the bed base/box spring.
Use tacky glue to glue a strip of batting on the two long sides and one short side. Leave one short side without batting.
I use Thermolam Plus, SEW IN. I usually can find it at Walmart.
A word about fabric. I usually go to independent quilting stores for my fabrics. Yes, I occasionally buy from Joanns and Walmart. I will buy 100% cotton or in this case 100% linen because it will glue. Nothing is more frustrating than to use fabric that will not glue down because it has some kind of polyester in it.
To glue the fabric to the card stock I use glue stick.
Cut a strip of your fabric with enough extra to glue to the top and bottom of the bed base/box spring.
Apply the glue stick to the card stock end of the bed, in the middle.
Do not glue the fabric to the batting. Bring the batting all the way around the bed and glue the fabric to the remaining card stock to finish.
This is a better picture of my glue. Usually Walmart is cheaper than Michaels.
The end will be against the headboard so I didn't fold a hem.
This is by bottle of tacky glue.
(I should by this by the 5 gallon bucket.)
Apply the tacky glue to the bottom of the bed base/box spring. Smear the glue.
Fold the edges over to glue down.
Cut the extra corner fabric out and glue the corners down.
The corner is glued down.
Top and bottom are done.
Cut a piece of card stock for the bottom of the bed base/box spring.
This should be about 1/4" smaller all around.
I've applied glue stick to the card stock and pressed it onto my fabric. The fabric is trimmed to leave extra all around to fold over. The corners are cut out.
I've applied tacky glue to the edge of the card stock and folded the extra fabric over.
Apply tacky glue to one side of the bed base/box spring.
Smear the glue so there are no puddles.
Press this bottom cover onto the bottom.
Press all around to make sure you have good contact.
If your legs are finished you can glue them into the bottom.
Another picture of the leg in the bottom of the bed base/box spring.
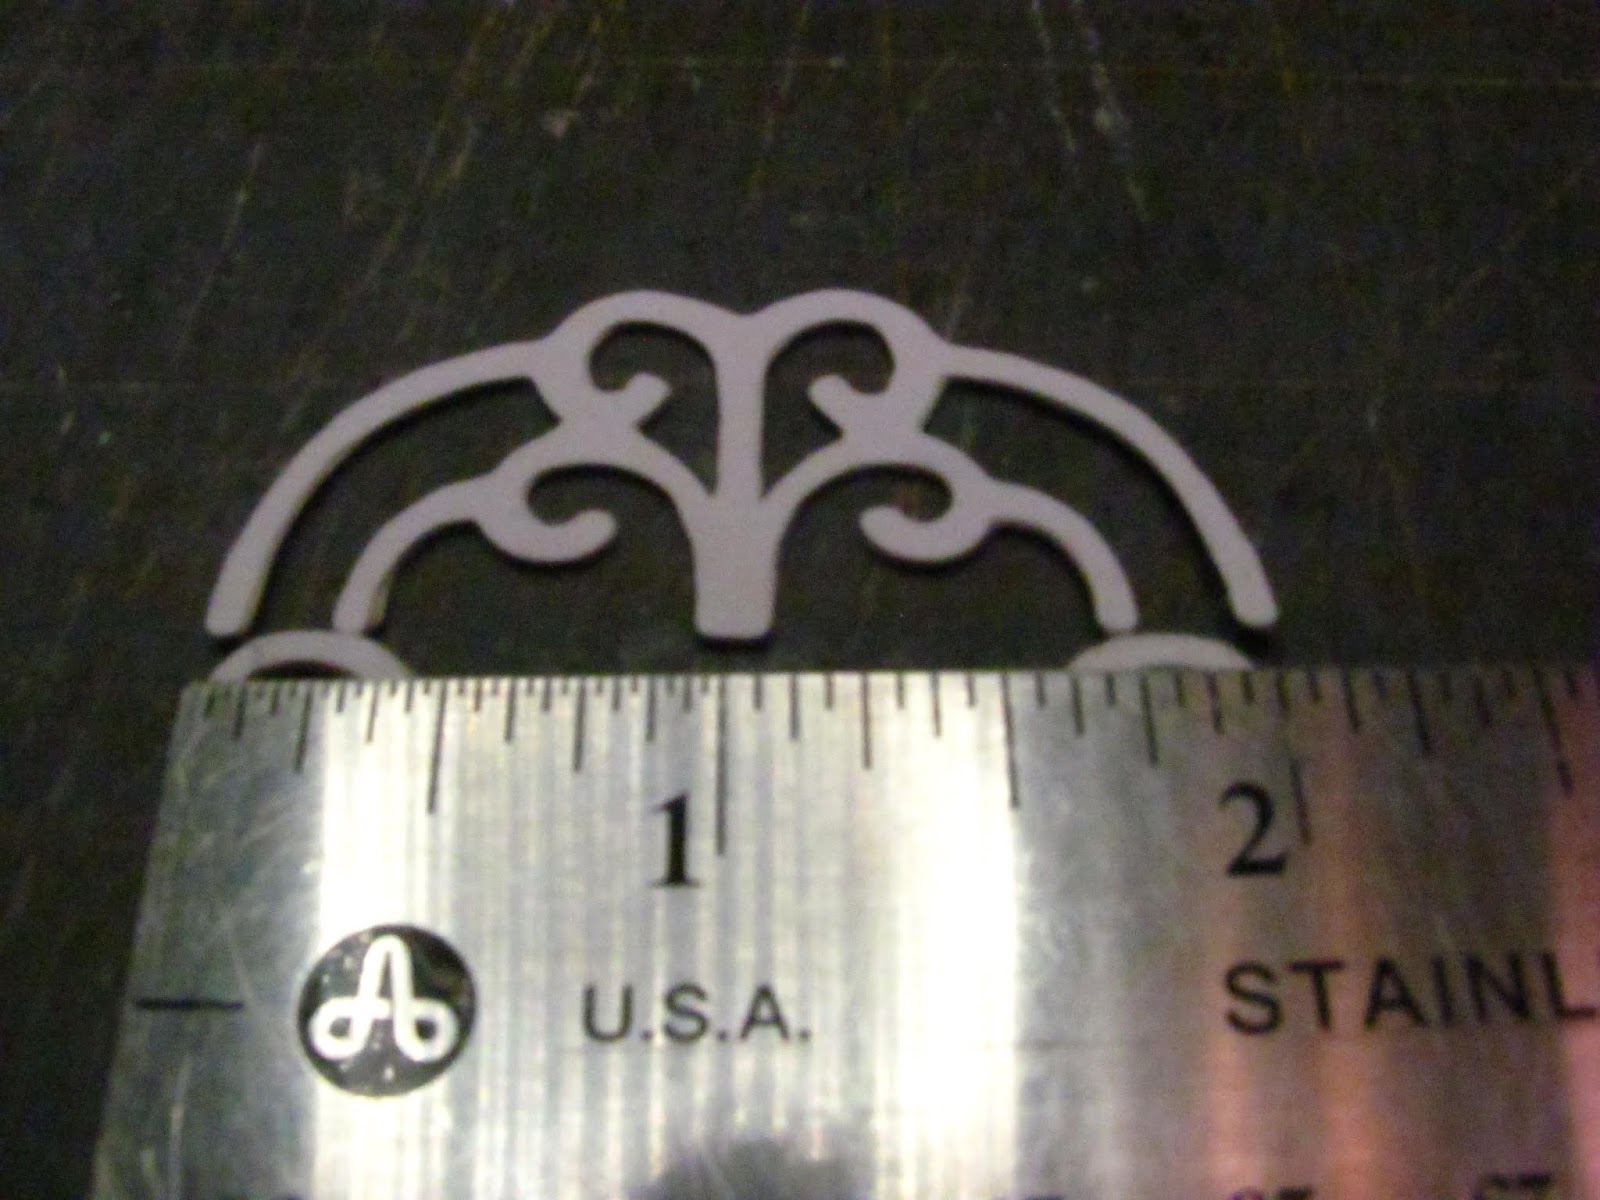
Above are the back of the head board and the wings/side pattern. Use the instructions on the left side of the blog to re-size the patterns.
Above is the back cushion to the head board and the bed pillow patterns. The large pattern is for the bed pillows and large accent pillows.
Above are the batting patterns for the head board cushion.
Trace the wing/side pattern onto foam core.
Trace twice and cut out two sides.
Trace the back onto a piece of foam core and cut out.
Here is the start of the headboard.
I have not glued anything together, yet.
I searched the Google Images for pictures of this headboard and this is how the majority were built.
The bed base/box spring was separate and different headboards were available to be attached. That's why the headboard is sitting on the floor.
My legs will be in in the next pictures.
I am not going to depend on glue to hold this assembly together. I am going to dowel the joints.
I dowel my upholstered furniture together, I know it's overkill but I do it anyway.
Use tacky glue and glue the sides to the back.
Drill into the sides and into the side of the back.
Cut some toothpicks in half and have some tacky glue ready.
Insert the glue into the holes.
Push the toothpicks into the holes, I use the end of my tweezers to push the toothpick flush with the side.
Do this on both sides.
Soften the curved inside edge of the foam core.
Don't soften the straight part where the mattress and box spring will be.
This is the upper part of the wing.
Use your side/wing pattern to cut the batting.
Cut a tiny extra on the curved side.
Use tacky glue to glue the batting to the inside of the wings.
Trim the batting even with the outside edge of the wing.
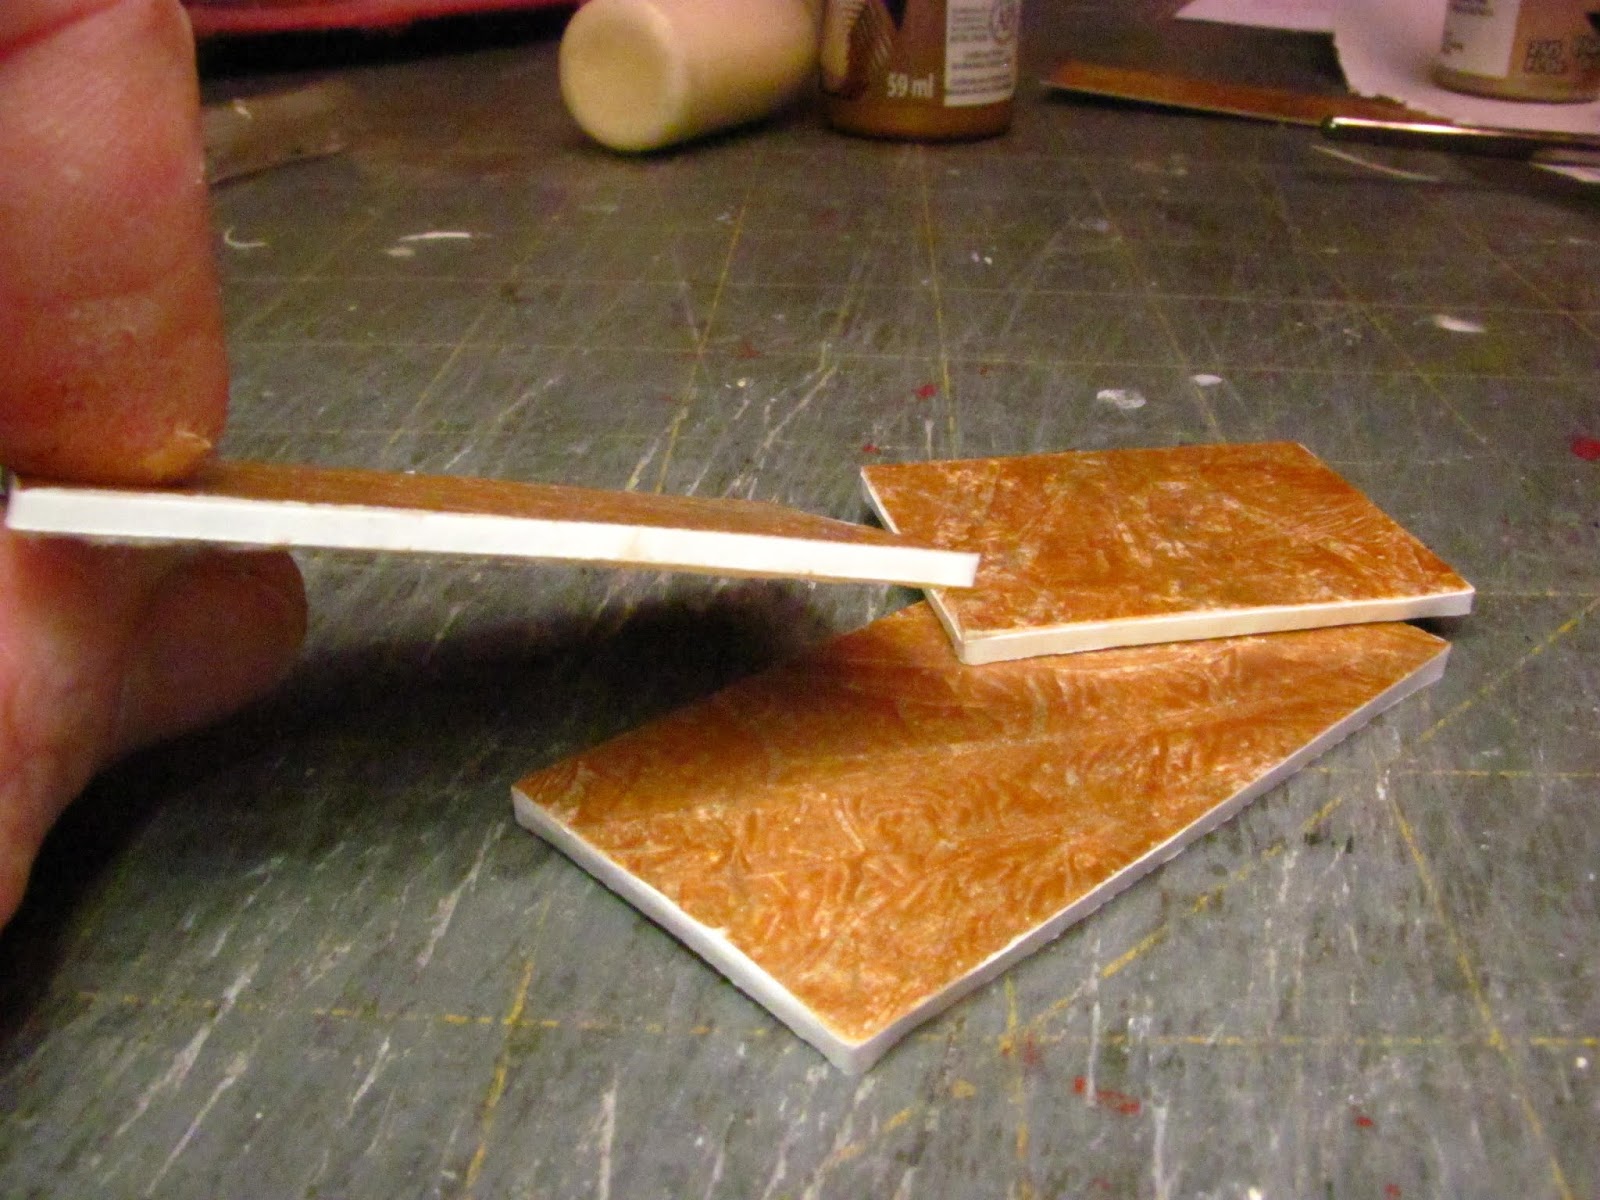
Cut the fabric for the wing 2 3/4" x 7 1/4".
Use tacky glue to glue about a 1/2" onto the inside of the back.
I have the back laying on my table, the straight bottom is on your left and the curved top is on your right.
This picture is showing the outside side of the headboard.
Forgive the black and white picture. I did not take a picture of this crucial cut.
Ignore the arms.
To have fabric left to cover this little corner of the back/side you must cut the fabric like the picture.
I know the fabric is glued down but it's not dry, yet.
Put your scissors under the fabric and clip up toward the corner, not exactly all the way into the corner, just close to it.
If you make your cut like this you will have a tiny but noticeable triangle of foam core showing.
Yes, I forgot. I haven't made a wing chair in a while, use to be second nature, how soon I forget.
I did rip this off and fixed my mistake and then just plumb forgot to take the picture.
Now, cut notches into the fabric at the curved edge.
I've made a cut at the bottom of the wing.
Use tacky glue and start gluing down the fabric.
Glue the fabric down and cut out the extra fabric in the corner.
I've got the extra fabric cut out.
Glue the corner down.
I am doing the same thing with the bottom corner.
Both corners are glued down.
Inside.
This is the side and back.
Cutting the fabric the way I did will give you plenty of cover for the corner.
This is the bottom.
This is what you would have had at the top.
This is fine, we are going to cover most of it. AND it's the bottom.
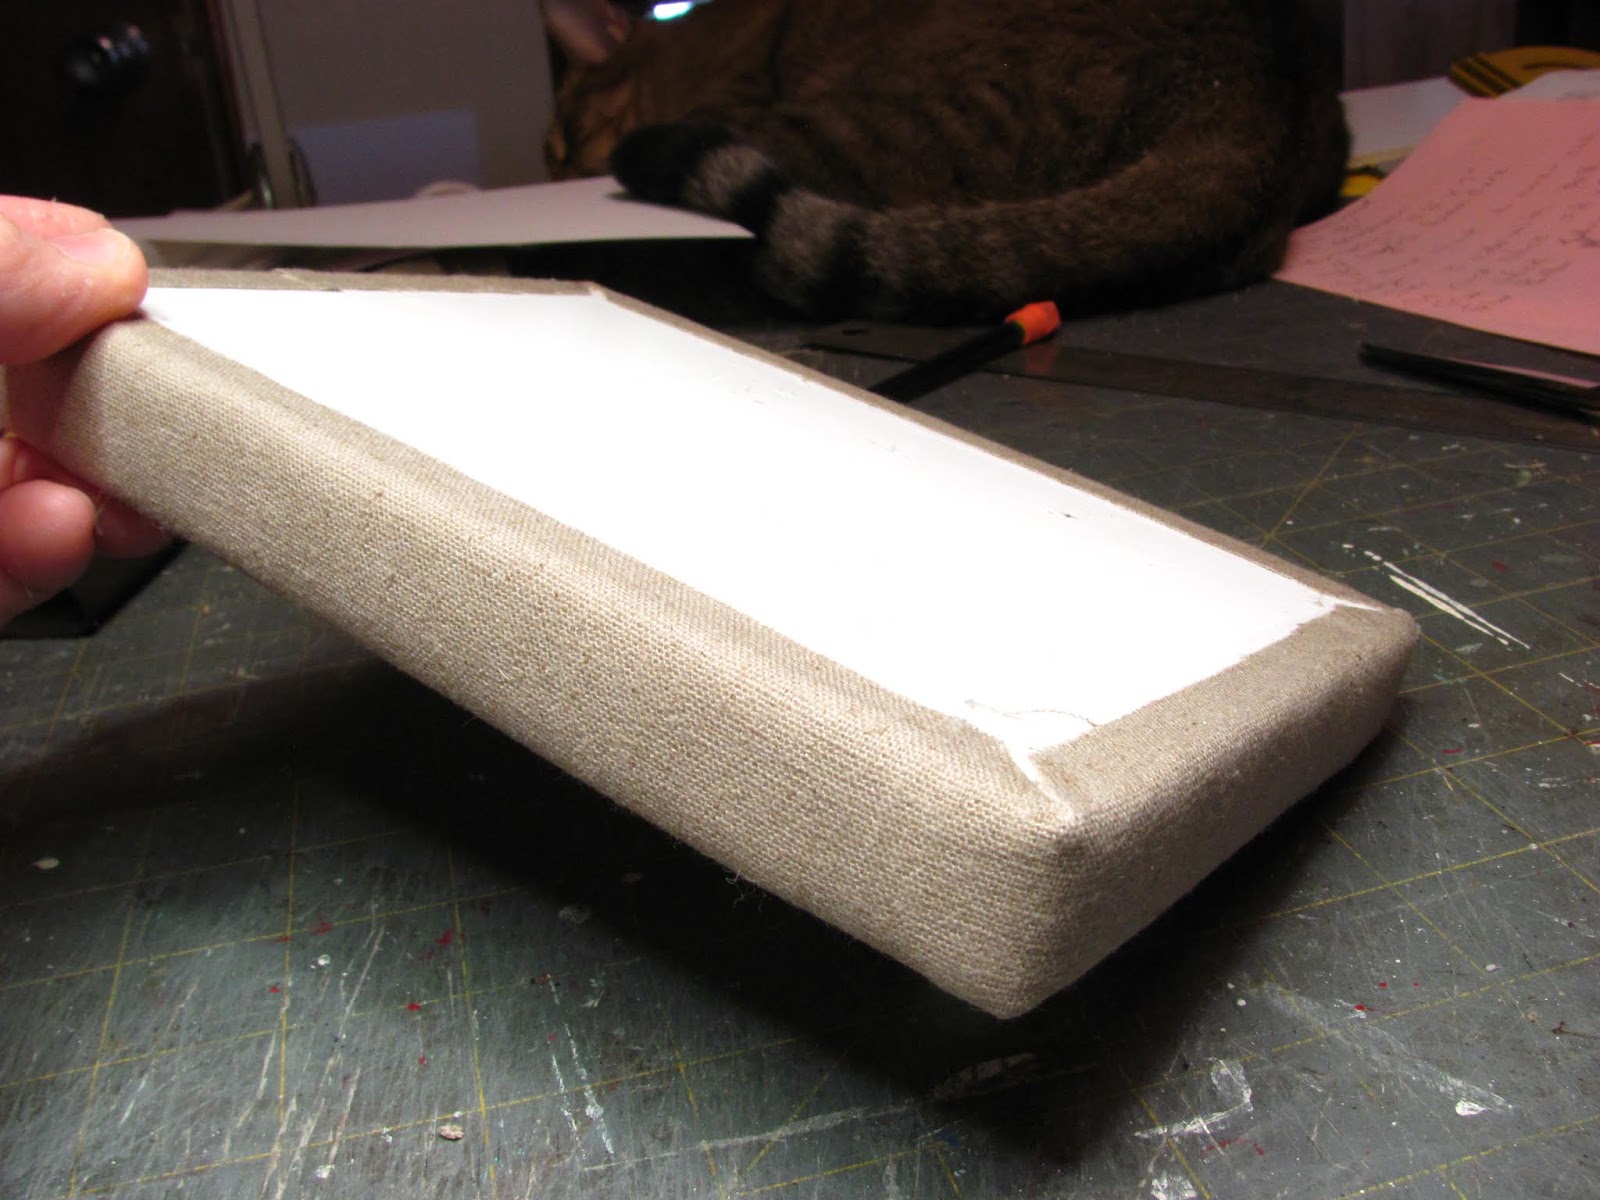
Both of the insides of the sides are done.
Use the back cushion pattern to cut a back cushion from 1 layer of foam core.
Notice the No Batting Line.
This is a dry fit, no glue.
Soften the top curved edge.
Use the tacky glue to glue the batting to the foam core.
Smear the glue out to the edges.
Second layer of batting, don't glue batting to batting. Just glue the batting to the foam core.
Last layer of batting.
This batting will be at the bottom line, even with the sides and will have extra at the top.
Extra at the top.
Don't glue the back cushion in, yet.
Place the back cushion into the headboard and trim off the extra batting.
Remove the back cushion.
Cut fabric with extra all around.
Glue the sides and bottom to the back. Trim out the corners at the bottom.
Use tacky glue to glue the back cushion into the headboard.
Trim the top and cut notches into the top of the extra fabric.
Glue the extra fabric to the back of the headboard.
A dry fit.
Apply tacky glue to the head of the bed and a little at the sides. Not too much on sides or it will press out.
Press the headboard onto the bed base/box spring and secure with "T" pins.
Drill a couple of holes on the sides and at least 4 on the back.
The dowels are in and the headboard is secure.
Trace the side/wing pattern onto card stock.
Cut this out leaving the line on the rest of the card stock.
Apply glue stick to the card stock and press the side cover onto your fabric.
Cut notches out on the curved sides and trim out the corners.
On the left I have extra fabric glued (use tacky glue) to the card stock. LEAVE the back edge unglued.
Apply and smear tacky glue to the sides.
Press the side cover onto the headboard.
Apply tacky glue to the back and fold the extra fabric to the back and press into the glue.
The side cover is on.
Glue the other side cover on.
Cut out a back cover from card stock.
Apply glue stick to the back cover and press onto your fabric.
Trim leaving extra all around.
Cut out the corners and cut notches along the curved top.
Apply tacky glue to the card stock and fold the extra fabric into the glue.
DO NOT glue the bottom extra fabric.
Apply and smear tacky glue to the back of the headboard.
Press the back cover into the glue.
Apply tacky glue to the bottom of the headboard and press the extra fabric into the glue.
The back cover is on.
On to the piping.
Cut your fabric on the bias, a diagonal cut.
I don't recommend making piping longer that 18". Making piping any longer is very difficult to make.
Apply tacky glue to the edge and smear it to the edge.
I use size 10 crochet thread for the piping.
Press the crochet thread into the glue.
Fold the fabric over the crochet thread.
The thread has to be in the very fold of the fabric.
Use your fingernails to press the fabric and glue into the crochet thread.
Turn the fabric and do it again.
Repeat this at least 4 to 5 times to make sure the fabric is glued to the crochet thread.
Carefully cut the piping away from the fabric.
Cut very close to the piping, as close as you can without cutting into the piping.
We are going to need two pieces of piping for the headboard.
Apply tacky glue to the seam where the side cover meets the side.
Press the piping into the glue.
Try to put the glued seam of the piping into the glue.
My first piece of piping made it to the second wing.
I started a new piece just beyond the corner.
The bed is done.
Closeup of the piping on a wing.
I just don't think a piece of upholstered furniture is finished unless I've applied the piping.
Or welting in upholstering terms. I am a old sewer so I say piping, I do apologize to the upholsterers out there.
On to the mattress.
I used 3layers of foam core, 5" x 6 3/4".
I measured my bed and it was 25" off the floor. Using 3 layers of foam core came close to that measurement. You can change this if you want. Remember, you can change any of these measurements for your bed.
Cut and glue a strip of batting onto two long sides and one short side.
Leave one short side without batting.
The side against the headboard without batting.
Cut one piece of batting for the top of the mattress. Apply and smear tacky glue to the top of the mattress and lightly press the batting onto it.
I have to tell you I changed my mind about the sheets. Neal, my son-in-law had the olive sheets. We both liked the olive, cream and print layering. With that being said the first layer of pillows would have to be olive so that meant I would have to have cream sheets because the second layer of pillows, the actual bed pillows were to be cream. I made a fitted bottom sheet and a top sheet from cream colored fabric. I didn't like the look of cream sheets. I took off the top sheet and I left the bottom cream sheet because it would have made a mess to take it off. So there is a fitted cream colored sheet on the mattress to the left.
You see that I don't have enough fabric to make two sheets for realism. Let's throw realism out the window because Neal was right, the olive sheets look better.
I am making a faux sheet! You don't even have to cover all of the batting if you are going to be dressing the bed fully and all of the sheets won't be seen.
I have a piece of fabric that is 7"x 9".
I am making the top part of the sheet fitted.
I know it's at the end of the bed but that's so I can get to the sheet.
Pinch and pin the corners.
Remove the sheet and with a pencil draw a line where the pin is on both sides.
I hand sewed on the drawn line. I back stitched over the drawn line, it looks messy but no one will see it.
Trim off the extra fabric.
Turn the sheet to the right side so that the stitching is on the inside of the sheet.
Place the sheet at the top of the mattress. Remember, that's the end with no batting.
Fold over 1/2" on the other end finger press.
I measured from the top of the mattress 1 1/4" and brought up the other end of the sheet.
Turn the mattress over and mark a line where the fold is on the bottom of the mattress.
I glued the top end of the sheet to the bed.
I made a pencil mark on each side of the mattress where the sheet is turned. That's going to depend on how much fabric you use or "have" to use.
I glued the sides to that mark.
Cut the fabric out of the corners. Trim the corner fabric down to a sliver. Yes, that has your seam in it.
Glue the sliver down.
Fold the sheet up and you can glue the mattress to the bed base/box spring.
No one will ever know that I don't have two sheets on this bed.
So my first layer of pillows are going to be olive. They are big square pillows.
My pattern is 2 9/16" square.
Draw around the pattern on doubled fabric twice.
Cut the pillows out leaving at least 1/4" extra all around.
I pin my pillows from underneath so I won't catch my thread on the pins, so annoying.
Yes, I hand stitch my miniatures. I used to sew a lot, really a lot. It takes more time for me to get the machine threaded up than to stitch up a pillow.
Leave an opening to turn.
Finger press the opening down.
Bring the thread out between the layers of fabric.
Trim the corners.
Turn the pillow to the right side.
You may stuff your pillow any way you like. I thought I would try something new with these.
I cut a piece of batting a little smaller all around for the first layer.
I wanted these pillow to be stiff and stand up at the head of the bed that's why I am using batting.
I cut four layers, getting smaller with each one.
I cut a piece the same size as the second layer also.
This is an experiment.
I put the biggest layer in first.
Then I slipped in the two second layers, one on top and one underneath the first layer.
I kept slipping the layers in on top to the smallest layer.
On the second pillow I put all the layers in at once. I found that it was easier.
Again, you can use your favorite method of stuffing pillows.
Sew the pillow closed.
For review, fold your fabric on the bias, diagonal and cut.
Apply tacky glue to the edge and smear it toward the edge.
Use size 10 crochet thread for the piping. Press the piping into the glue.
Fold the fabric over the crochet thread. The thread has to be in the very fold of the fabric.
Press the fabric together with your fingernail. Turn and repeat. Repeat at least 4 to 5 times to make sure the glue has sealed against the crochet thread.
Cut very close to the piping.
I wish I had taken a picture of each layer of pillows as I finished them.
I have glued the piping onto the big square olive pillows.
The next pillows are the actual bed pillows and pillow cases. They are cream not olive. I don't care, the pillows looked better stacked this way. The cream gives a good background to the print pillows. From the side I have olive sheets and cream lining to the print duvet. The same order as the pillows.
This is my pillow case pattern.
Draw around the pattern on doubled fabric.
Cut out the pillow case adding extra on the two long sides and one short side.
Sew one long side.
Open the fabric and finger press the seam open.
Apply tacky glue to the hem end.
Let dry a bit.
Fold down 1/2" and finger press.
Unfold the hem and pin the wrong sides back together and finish sewing the pillow case together.
Trim the corners and turn the pillow case right side out.
Make two.
I am making the bed pillows to fit inside the pillow cases.
This is the pattern that I traced around.
I sewed around the pillows, left an opening for stuffing, folded over the fabric in the opening and finger pressed it just as in the square olive pillows.
I trimmed the corners and turned the pillow to the right side.
For the rest of the pillows I am using micro beads. You can buy these but they come in a very large bag. I bought mine from Joanns.com. Maybe you could share with another miniaturist. Tigger, one of my cats got into my bag of micro beads and there really wasn't any way of recovering what she let out. I bought a big can from a antique mall to keep my micro beads in from that time on. I first found mine in squishy, stretchy, usually shiny pillows. Sometimes they are travel pillows. Look for them at Goodwill or thrift shops. One pillow will do you a lifetime and it won't cost much.
I filled the bed pillows 3/4 full. For my sofa pillows I fill about 1/2 full for squishing into the corner of a sofa and looking real.
Sew the pillow closed.
Use the same pattern for the large decorative print pillows. Follow the directions for the square olive pillows.
I used twisted embroidery floss for the trim. I used 6 strands.
These are the patterns for the two accent pillows.
Cut solid strips of fabric 1" wide.
Cut a print strip 13/16" wide.
Cut a print strip 11/16" wide.
Apply a line of tacky glue on the right side of the print fabric.
Press the solid and print strips together.
Press well to seal.
Fold the fabric open.
I have used the pattern to make a back to the pillow, it's in the above left of the picture. It has the sewing line and the lines where the print insert should be.
I've applied another line of glue to the print fabric and glued on the other solid strip of fabric.
I've finger pressed the seams.
I used my pattern to make sure the center strip is the right width.
I have glued on twisted embroidery floss for a trim. This trim has 3 strands.
I've pinned right sides together and will sew around leaving an opening for stuffing.
This is the rectangle pillow.
I've sewn the pillow. I have an opening for stuffing. I've brought the thread out between the layers of fabric. I've trimmed the sides and corners.
Finger press the opening down and turn the pillow.
Here are all of the pillows on the bed, again.
I made piping from the olive fabric for the small accent pillows.
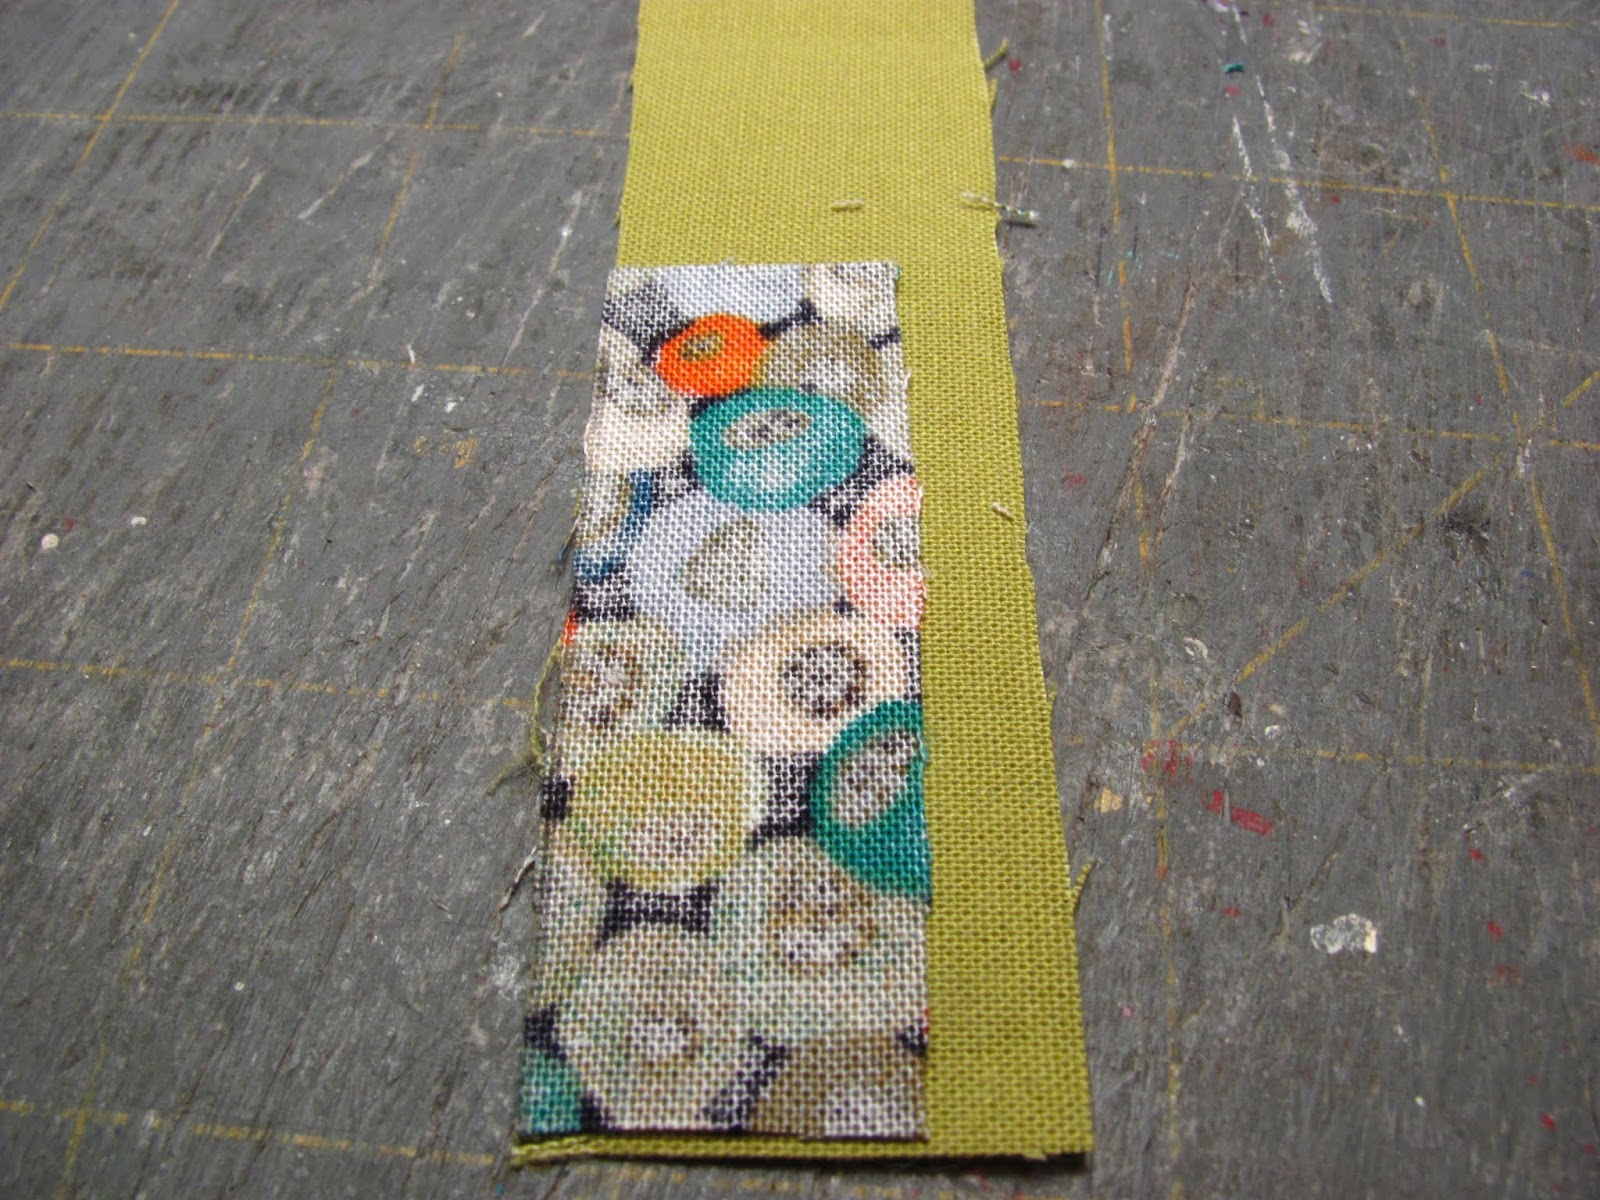
As I mentioned before finding textures is hard to do for miniatures. The fabric on the left is a cotton gauze used for summer blouses, it does come in colors but I bought white because I was really into dying fabrics for a while. The other fabrics are cross stitch fabrics, I believe they are called Hopscotch? This is a large weave and looks great as a blanket under the duvet or a coverlet on top of the duvet. Look around in the garment section of the Goodwill, you can find some great silk blouses. Last time I bought these they were only $3.00 a blouse.
For the center of the duvet or the actual duvet, I am using flannel. I bought a couple of yards of white cotton flannel and I will have it for a very long time.
For the duvet cover I cut my fabric 8 1/2" x 7 3/4".
I have right sides together and I've drawn a seam allowance of 1/4"
I'm pinned and I'm ready to sew.
I've trimmed the corners and finger pressed the opening.
I have also finger pressed the seam open.
I am going to glue twisted embroidery floss into this seam and it helps if it's open and flat.
I've cut the flannel 7 5/8" x 7 1/4".
I've pinned the flannel to one side of the fabric. The pins do not go through to the second layer of fabric.
A NOTE: Insert the pins opposite of mine. It will make removing the pins much easier for you.
Turn the duvet cover to the right side. Remove the pins and settle the flannel into place. Sew the opening closed.
I've made twisted embroidery floss for the trim around the edge.
This is the little drill I use to twist the floss. I used 6 strands for this trim. I bought my drill from Hobby Builders Supply.
Put the duvet onto the bed. Fold the top back the measurement you like. Pin into place and steam. I used my steam iron, if you have a steamer use it.
Let this dry over night before removing the pins.
Another picture of the bed.
For twisted embroidery floss trim you secure one end of the floss and twist, keep twisting.
Holding one end and with the other hand grab the middle of the twisted floss. Move so that the two ends are together. You are still holding the floss in the middle, start to let the floss turn back on itself at the middle. You can help it along to keep it neat.
I am using a piece of cotton velveteen I bought at a show a million years ago. I wish I could find printed cotton velveteen for miniature upholstery. This fabric is wonderful to work with.
I made a lovely sofa set with this particular fabric a couple of years ago.
Neal picked this out for the coverlet. I am making fringe for it. I am rolling a knot off my finger and cutting the length at about 1/2". This is 6 strands. This is glued onto the edge all around leaving about a 1/4" showing.
Using 3 strands of embroidery floss I twisted embroidery floss trim for the coverlet and glued it to the edge above the fringe.
I've cut fabric to cover the back. You wouldn't have to do this.
I turned a hem all around.
I applied a line of glue to glue the lining on.
Arrange and pin the coverlet down and steam. When you steam get the fabric damp with the steam. Let it dry over night. Try not to touch it or you might leave a print or depression that you won't be able to steam out.
The finished bed. If it were big enough Tigger would be on it!
Here is another view of the finished bed.
Everybody has there own style and I would love to see how you would dress this bed. I love working with fabric so I couldn't resist finishing this.
This is the set of furniture I was talking about earlier. I believe this went to North Carolina.
Have a Happy Thanksgiving!!!
Have fun, Expand on it, Make it better . . .
Just Keep Making Minis!
Talk to you later, Kris