

This is the non-working double hung window for the attic.
It's made form mat board but you can make it out of basswood.
Where I glue the two pieces of mat board together you can use 3/32" thick basswood.

Cut strips of mat board 7/16" wide.
You need at least 22".

To glue the strips together I use tacky glue.
Glue two strips of mat board together.
This is where you could use 3/32" thick basswood instead of doubling the mat board.

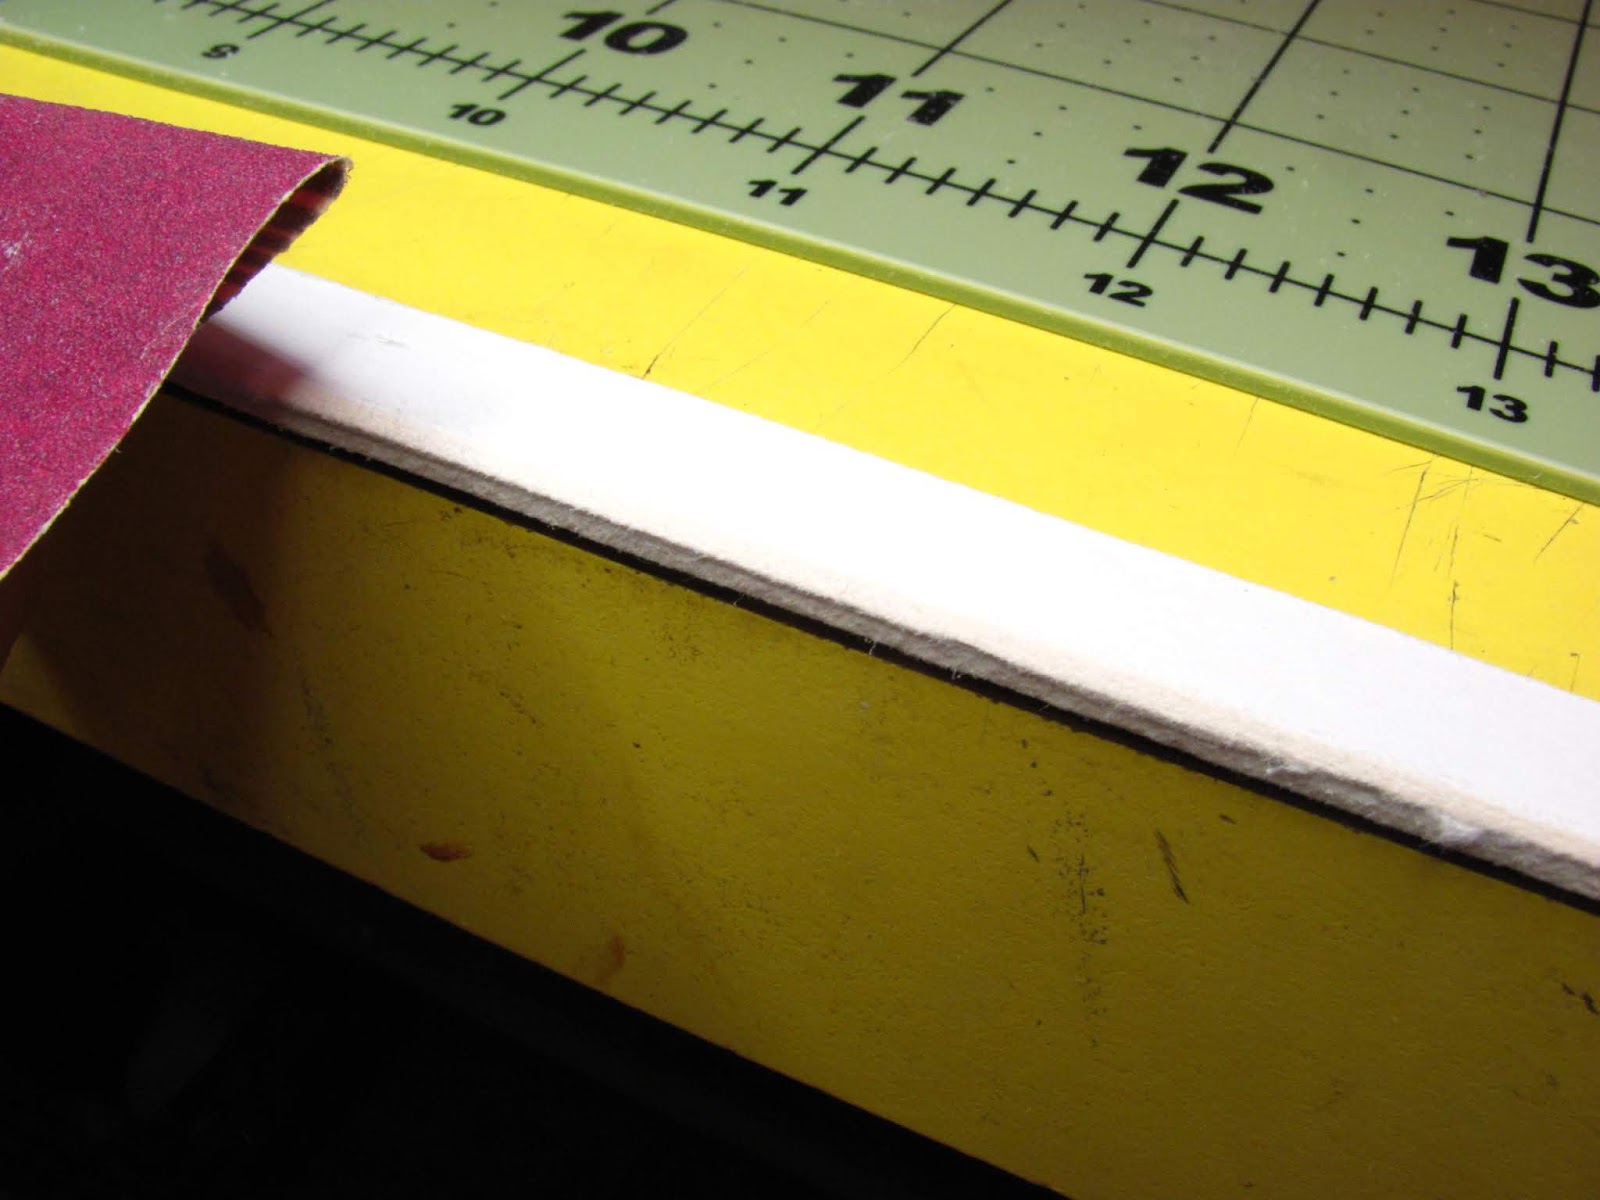
Cut the top and bottom 2 25/32".
I am sorry about the 25/32", I am showing a picture of where that is. It's between 2 3/4" and 2 13/16".

Cut two sides 5" long.

To glue the window pieces together I use yellow wood glue. This glue holds the best for this kind of thing.

Glue the sides to the ends of the top and bottom.
With the sides glued to the top and bottom your window should measure 3" wide and 5" tall.

Cut strips of mat board 3/16" wide. Cut at least 40" to 45" of strips. You want extra for miss cuts.
I know that sounds like a lot, I had to measure twice to believe it.
Again, you can buy basswood at Michaels that measures 3/16" wide and 3/32" thick.

Glue two strips together, use the tacky glue for this.

You are going to make two frames for the windows and sandwich acrylic between them.
For each frame cut 3 pieces 2 3/4" long. These are the horizontal pieces.
Cut 4 vertical pieces at 2 1/6". Set the pieces inside your window frame to check this. My pieces were cut just a hair over 2 1/16". You don't want it too tight, just so it will slide in to fit.

I've got one frame done and it's setting in my window.
I've got just a tiny bit of room around the frame, easy to slide into place.

Two frames done.

Cut mat board strips 3/8" wide. These are for the trim around the window, inside and out.

Glue two strips together.

Cut two pieces 4 13/16" long.
I have not glued the window frames in, they are just setting inside.

Use the yellow wood glue to glue the vertical trim to the outside of the frame. Leave one layer of the mat board showing on the side AND on the top and bottom of the frame.

Do you see how the trim fits on the sides and top? There is one layer of the mat board showing.
Cut another piece of the doubled mat board for the top. This is cut to be even with the edge of the sides. Glue that on with yellow wood glue.

Cut two strips of mat board 1/4" wide and glue together. Cut a length 4 1/4" long.
This is glued along the frame's front edge and under the trim.
Cut another piece of doubled mat board the same length as the top.

This piece is glued under the window sill.

This is the frame for the window.

To cover the raw edge of the window sill I cut a strip of paper to cover it.

I glued that on with yellow wood glue.

For the inside trim I cut mat board strips 3/8" wide.
I glued two together.
I also cut a strip of mat board 1/4" wide.
I sanded the edge of the doubled 3/8" wide strip.
I rounded the edge.

I glued the 1/4" wide strip onto the wider strip, keep the flat back edges even.
I then rounded the 1/4" wide strip.

I am painting the frames white for now. Just using acrylic craft paint.
For the window pane I use acrylic from a poster frame. I buy these poster frames from Walmart. The acrylic can be scored with a craft knife and snapped. Make sure to cut the plastic covering before snapping. I leave that plastic covering on as long as I can so I don't mess the acrylic pane up.
That's it for now.
If you have questions I am at camceiling@frontiernet.net.
Have fun, Expand on it, Make it better . . .
Just Keep Making Minis!
Kris