

This month I thought I would make a dessert dish to hold mademoiselle's bonbons or in this case brownies.

This was fun figuring out what techniques to use and show you.
If you want something more refined than the card stock plates you can use the white plastic ones available from Hobby Builders and a head pin from the beading department for the center stem. The process is about the same. I am not showing that, I am making the dishes from card stock. Just offering another suggeston.

I am going to use my circle template for shaping and tracing the plates.

Cut squares from card stock. I cut several, this became addicting to do.
Spray the square with water a couple of times. You don't have to drench the card stock just get it wet.

For the center of the larger plate I used the 1/2" circle. Lay the wet card stock onto the circle template and with your fingers or thumb shape the depression.

For the center of the small plate I used the 3/8" circle.
Lay the wet card stock onto the circle template and shape the depression.

Set the squares off to dry.
Just a note, you can use other sizes of circles, it depends on what size of rim you want.

While the card stock is drying we will make the center stem.
I used crochet thread, this is Coats and Clark Knit-Cro-Sheen. I also used scrap paper and wood glue.

I cut a strip of paper wider than I want the height of the center stem to be, 1 1/2" to 2". I cut a length of crochet thread a little longer than that.
Spread wood glue on one end of the paper and lay the thread on the glue.

Fold the paper over the thread with the thread in the fold.

Run your fingernail along the thread, pressing down and against the thread. Turn the whole thing over and do that again. I do this a few times, stretching the paper over the thread.
Set this aside to dry.

When your card stock is dry use the template to trace the plates. For the large plate I used the 3/4" circle and for the small plate I used the 5/8" circle.

I have my large and small plates traced.

I have cut the plates out.

To hold the plates for painting I use sticky wax, (this is available from Hobby Builders) on the end of a toothpick. I cut a tiny bit of the point off the toothpick and then add the wax.

Anybody remember the Ed Sullivan show? Remember the plate spinner guy?
I painted my plates before I went to bed and had them all lined up. I left them on my table, bad idea. The cats got to nosing around during the night and bit a couple!

You don't have to get fancy with the painting. If you are going to be putting food, pretty desserts, on the plates you don't want to detract from that. I will paint a gold line around the edge and I'm done.

When the paper is dry on the center stem cut the thread part away from the rest of the paper. Cut very close, tip your blade toward the thread.

Trim off the crochet thread from each end. Bend the tip over a toothpick to make the handle.

I used wood glue to glue the end to the stem.

You will have to clamp the end. The wood glue won't stick quickly.
I tried tacky but it came apart when I painted the center stem.
Set this aside to dry.

When the center stem is completely dry bend the ring over to have it set in the center of the stem.

I brushed on DecoArt's Triple Thick gloss glaze. You could also spray the plates with a glossy varnish.

I painted the center stem gold.

WHEN EVERYTHING IS DRY
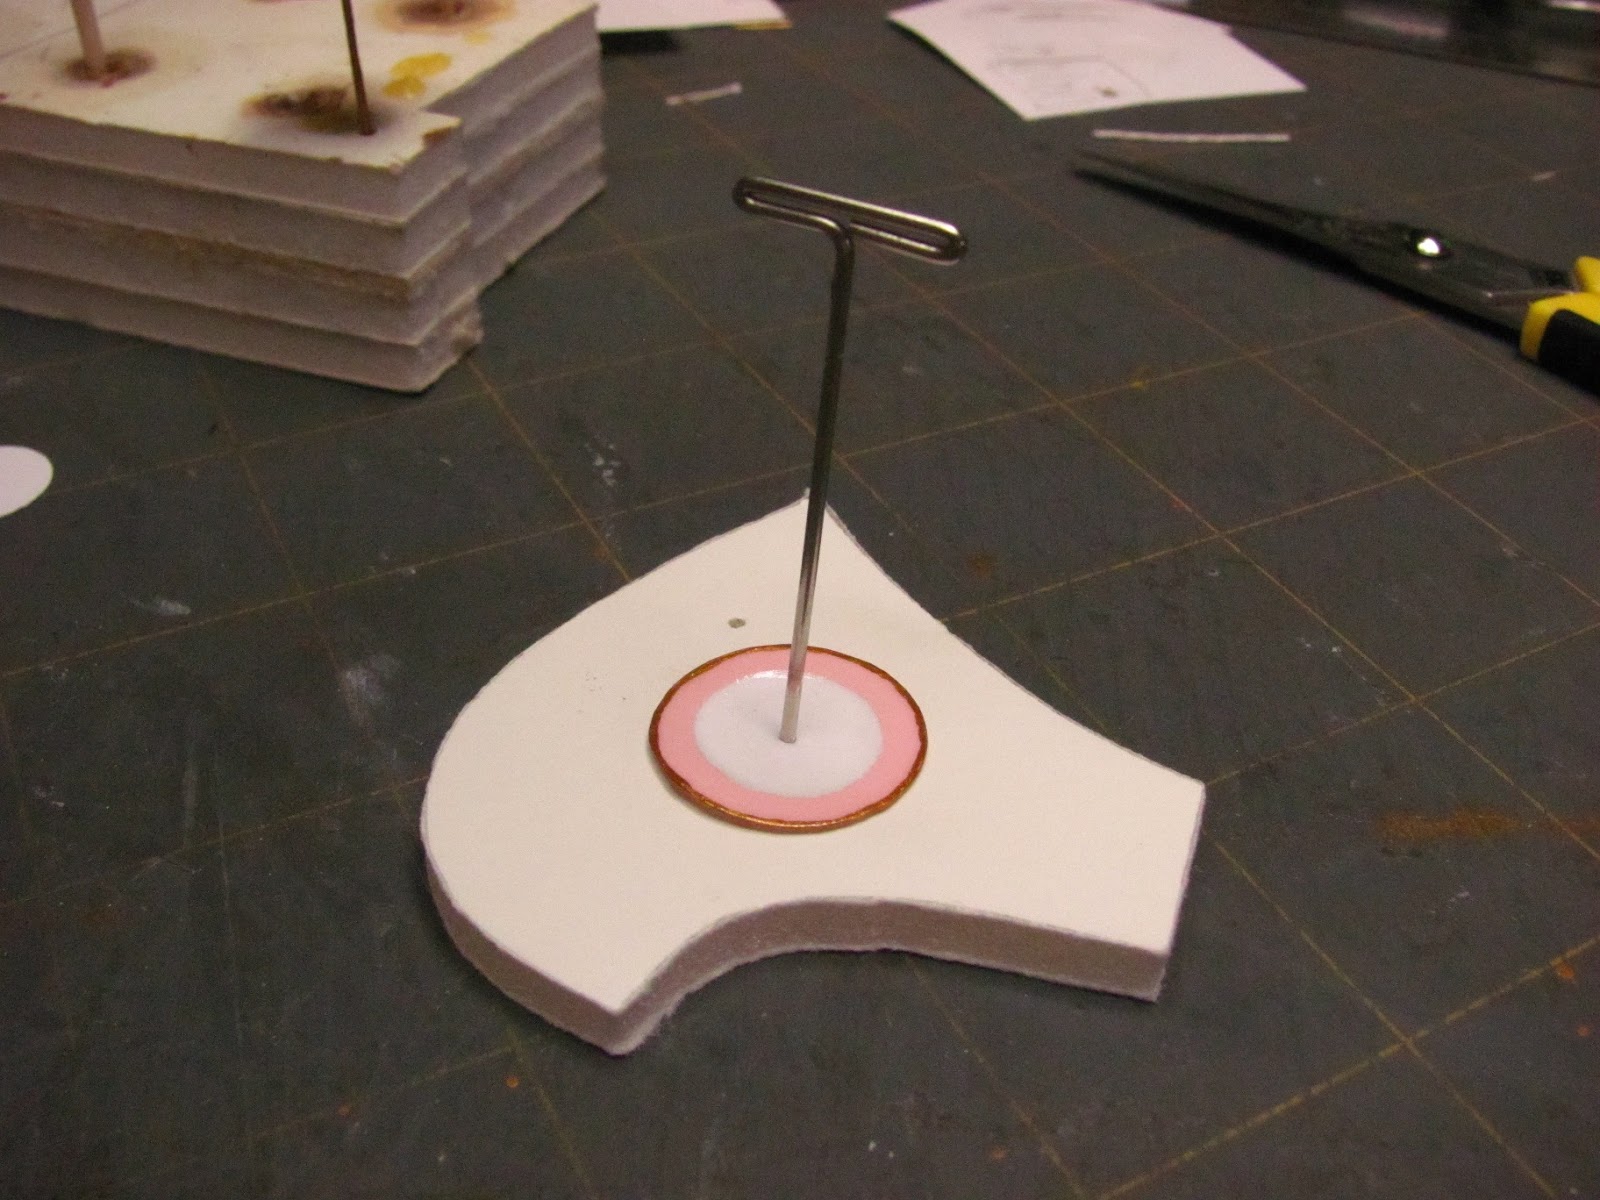
Pierce a center hole in the small plate. I used a "T" pin. I pushed into a scrap of foam core so I could get the full diameter of the pin for the hole.

Thread the small plate onto the center stem. I dabbed a little tacky glue under the plate and then moved the plate up and down to spread the glue. Level the plate and set aside to dry.

Go back to your circle template and trace a 1/2" circle onto card stock.

Cut it out.
Pierce a hole in the center of the large plate.

Thread the large plate onto the center stem.
Trim off the center stem to the height you want the space between the plates to be.

I used wood glue for the bottom. Spread the glue around a bit with a toothpick on the depression area.

Set the whole thing down on the 1/2" card stock circle you cut out earlier. Press down with your tweezers to seal.

Your two tier dessert dish is ready to be filled with beautiful treats!
I had fun doing this, I hope you will try it out.
As always,
Have fun, Expand on it, Make it better,
JUST KEEP MAKING MINIS !