

 Part 3
Punch a 1/4" hole into the corner of your card stock.
Use a circle template to draw a 7/16" circle around the hole you just punched. Offset the circle so that the hole is not in the center.

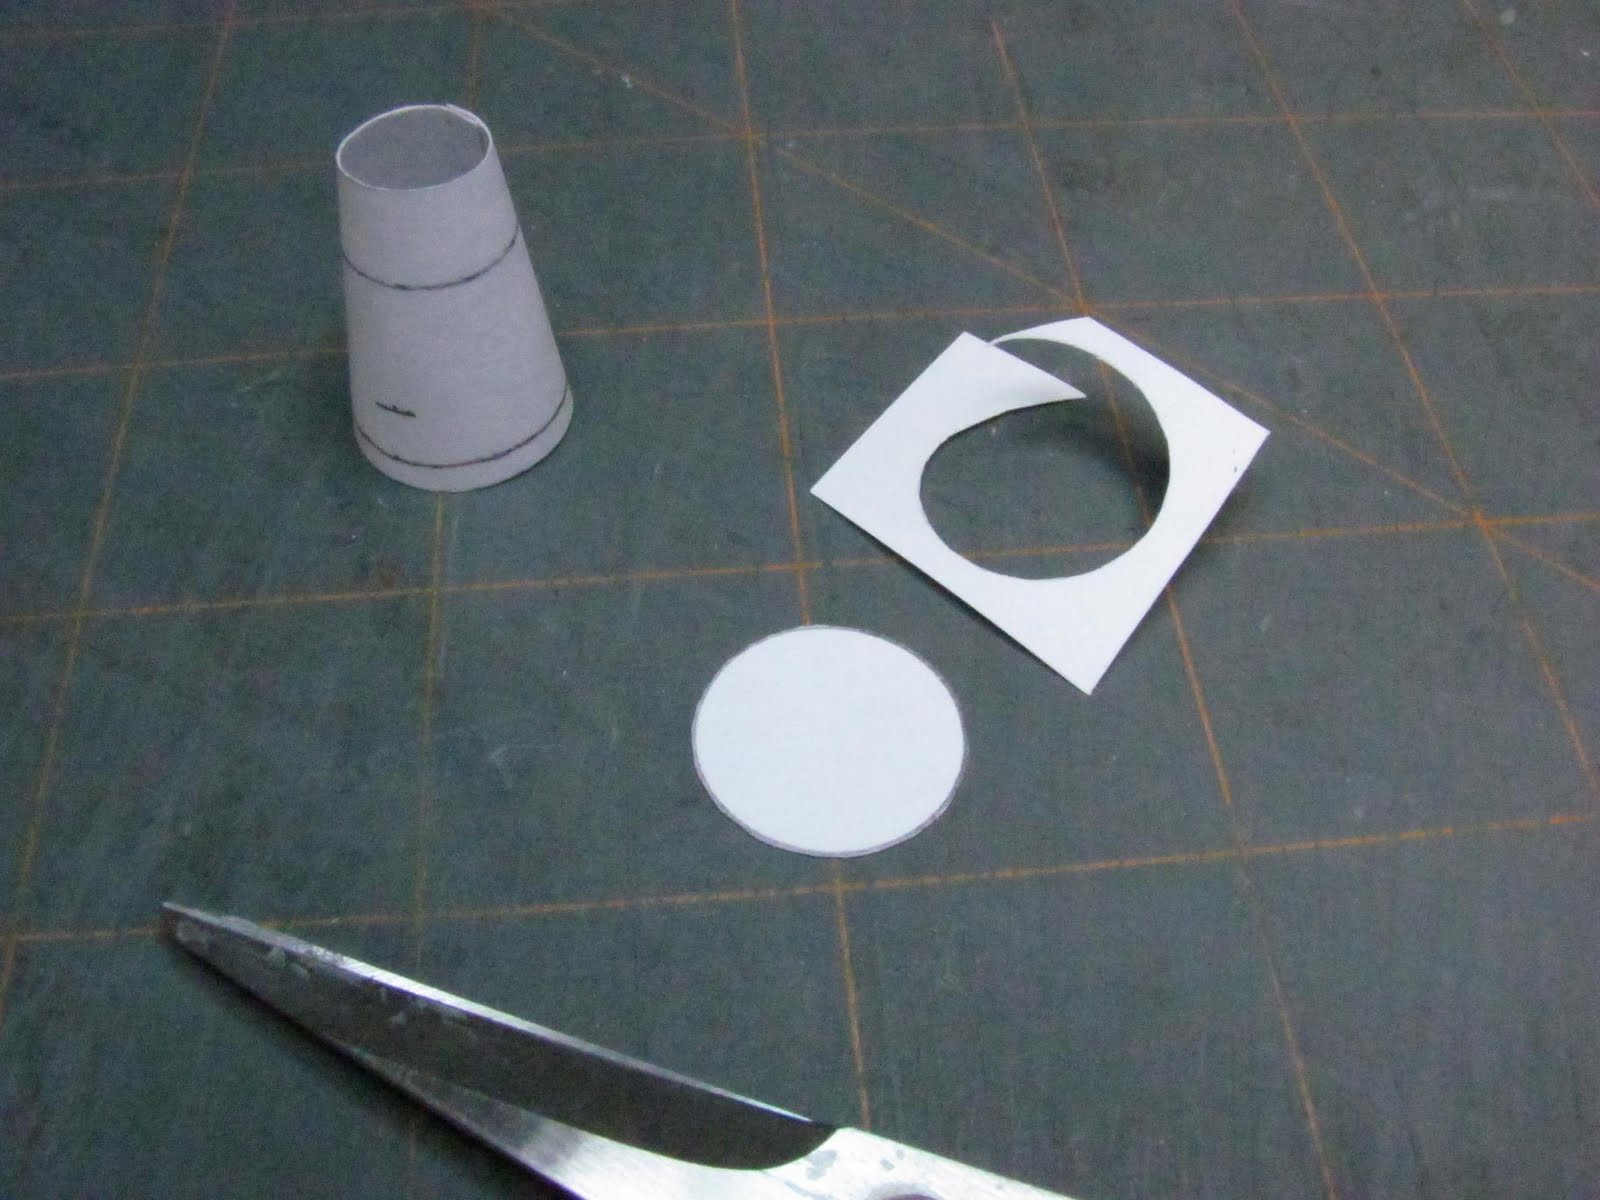
Now draw a 11/16" circle.
Or you can use the patterns on the diagram in the first part of the tutorial.


Cut the large circle out. If the watering can body is dry remove the clips.
Apply Elmer's to the bottom of the body and set it onto the circle. Let this dry. You may have to trim, but don't do that until the bottom is dry.
Cut out the circle with the offset hole in it.
Lay the circle onto the craft foam or something like it. Use a stylus to shape the large portion of the circle.
Rub the stylus to create a rounded shape. Press hard, this is the top and we want it to have a rounded shape.
The seam on the body is the "center back".
Glue the top onto the body by gluing the large rounded part first, opposite the center back. There will be a little extra to trim at the center back. I tried many sizes of circles, trying to avoid the trimming. I just couldn't get it done.
End of Part 3