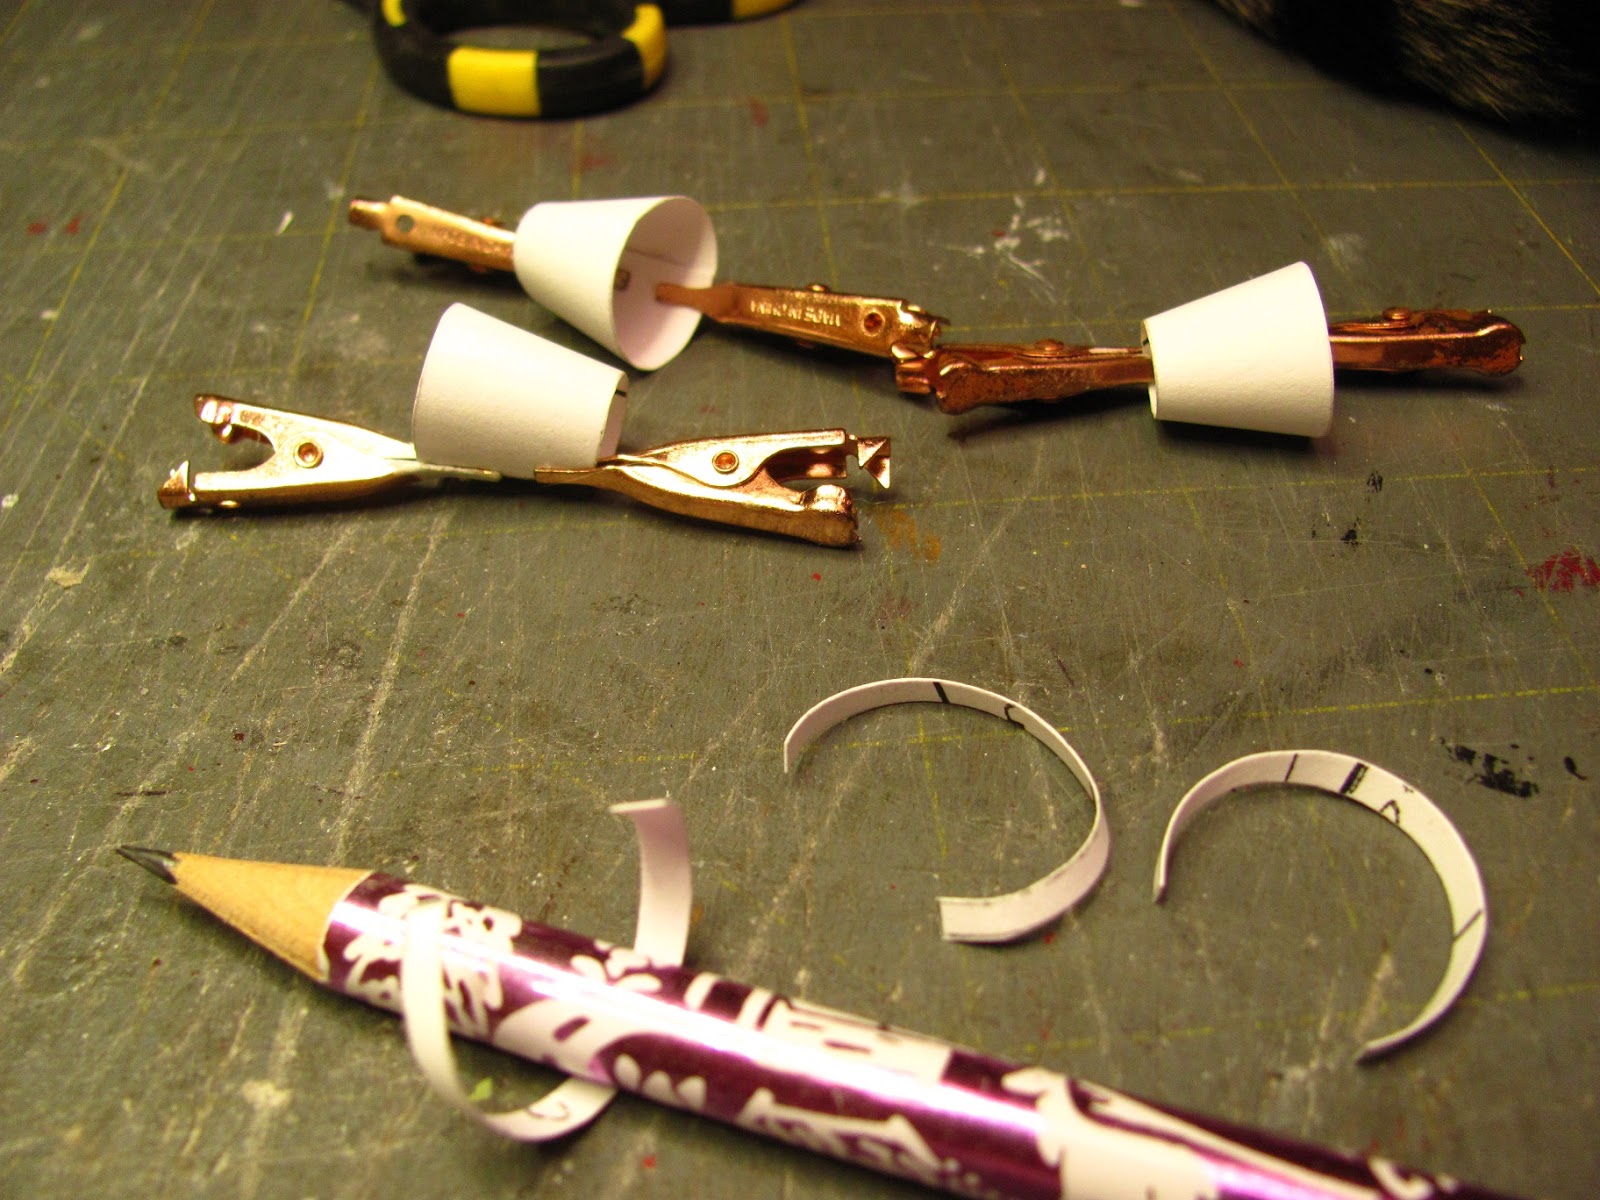
This blog is a little different this month.
This could be a large pouf for a room for you.

Or maybe a gift for a non-miniaturist. I'm using mine for a pin cushion box to set by my sewing machine.

Whatever you use it for I think it will be fun to make.
Maybe you can experiment with other sizes of . . . . cans?

Yes, this is a simple little tuna can.
Mine measures about 1 5/16" tall, 3 5/16" in diameter and 10 7/16" in circumference.

Measure the height of the inside of the can and the circumference. Cut a piece of card stock that size.

Apply glue stick to one side of the card stock and press onto your fabric.
Cut the extra fabric to match the picture.

Use tacky glue to glue the end onto the card stock.

Apply tacky glue to the inside of the can.

Starting with the unglued end put the covered card stock into the can.

Press the card stock into place.

Apply a little tacky glue to the outside of the can and flip the extra fabric down onto it. Press to seal.

I measured the diameter of the inside of the can and used my compass to draw a circle to fit inside the bottom of the can.

Apply glue stick to one side of the card stock and press onto your fabric.
Trim as in the picture.
Apply tacky glue to the card stock and press the extra fabric into the glue.

Apply a little tacky glue to the inside bottom of the can and press the fabric covered card stock into the glue.

Measure the outside bottom of the can and draw another circle with your compass onto card stock.

Apply glue stick to the card stock and press your fabric onto the glue. Trim as in the picture.

Apply a little tacky glue to the bottom of the can.

Press the card stock into the glue.
Apply a little tacky glue to the outside of the can and press the extra fabric into the glue.

Measure the height of the can and cut a card stock strip.
I wrapped the strip around the can and marked where the strip ended.
Cut on that mark.

Apply glue stick to the card stock and press onto your fabric.
Trim the extra fabric as in the picture.

Use tacky glue to glue the extra fabric as in the picture.
Leave one end unglued.

Apply a little tacky glue to the outside of the can.
Start with the unglued end and glue the covered card stock to the outside of the can.

I found some wide rubber bands and stretched them onto the can.
I get these rubber bands from bundles of broccoli.
Don't leave the rubber bands too long. Just long enough for the glue to tack.
***If I make this again I would cover the outside of the can first, then cover the inside of the can. Just reverse the instructions.***

I am beginning the ruffle.
The circumference of my can is 10 7/16", this rounds up to 10 1/2". As a rule of thumb half the length is added to make a ruffle. You can add more if you like.
So, half of 10 1/2" is 5 1/4". Add these two together and we get 15 3/4". I'll round that up to 16" for the length of the ruffle.
Fold the fabric in half with enough to make your length. Use your ruler to draw a line along the edge. Draw another line 1 9/16" away from the first line. I've put pins into the fabric.

Cut the strip out. Measure and fold up a 1/4" for the hem.
Glue up the hem. You may press the the glue dry with your iron.
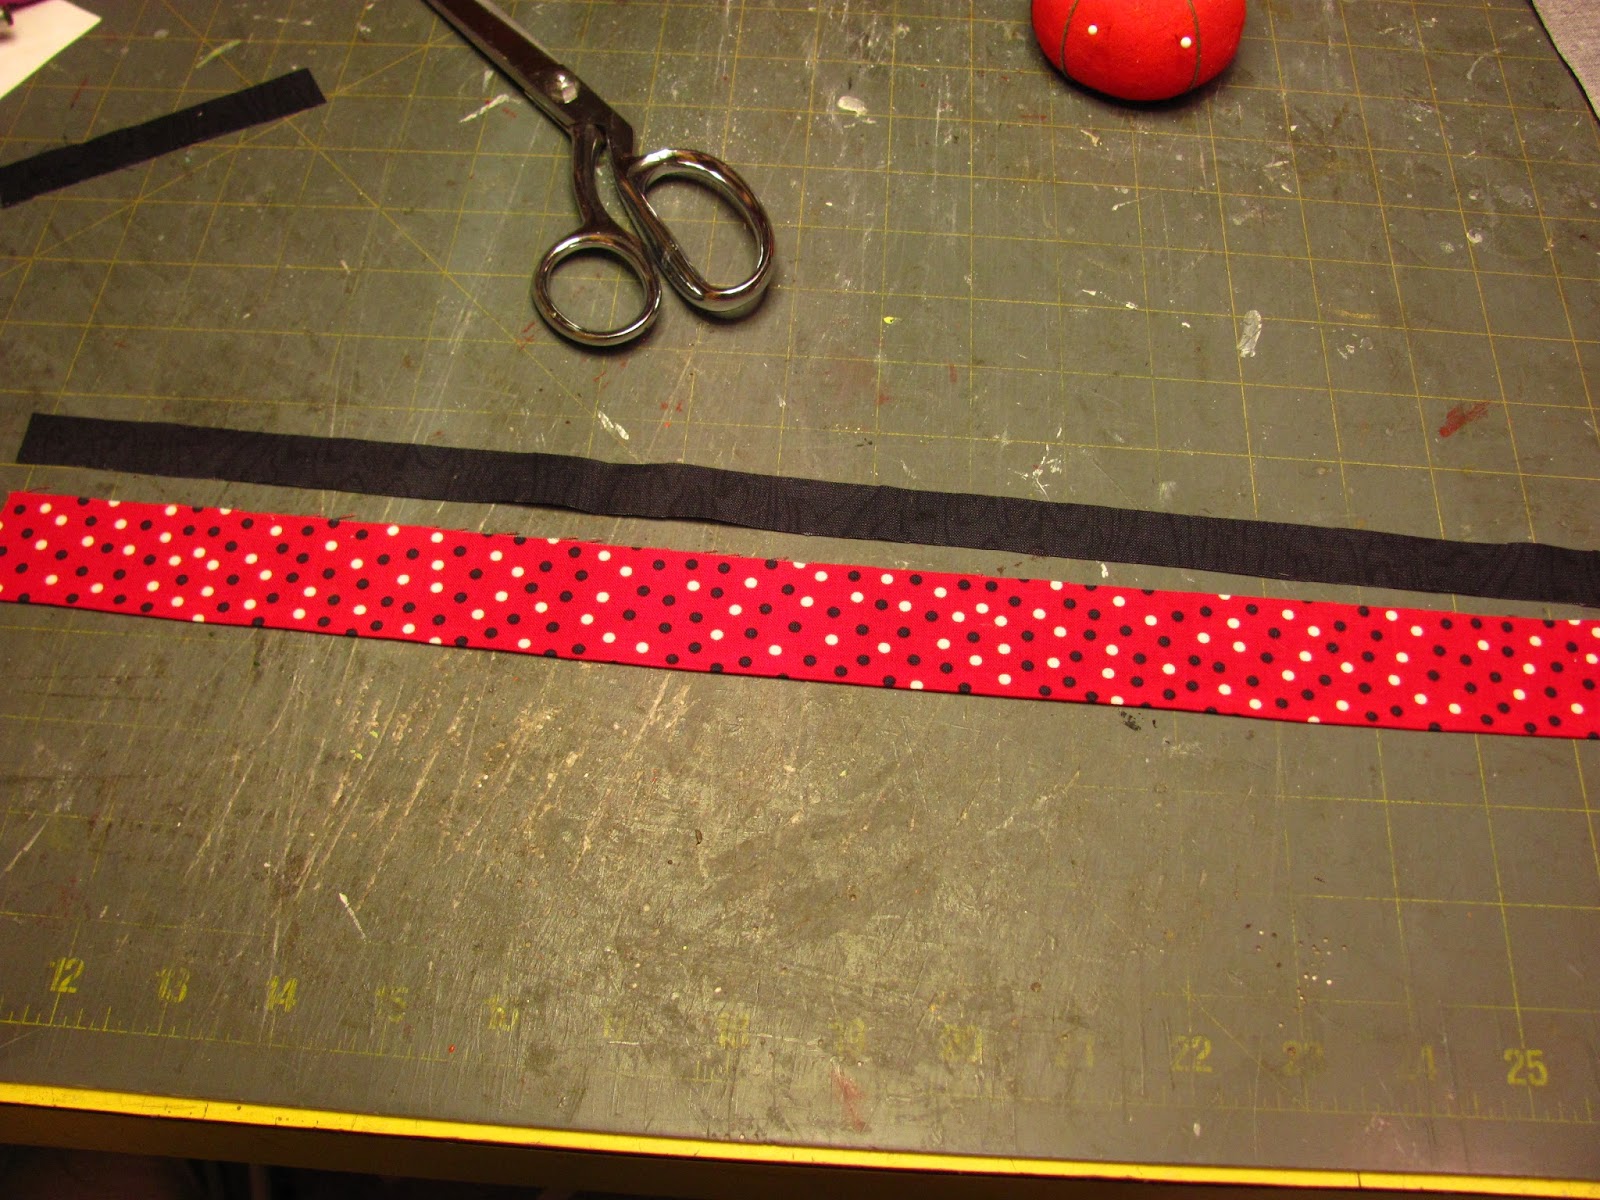
Cut a contrast strip of fabric 5/8" wide the same length as the first strip.

Sew a 1/8" seam with right sides together.

Press with an iron the seam towards the hem.

Use tacky glue to glue both ends to the wrong side.

Press with an iron the contrast fabric over so that the raw edges of the seams match.
Yes, I forgot to glue up the ends and had to rip back a bit to shoot the picture that's above.

Go back to the machine and "stitch in the ditch". Stitch in the seam to hide your stitches.

There you are.

I am using 26 gauge covered wire to gather the ruffle.
I have 26 gauge covered wire because that's what I use to make the wicker furniture. I use what I have on hand.

Thread the ruffle onto the wire.

I've bent the wire back onto the ruffle to hold the ruffle onto the wire to gather the rest of the ruffle.
That was way too many ruffles.

Arrange the ruffle the way you want it.
Bend the wire around the can or the lined box as I like to call it.
Have your ruffle touch end to end.

Apply tacky glue to the top edge and press the ruffle into the glue.
I am using clamps to hold the ruffle on until the glue is dry.
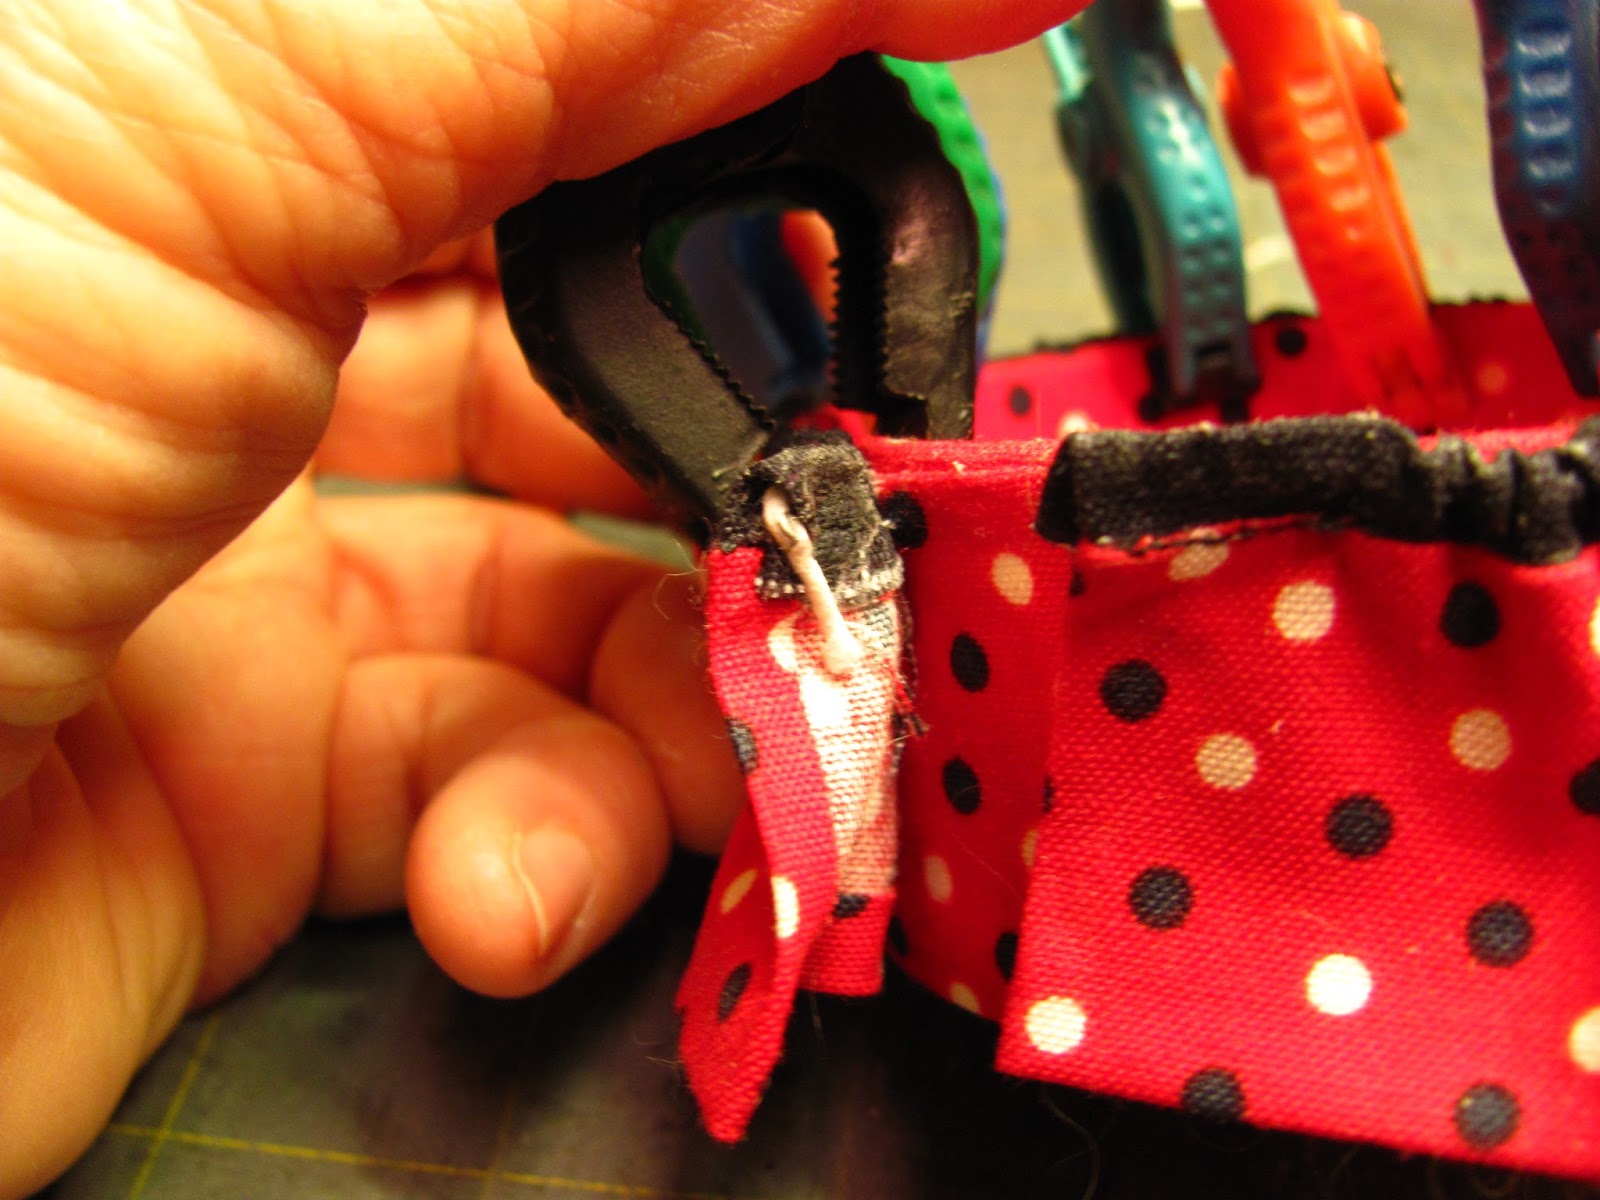
Cut the extra wire off and bend to the inside of the ruffle and glue both ends to the box.

I have clamps holding the ends.

Measure the opening of the box. Use your compass to draw a circle to fit over the top. Draw onto foam core.

Cut the circle out.

Cut four circles from ThermolamPlus sew in batting, not the iron on kind. I buy this from Walmart.
The largest circle should be the same size as the form core circle.

Apply tacky glue to the foam core and glue the batting on starting with the smallest circle. Don't apply glue to the batting, just the foam core.
Cut another circle out, this one is large enough to fit over and onto the edge of the foam core.

Apply tacky glue to the edge of the foam core and trim off the extra batting.

Cut out enough fabric to cover the top and around to the back.

Thread a needle, double the thread and sew a running stitch around the fabric circle.

Put the foam core top into the circle and sew around another time. Pull the thread as tight as you can without breaking the thread. Secure with a knot.

Arrange the gathers so that the edge of the top has no gathering showing.
Apply tacky glue under the gathering near the edge of the top.

Trim off the gathering making sure the edge is glued down smoothly.

To keep the top from slipping off cut out another circle of foam core to fit inside the box. Cut out a piece of card stock the same size.

Measure around the outside of the new foam core circle you just cut. Cut a 5/8" strip of fabric the length plus 1/2".

Cut the strip out.
Apply tacky glue to the edge of the foam core and glue the strip on. Turn under one edge at the end.
Clip out notches on the top and bottom.

Apply tacky glue to the bottom and top of the circle and glue the notches down.

Apply glue stick the card stock circle and press onto your fabric.
Cut out notches around the circle.
Apply tacky glue to the card stock and glue up the notches.

Use tacky glue to glue the card stock circle to the foam core.

Apply tacky glue to the covered foam core circle. Center this circle over the top and press to seal.
You may have to hold this for a bit for the glue to tack.

The two pieces are together.

This makes a nice pin cushion box for a gift.
The pouf measures about 4" in diameter that's 4 feet in life size measurements. It would be a large pouf in a room.
I hope you try this out, it was fun and pretty quick to make, too.
Hope you received chocolates for Valentines Day!!
As always,
Have fun, Expand on it, Make it better . . .
Just keep making Minis!
TTUL Kris