Hello everybody, this is the piece I am making for this month's tutorial. This is the last piece of furniture for Hobby Builders Supply #CreatinContest 2015. I know mid-century furniture is a small niche in the miniatures hobby and I am thankful for you putting up with one of my favorite styles. I guess it has to do with nostalgia and I just love the style.
This piece of furniture is a room divider. Room dividers were popular in the 1950's and 1960's. I think maybe because the houses had changed to a more open plan we still wanted some division of purpose for the rooms. Just an uneducated guess. I saw this bookshelf in the movie "Overboard" with Goldie Hawn and Kurt Russell and I thought it would be perfect for my future walk-out basement family room I plan to do in the Hobby Builders' Denise's City Cottage kit.
To start cut a strip of mat board 1 5/8" wide and at least 15" long. From that we will cut two pieces 4 3/4" long (top and bottom) and two pieces 1 3/4" long (sides).

For the front and back of the bottom cabinet cut 2 pieces of mat board 4 3/4" x 1 7/8".
Draw lines inside at 1/4" away from the edges on the short sides.
Draw lines inside at 3/16" away from the edges on the long sides.

Cut out the centers leaving two frames.

Use yellow carpenter's glue to glue everything together.
Glue a side to the top (4 3/4" x 1 5/8').

Glue the other side to the top piece.
The sides cover the edge of the top piece.

This is the door assembly.
Cut two pieces of mat board 4 5/8" x 1 11/16".
Draw a line from top to bottom 2 5/8" from the left side.
On the right side draw lines 1/8" from the top and bottom edges.
On the right side draw a line 3/16" from the left edge.

I've cut out on the lines I drew and I cut off the bottom.

Trial fit, only. Don't glue the door assembly in, yet.

Cut two doors 2 5/8" x 1 11/16".

Trial fit. Set the door assembly aside for now.

Two sides ( 1 5/8" x 1 3/4").

Glue the sides in between the front and back and under the top.

These are the pieces needed for the bookshelf top.
Two pieces for the top, 4 3/4" x 1 5/8".
Two pieces 2 7/8" x 1 3/8", shelf sides.
Four pieces 1 3/8" x 1 3/16", dado pieces.
One piece 1 3/8" x 3 1/8",shelf.

I am making a dado for the shelf to fit into.
Glue two dado pieces onto a side, matching the edges and leaving a gap in the middle. This is the dado for the shelf to fit into. I clamped all this together to dry.
Do this for the other side.

I glued the two pieces of the top together, also.
Here are my sides and top drying with clamps.

After the sides have dried I glued the shelf into the dadoes.
The piece in the movie had two shelves. When I have copied the number of shelves I have had trouble finding miniatures to fit between the shelves. With this piece I made one shelf so I could be sure I could fit my decorative items on the shelf.

This is the top, (two pieces of mat board glued together).
I drew some lines on the surface to help guide me in gluing the shelf unit on.
Measure from one short side and the long sides 1/8".
Glue the shelf unit to the top.

I am measuring the inside of the shelf unit, should be measuring 3".
Take a look or use your square to square up the shelf unit.

Glue the shelf unit (shelf and top) onto the bottom.
The left edge is 1/8" from the bottom and the unit is centered between the sides.

These are the parts for the top box unit that sets on top of the shelf section.
There are two pieces 3 1/4" x 1 3/8", this is the top and four pieces 1 3/8" x 7/8", these are the sides.
Glue them together so that you have double layers for the top and both sides.

Glue the top box unit onto the shelf section, lining up the sides.

Cut some card stock 1/8" wide and a couple of pieces 1/16" wide.

Glue the strips onto the raw edges of the shelves.

I also glued 1/16" strips around the outside raw edge of the bottom cabinet's front edge.
This is optional to do.

Measure between the top of the bottom cabinet and the shelf that hangs out.
I am measuring with one hand so my measurement is not accurate in the picture.

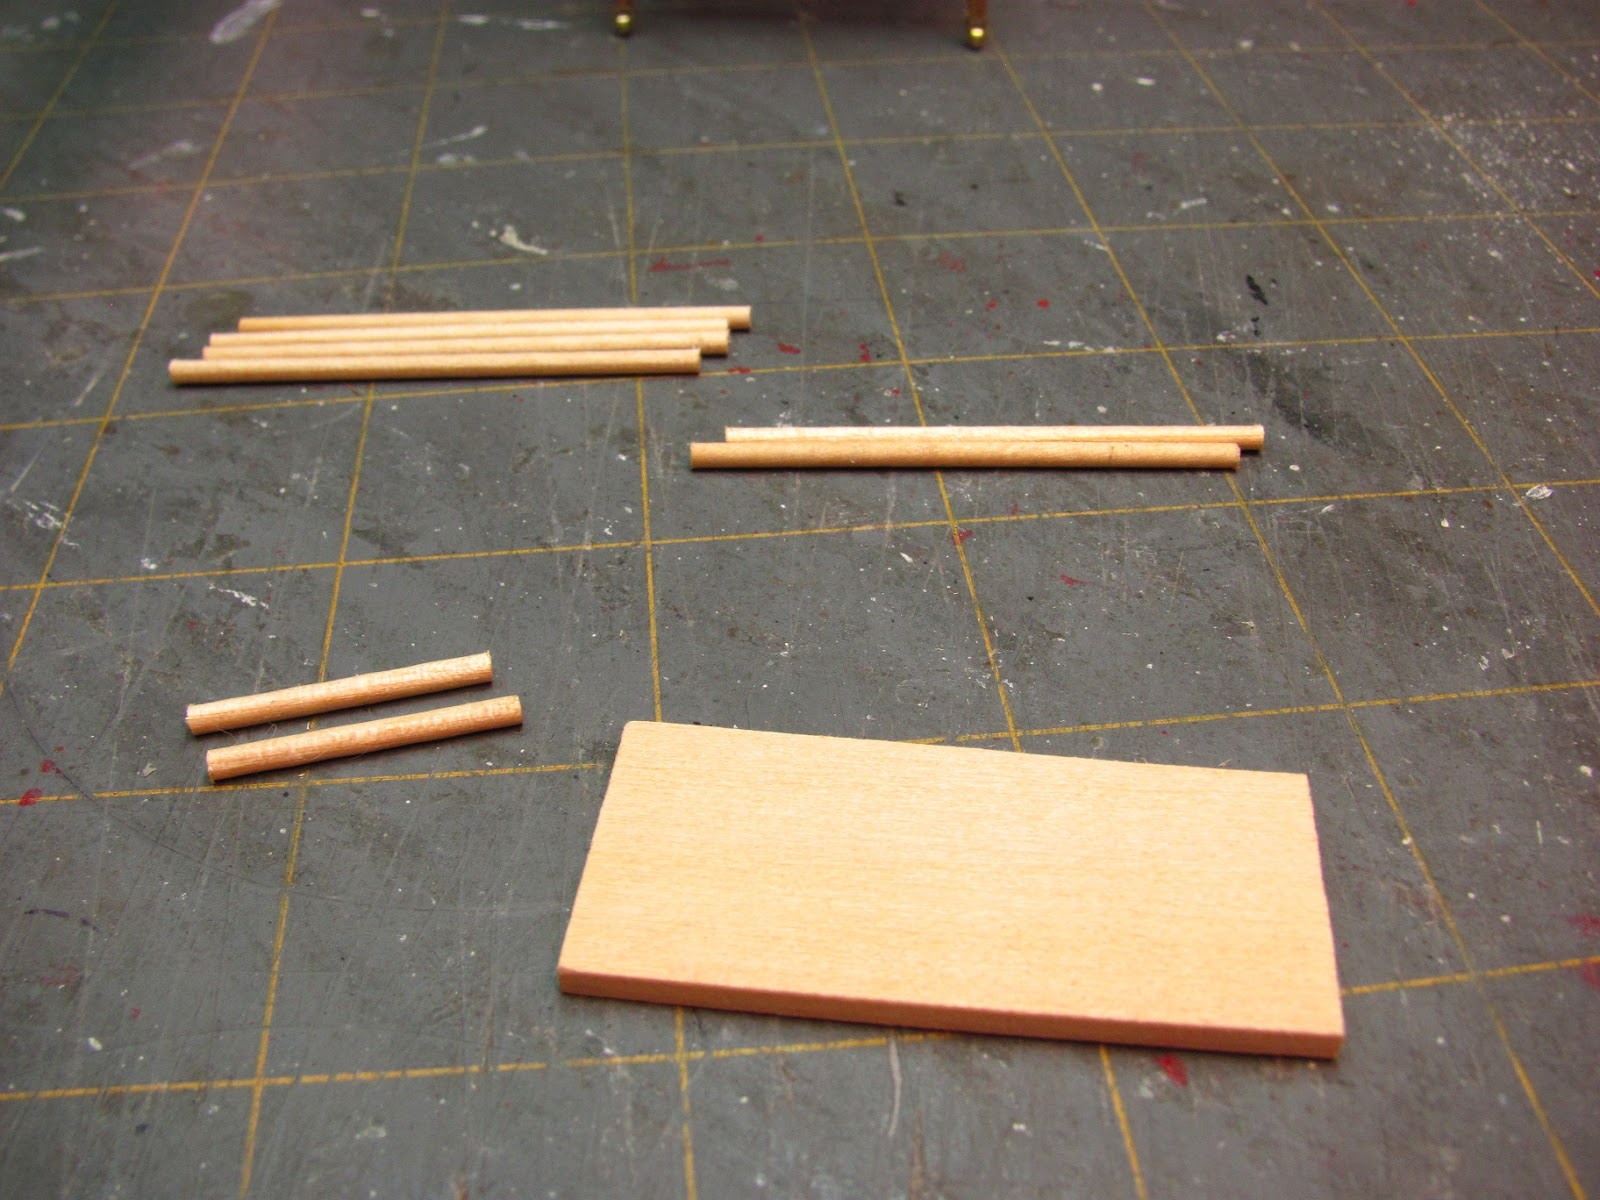
Cut three pieces of 1/8" dowel to fit this space.

Glue the dowels in.

For the legs I am useing a method I have shown before.
Measure a 1/4" dowel and mark at 5/8".

Sharpen the dowel to the line.
I let my line just disappear into the pencil sharpener.

I cut the leg off using a miter box and saw, (from Hobby Builders Supply #55666).
I then measured 5/8" again and sharpened the dowel and cut again.
Make four legs.
Drill holes in the center of the tops of the legs and glue toothpicks into the holes.

Before you paint everything drill holes into the doors of the cabinet. I measured 3/8" from each side of a corner for the hole. I used an 1/8" drill bit.
I have given everything a coat of acrylic paint.
I sanded lightly and painted on a second coat.

The original piece of furniture had the bottom cabinet with a blond finish. I couldn't do that with the mat board. Just a reminder you can use wood for this piece of furniture; all the directions would be the same.
I am painting everything with acrylic paint.
I like using Delta's Magnolia White. It's not white/white and definitely not ivory. Just a warm white.
My legs are the self leveling type that have the small gold colored feet on them.
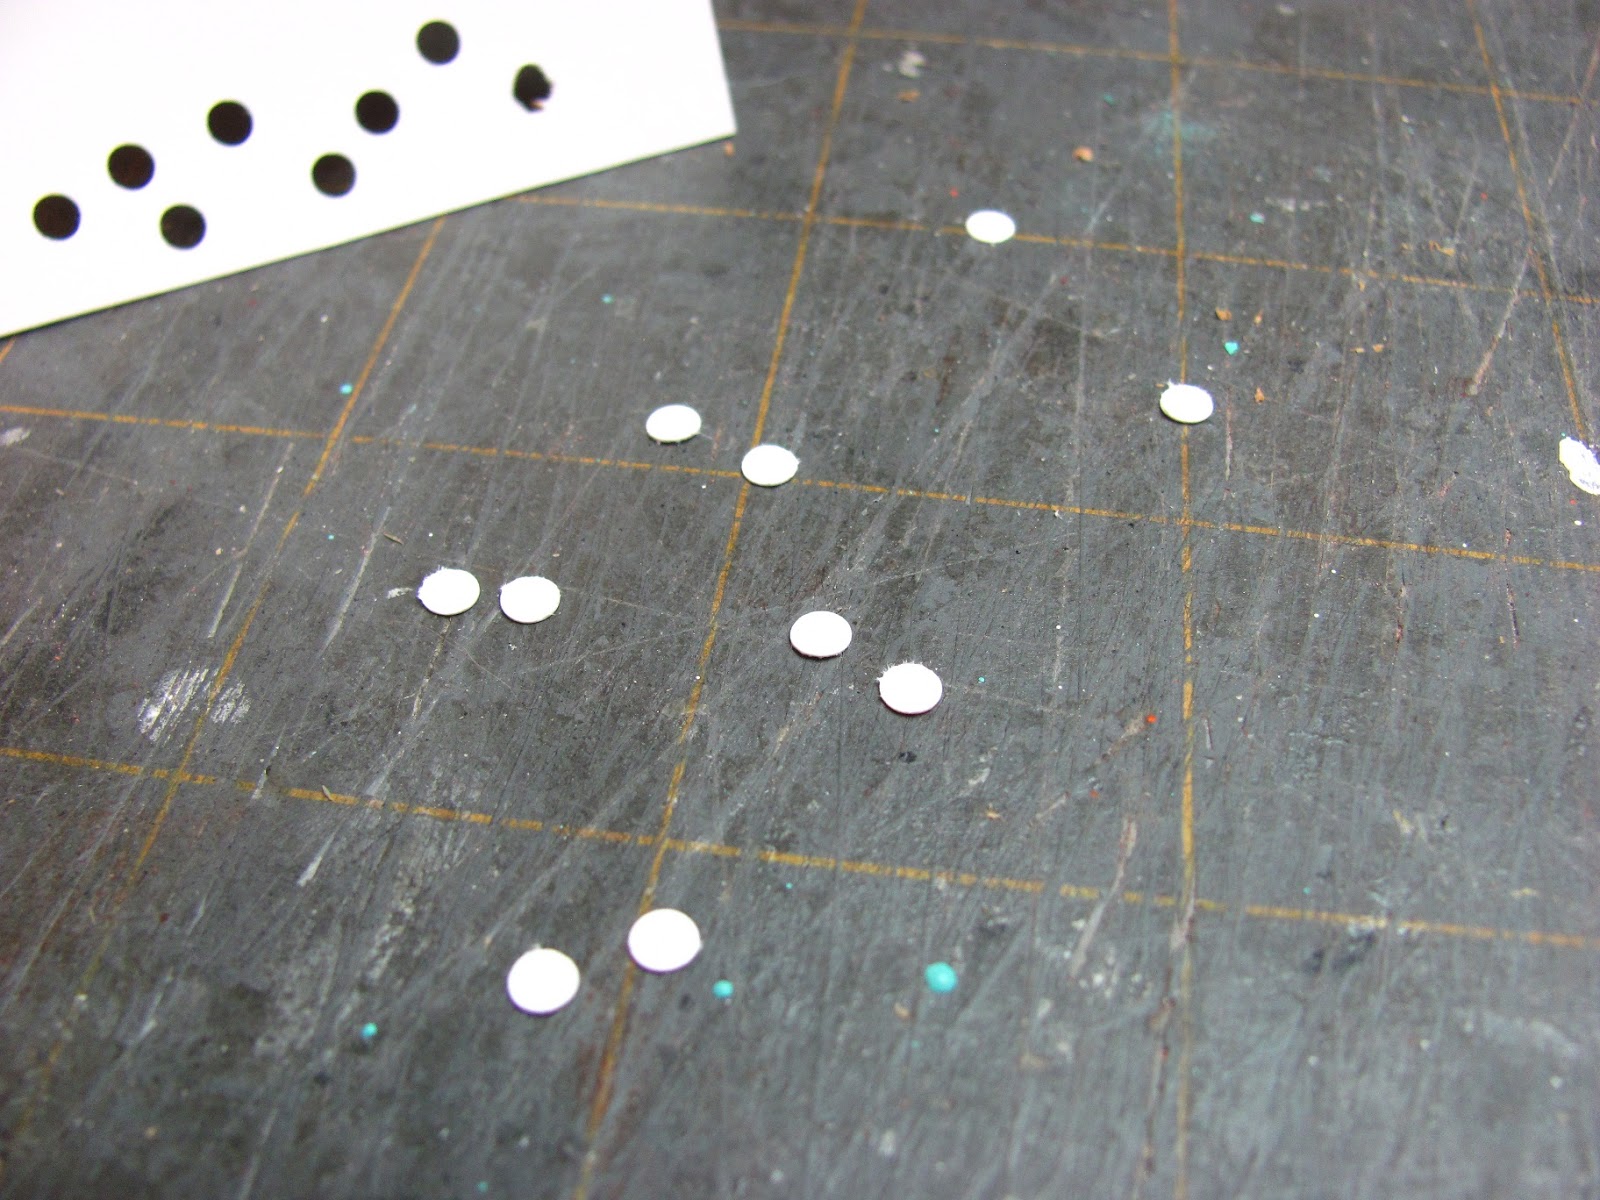
Punch out 1/8" circles from card stock.

I glued two layers of the circles together.

Do you see the toothpicks in the legs?
The circles are glued to the legs.

The circles are painted gold.

This style of sliding door had metal fixtures for the holes. They look like little metal pie pans for us to use in miniatures.
Glue squares of card stock over the holes.

Like this.

Done.

With a tiny brush and a steady hand paint the inside gold with a tiny rim on the outside.

Glue the loose door to the door assembly.

Glue the door assembly into the cabinet.

I measured 3/16" from each side at each corner and marked with a "T" pin.

I drilled four holes for the legs and glued them into the bottom of the cabinet.

My basement is going to be so groovy!
Last minute thought, I think I will cut out some mat board and build a little planter box around the dowels. I could see some philodendron growing up the dowels, couldn't you?
Thank you for taking this journey back in time with me. Next year I will be making my usual eclectic array of miniatures, what ever catches my eye in the catalogs.
Thank you to all of you that have sent in pictures of your finished tutorials. It's amazing to see what you have done with them.
E-mails for the pictures or questions can be sent to camceiling@frontiernet.net.
I want to apologize if you aren't getting notified of blog postings. This has something to do with Google/Blogger. I usually have a tutorial up by the 20th of the month so you might want to try to remember that.
Have fun, Expand on it, Make it better . . . .
Just Keep Making Minis!!
And finally,
Merry Christmas and a Happy New Year
to all of you!!