
Learn how to make miniature dollhouse furniture, mini paper accessories and get techniques, tips and monthly tutorials.
Saturday, April 28, 2018
1 INCH SCALE DOLLHOUSE SMALL SINK - How to make a small sink for your dollhouse.

Ah, better late than never??
I've been busy with kit making that I will tell you about at the end of this tutorial.
This is the sink that I made for the April tutorial. I saw this sink and copied it to a file a few years ago not noting where it came from. I could not tell from the picture if it was full-size or not. I have made some changes so it's not an exact copy.

Let's get started on the sink first.
Copy the patterns that Nancy has so kindly made for us.
I traced the pattern onto this scrap of stacked foam core to use as a form.

Here are Nancy's patterns for the sink. How to re-size the patterns are in the "Things to do, Things to see" list under HOW TO RE-SIZE THE PATTERNS. When you get the 1 inch square to actually measure 1 inch you have the right size.

I am using mat board for the sink this time. It takes so long to build up the curved corners when the sink is made from wood. I hope this will be quicker.
Cut a strip of mat board 5/8 inch wide and at least 6 1/8 inches long.

Place the mat board along side of the form and make marks before and after the corners on the form.

Move the mat board strip around the form continuing to make the marks.

I drew the lines completely and cut into the mat board, NOT THROUGH, with my craft knife.

Fold the mat board strip around the form and mark where the ends meet.

Cut the mat board strip to fit and cut a strip of card stock the same width.
Using yellow wood glue, glue the card stock strip to the mat board strip.

Apply glue to the side of the mat board strip and glue the card stock strip to it as you bend the mat board around the form.
Do not glue the mat board to the form.

Trace around the sink onto mat board for the bottom.

Cut the bottom out and glue it to the bottom of the sink.

Apply yellow glue to the seam at the bottom. Let this dry.

Depending on how curved you want this seam you can add more glue along the way.

Trace around the Nancy's pattern onto mat board for the top of the sink.
Measure 1/8 inch away from the line for the front and sides. Measure 3/8 inch away from the line at the back of the sink.

Cut out the top of the sink.

Glue the top onto the sink.
After the glue has dried completely you may begin sanding the edges with 220 grit sand paper to round and blend them in.

Again, this is my scroll saw. I am using basswood for the sink cabinet. Mother's Day is coming, Father's Day is coming if you haven't gotten a scroll saw yet for making miniatures you need one if you want to do anything of any size. You can only make so much from card stock.
The chance of cutting yourself with this saw is very, very small.

This is how I begin any piece of cabinetry. I make a measured drawing, this isn't art work. I use a ruler and pencil and draw to scale the cabinet I want to make.
1 inch equals 12 inches or 1 foot
1/2 inch equals 6 inches
1/4 inch equals 3 inches
1/8 inch equals 1 1/2 inches
1/16 inch equals 3/4 inch
These measurements are combined to make whatever length you need.

I used 1/8 thick stock for the back.
The back is 3 15/16" wide at the bottom.
It is 3 7/16" tall.
The top back splash is 4 1/8" wide.
The back splash is 1/2" tall.
The grain of the wood is horizontal on this piece.

It fits.
The lines you see on each side are my 3/32" thick sides.

I am going to have this edge grain showing because I cut the right side off below the back splash, my design flaw. This side could be left straight, not cutting out the long notch.
So I am going to fill this in with a piece of bass wood.

I've glued in the strip of wood.
Sorry, about that.

You can cut your back out so that it looks like this, with only the left side notch.
Measure and mark from the left side 3".


The left side and the right side are cut from 3/32" thick basswood.
The grain of the wood on the sides is vertical.

I am adding a strip of wood to the back edge of the right side for more glue surface.
Glue and we are using yellow wood glue through out this tutorial, the right side to the back.
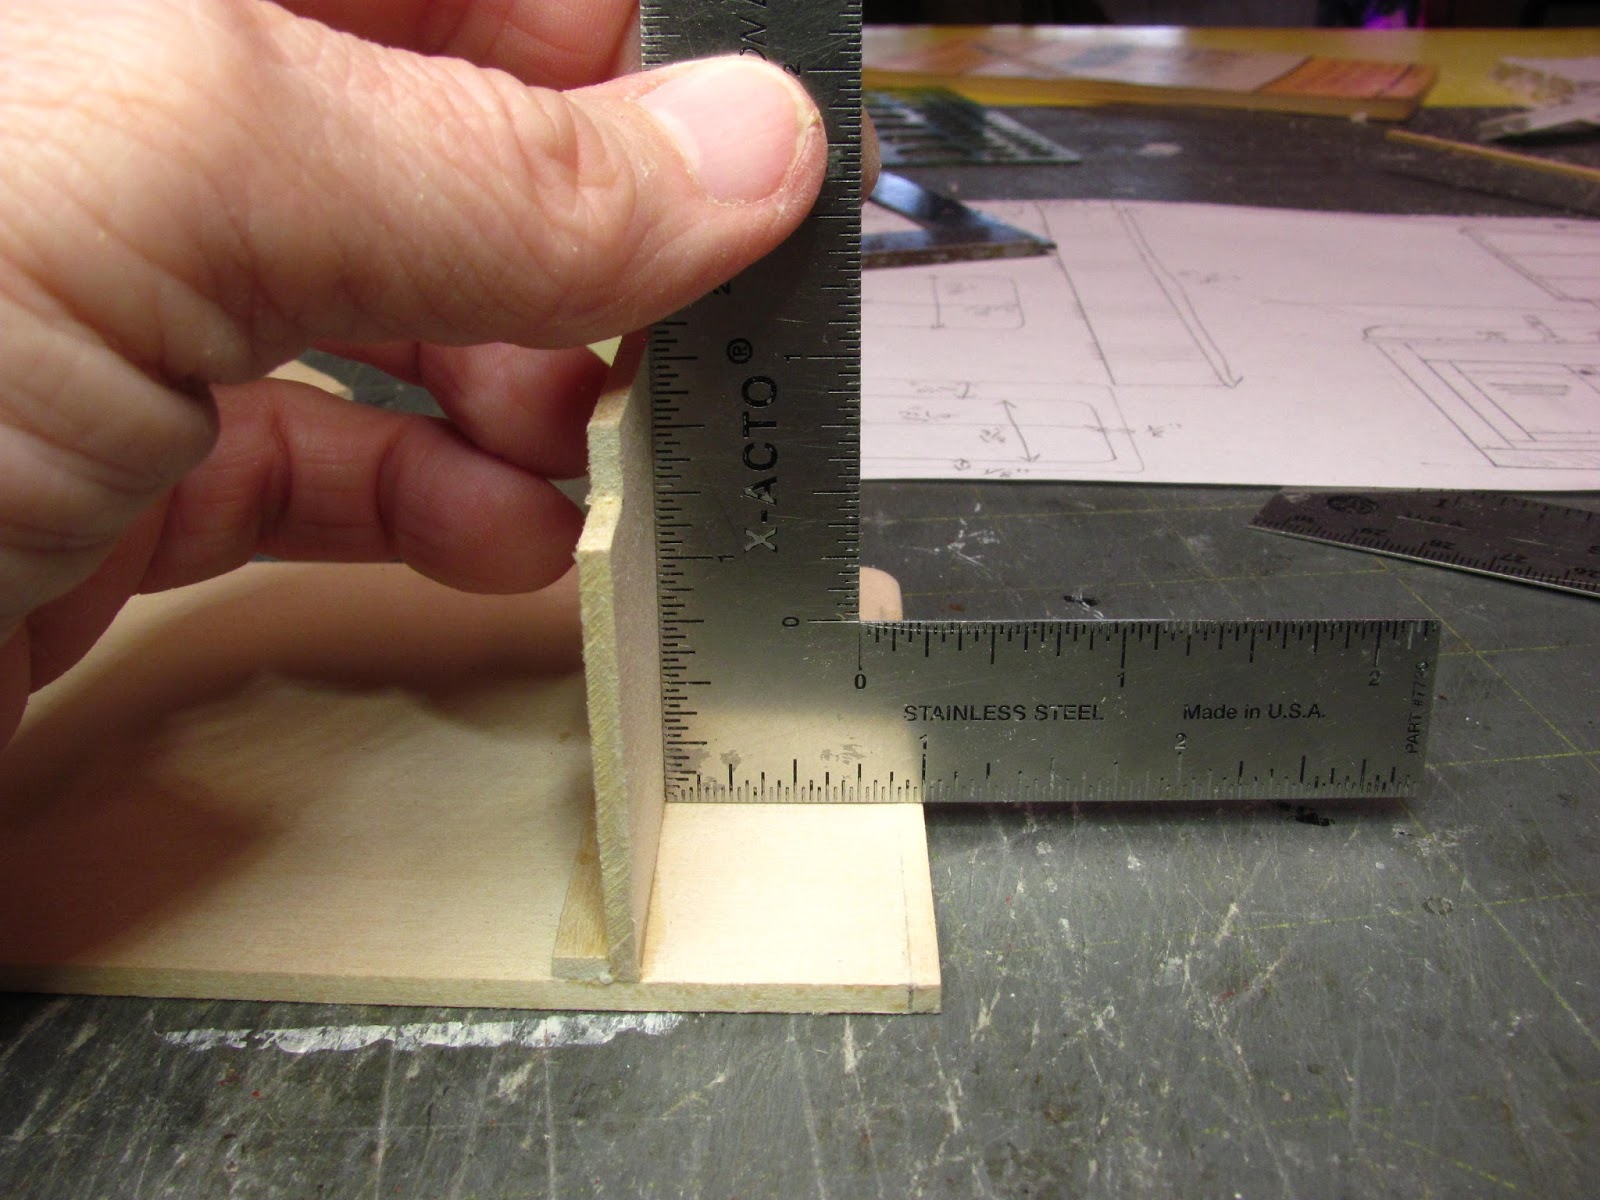
The drawn line should be on the right side of the side. Use your square to square up the side. Hold this for a bit for the glue to tack.

Glue the left side to the back in the notch. Glue a strip of wood to stabilize this side, too.
Use your square to square the left side.
Let this assembly dry for a bit.

Left side and right side on the cabinet back.

This is the bottom on the right side.
Measure onto a piece of 1/8" basswood 1 9/16" x 3/4" wide.
I used a circle template to round my corner.

Cut this out and glue it into the right side bottom corner.

I am now building the cabinet face.
Cut two pieces of 3/32" thick basswood 1/4" wide and 2 1/2" long.

Glue these strips onto the front edges of the sides.

The top and bottom of the face are also cut from 3/32" thick basswood.
Cut the top 1/2" wide and 2 9/16" long.
Cut the bottom 3/16" wide and 2 9/16" long.
Check these measurements to see if your cabinet remains square with these pieces dry fitted into place.
Glue them in.

This is where I usually start measuring the cabinet for my measurements. My cabinet maker husband would have a fit. "You cut everything according to your measured drawing and everything will fit." He says. This is miniature and my tolerances are teeny tiny and if I am off by a 1/16" that translates to the eye being off 3/4" of an inch in scale.
So, measure the inside bottom of your cabinet and cut a bottom from 3/32" thick basswood.

Cut out the bottom of the cabinet and glue it into the cabinet.

Cut another strip of mat board.
This will be the kick plate and should be 3/8" wide and long enough to fit around the front and right side of the cabinet.

Place the mat board along the front of the cabinet and mark on it with lines where the cabinet curves.

Cut the mat board to fit.

The mat board has been glued onto the bottom front of the cabinet.
I have glued card stock on top of the mat board.

Trace the pattern for the shelves.
These are cut from 1/16" thick basswood.
Glue on the first shelf.

I am terrible for gluing on shelves so that they are level. There is a method for doing this correctly and it involves a table saw and a dado blade, much too much to ask you to do.
This is my little helper. I cut scrap wood the width between my shelves.
My scrap is 13/16" wide.

Glue in the second shelf.
Make sure you are not gluing in the guide.

I like to have more glue surface for stabilization so I have cut pieces of basswood to glue between the shelves.

My shelves are glued in.
I did add another piece of wood for the counter top to be glued to. You can see it in the pictures of the finished cabinet.

Doors are such a pain to put in but we love them to work on our miniatures, don't we?
I am tired of pins for hinges and I won't put on the mini hinges. They are exacting and I have to buy them.
So, I thought of using fabric for a hinge. Probably not new but it's the first time I am using it.

Looks like it can work so let's go on.

Glue a scrap of fabric to the side of the cabinet opening. I used yellow wood glue.

Glue a scrap to each side.
Measure the opening from top to bottom.
When measuring this measure a little short for the doors to be able to swing open. My opening was a 1/32" over 3/4". I will cut my doors 3/4" tall.

I am using 1/6" thick basswood for the backs of the doors and for the horizontal and vertical pieces of the doors. The vertical strips are 3/16" wide.
Cut the backs and the vertical pieces of your doors.
Don't glue anything, yet.

Glue on the left vertical piece to the back of your door.
Use your squares to keep everything even.

Nice and even.

Measure and mark the center of the opening.
Place one door into the opening. and mark the center.

Glue the other vertical onto the right side of the back.
Place that door inside the opening and mark the center.
Cut the doors to the width, leaving room for the doors to open and close.
I am dry fitting my doors, no glue, yet.

Glue the other vertical piece of basswood onto the other side of the doors.
Measure between the verticals for the width of the horizontal pieces.

Cut and glue in the horizontal pieces.
The top is 1/4" wide and the bottom is 3/16" wide.

I am using white enamel spray. I like the finish but it takes a long time to dry. You can use an acrylic craft paint, too. I will sand this to get a smooth finish.

I've cut my counter top from 1/8" thick basswood.
It is 4 3/8" long and 2 1/16" wide.
I have a notch cut out in the center for the back splash to fit into. The back splash is 4 1/8" long, center that length and cut out the notch.
I used the circle template to draw the curve.

This is the counter top on the cabinet, not glued just a dry fit.

Measure where your sink will go and draw around the bottom of the sink.

Cut out the hole for the sink.

It fits!

Trim the extra fabric from the cabinet opening leaving enough to glue onto the doors.

I am using some little nails for the knobs.
I found some half round wood trim and glued it on for decorating the doors. You could use punched card stock for designs for your doors.

Drill the holes for the knobs.

I want the knobs to have rounded tops.
I am mixing a little glue and paint together. I will apply drops of this mixture to create the rounded tops.
This will have to be done a few times.

Crease the fabric in the opening.
Apply glue to the edge of the door and press onto the fabric.

The doors are glued in.
A note here, I don't know what I am going to do with this piece so I am not finishing with paint right now. I figure I can paint the doors even after they have been glued in, more difficult but it can be done.

Working doors without having to drill and re-drill holes for those blasted pins.

I've glued a stop on the inside for the doors.

A picture showing the inside of the cabinet.

I am using a Q-Tip for the faucet. It's paper, so it glues.
Take off the cotton tips by pulling or gently scraping. Do not cut the paper. I soak the stick in water, I cut the paper the first time and the stick swelled up in seconds, don't want that to happen. That's the picture I am showing you.
Soak the stick for at least 5 minutes to get it pliable enough to bend without breaking.

I've told you about how I collect forms, this is a travel toothbrush holder. This shape is a good rounded rectangle. There are two pieces to this holder, I used the smaller of the two for my sink faucet.

I used lots of rubber bands to secure the stick to the holder. I let this dry over night.

The next day I used quilling paper to wrap the bottom of the faucet.
If you don't have quilling paper cut paper somewhere around 2/32" inch wide and use that to wrap the bottom of the faucet.
I wrapped until the circle was a 1/4" in diameter.

I found a dowel that fit into the bottom and gently pulled the paper down to create a cone.

Remove the faucet and fill the cone with glue.
Set this up so the glue doesn't run out, leave it to dry.

Cut another Q-Tip in half.
Wrap these with quilling paper until the circle is a 1/4" in diameter.
Pull the paper out to a cone shape just as you did for the faucet and fill the cone with glue. Turn them up so the glue doesn't run out and leave them to dry.

Cut a hole in the middle of your sink. My sink drain hole is a little over a 1/4" in diameter.
Cut a strip of card stock about 3/16" wide. Wrap it around a dowel that will fit into your sink drain hole with a little room to spare for the card stock. Glue to make a cylinder.
Cut out a circle of mat board.

Glue the cylinder onto the mat board.
The mat board won't be seen so it doesn't have to fit.

I have made a hole to put a pin into.

I have applied a mixture of silver paint and yellow wood glue to the cones at the bottom of the faucets to cover the lines. Let this dry and sand until you are satisfied with the surface.
I have also added a strip of quilling paper to the end of the faucet.

When you are done with your white paint, paint a silver circle around the sink drain hole and glue the sink basket into it from underneath the sink.
I made some black dots with a marker to simulate holes in the basket.

I have to apologize to you for using a punch for the top of the faucet knobs. I really tried to come up with something that was nice looking and easy to make. I think that took more time than the sink cabinet! In the end I resorted to the punch. This is a Martha Stewart punch that I bought from Micheals. It is a good punch for making flowers.

I chose this one, it's a little larger than I wanted but it's what I have .

I punched out 4 from card stock and glued two together to make a thicker knob.
Trim off the stick and glue the knob to the top.

This is the top. Let these dry for a bit.

I am done with the faucet and have glued it to the sink.

I've painted the knob silver.
Let your paint almost dry out on your paint tray before you add drops to the ends. The paint will flatten out and not stay in a drop if you don't let it almost dry out on your paint tray. Adding glue didn't seem to help out.

The punch also had some tiny circles so I glued on three to the center of the knob.
Paint that with a drop of paint, too.

Glue the knobs onto the top of the sink.

The sink finished, so far.
I am sorry for the delay in this month's tutorial. I do love this sink and I hope some of you make it for your kitchens.
I have been busy with family stuff and I did have trouble coming back from the flu so my plans for the Etsy site were delayed. I have been designing some new furniture for kits that I will be selling on Etsy exclusively.

The first kit is the Rose Chaise.
This kit will still have paper instructions for a limited time. After the 11 kits I have packaged are gone this kit will have only PDF instructions that you will download from the Etsy site, I will ship you the kit.

French Country Wing Chair Kit
This kit has PDF instructions that you will download after payment is made. These instructions have colored pictures and the pictures are large. You can load the instructions on your Smart Phone, laptop or tablet to read while constructing your chair. This saves paper and also enables you to have pictures that are easy to see.

French Country Sofa Kit
After you have purchased the kit I am notified of the purchase and I will mail you the kit. You will be able to read the PDF instructions before you receive the kit. This will familiarize you with what you will have to do to make the sofa or chair.

French Country Chair Kit
These are kits, not finished furniture. They are made like the chair in the Upholstered Chair tutorial that is listed in the "Things to do, Things to see" list.

Lindsey Sofa Kit
You get all the pieces to make the sofa or chair. You provide the glue and the fabric.

Lyndon Chair Kit
I use and recommend using 100% cotton fabric, the kind quilters use. This fabric always glues for you. Fabrics with other fiber content can give you a lot of trouble when trying to glue.
Etsy shop: www.etsy.com/shop/1inchminis
Thanks for waiting on me!
Until next time . . .
Have fun, Expand on it, Make it better . . .
Just keep making minis!
Kris
Subscribe to:
Posts (Atom)