
 |
| These two pictures are of the original table from the room box. |
I made my original table from basswood. I am making this one out of mat board for the tutorial. If you want to use basswood the directions are pretty much the same. I am using 1/8" diameter aluminum tubing and 1/16" diameter aluminum tubing. Look in last month's blog tutorial for the information on where to get the aluminum tubing.

I want to speak a little bit about painting. I like to use Rustoleum's paint for painting anything that is supposed to look like metal. This paint is a good quality oil base paint, yes, you will have to have thinner to clean your brush. This paint is self leveling, that means the brush strokes level out as it dries. If you like to use spray paint, please go ahead and do that. For this project I used Delta's PermEnamel paint.

Let's begin.
Cut 2 pieces of mat board at 3-1/8" x 2-3/16".
Cut 2 pieces of mat board at 3" x 2-1/16".

Sand round the edges of the 3" x 2-1/16" pieces of mat board.
Sand a bevel on the 3-1/8" x 2-3/16" piece. A bevel is a straight slant, not rounded. THIS IS NOT IMPORTANT, it's just a design thing.

Center the smaller piece of mat board on top of the larger one and glue, use yellow carpenter's glue. Did you know I was going to say that?

Clamp the tops until they are dry.

Cut a strip of mat board 5/16" wide and about 11" long.
Measure for 2 pieces cut at 2-5/8" and 2 pieces cut at 1-11/16". This is the apron of the table.

Butt the mat board strips together end to end.
Long, short, long, short.

Cut a strip of card stock 5/16" wide.
Glue, using the yellow carpenter's glue, the card stock strip to the pieces of mat board.
The ends of the mat board should be touching, but don't glue them together.
Just a note, for gluing the mat board together we are using yellow carpenter's glue through out the tutorial.

If your card stock runs over, that's fine, leave it. If you don't have extra on the end, glue a piece on.
Set this aside for now.

If your table tops are dry, unclamp them. Set one table top aside.
On the second table top measure 7/8" from the outside edge. Mark the top and bottom. Cut the side off.
Try to keep your craft knife straight up and down when you are cutting.
Measure for the other side the same way and cut that side off.

Keep the middle piece we are going to use that later.

Glue the 2 side pieces to the underside of the other table top and clamp until dry.
If you are not familiar with this type of table I will try to explain to you what this second table top is. On the life-size table, these 2 sides you just glued on would slide out from underneath the top and then slip up just enough to fit onto the edge of the top making your table bigger when you needed it.
Cut some strips of card stock 5/16" wide.
Using carpenter's glue, glue the strip of card stock together around the 1/8" aluminum tubing. Don't glue to the tubing.

Wrap the card stock until it measures 7/32" when using the circle template.
Make 4 and set aside.

If your table top is dry, unclamp it.
Go back and get the apron pieces of mat board that you glued together with the card stock.
Fold the apron pieces into a rectangle and glue the remaining piece of card stock to the other end of the apron.
Center the apron onto the underside of the table top and glue. Set this aside.

Go back to the card stock tubes you made earlier.
These are the decorative corners on the apron.
You need to cut 3/32" out of them. That's somewhere between a 1/16" and an 1/8".

Here are mine with the little bit cut out.
Set them aside for now.

Get the middle piece you set aside from cutting the second table top.
Carefully trim this piece to 3/8" wide.

This piece is slid into the underside of the table top. On the life-size table there is a small wooden filler piece on each end that keeps the continuity of the edge of the bottom leaves of the table. This piece represents that.
Glue this in.

Get your card stock tubes.
These are glued to the corner of the apron.
I cut a small piece of my 1/8" aluminum tubing for size.
These need to be snug, trim more off of your card stock tubes if you need to.

I've got my card stock tubes glued on.

Glue 2 layers of card stock together and cut some narrow strips.
This is going to be the surface decoration on the corners.

Cut small pieces of the card stock and glue to the corners.

I am not going to put corner blocks in this table, that would require some mitering. We will drill into the bottom layer of the table top.
Cut a strip of mat board 3/16" wide. Set this strip in the corner and make a mark at the end.

The mark you just made is where you will use a 1/16" drill bit to drill a hole into the bottom layer of your table.
Don't drill through, the hole doesn't need to be deep.

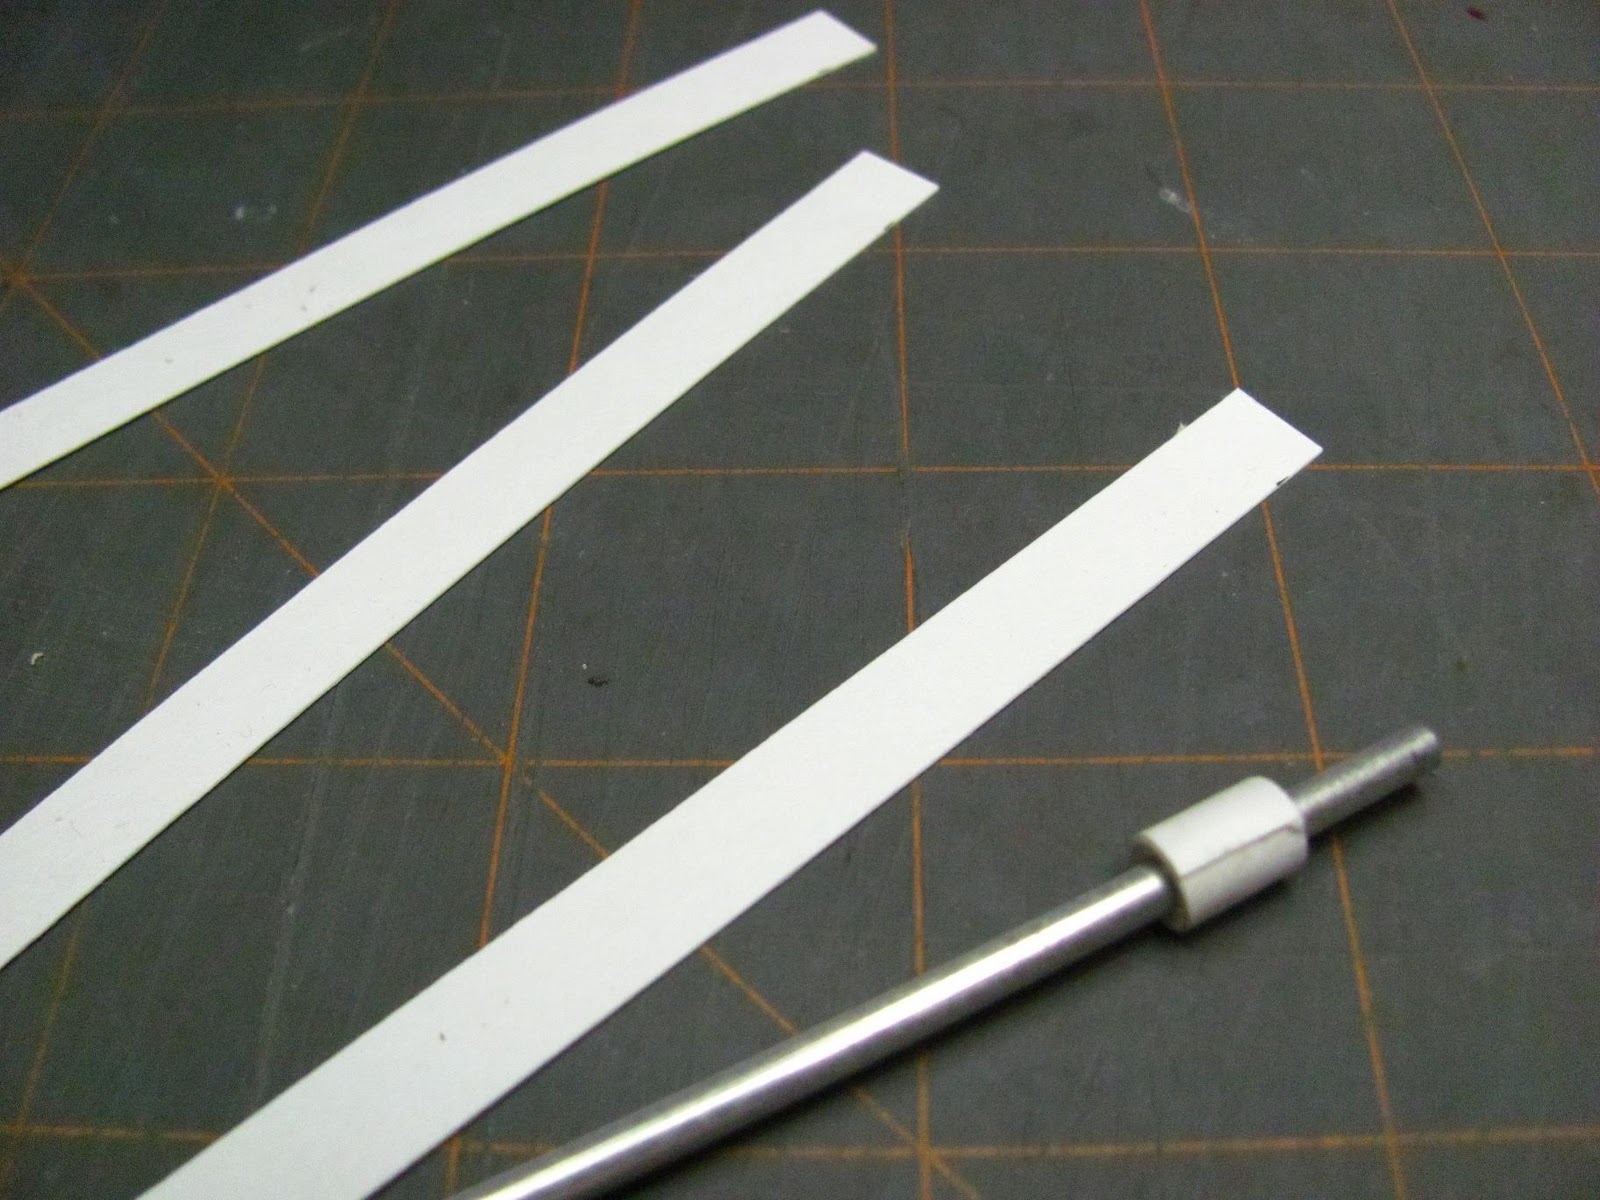
Cut 4 pieces of 1/8" aluminum tubing at 2-5/16" long.
Just roll your craft knife around the tubing. This will cut the tubing, don't press too hard.

The 1/16" aluminum tubing is cut 2-3/4" long, 4 pieces.
Insert green paddle wire, 24 gauge, into the 1/16" tubing.
This will keep the tubing from crimping when we bend it.

Sand an 1/8" dowel to fit inside the 1/8" tubing. You don't need to sand the whole length, just about an inch will do. If you have a 1/16" dowel, this works without having to sand.
Slip the dowel into the tubing. Measure from the end a 1/16" and mark with a large pin.

Using a smaller drill bit than the 1/16" size, drill a hole into the tubing.
I use a smaller bit first, it's easier this way.

Now, use the 1/16" drill bit and drill out the hole.
Do this for all 4 legs.

Your 1/16" aluminum tubing should fit into this hole.

To bend the 1/16" tubing I used a pair of pliers I found in the beading section of Michaels. They have graduated round tips.

Bend about a 1/4" on one end. I had you cut more than you needed.

You will have to trim the 1/16" tubing to fit, it's a trial and error thing.
Don't glue the legs in just yet, you need to paint the table first.

You can glue the 1/16" tube into the 1/8" tube with jewelry cement. I left this to dry over-night.

Cut a drawer front for the table from the mat board at 1/4" wide and 1" long.
Round the edges and drill 2 holes for a wire handle.

As I mentioned earlier I used Delta's PermEnamel Paint. Mine is a little old and is thick. I used PermEnamel Thinner to thin it.
I painted and sanded to get a smooth finish.
I then "tried" to paint a straight line around the edge. This makes the table look like it's been enameled.
To finish it I used Delta's PermEnamel Clear Gloss Glaze.

I made a wire handle and painted it with silver paint. I finished the drawer front just as I did the table top.
Glue the wire handle in and glue it to one of the long sides of the apron.
My life-size table has silverware dividers in it, so I guess that's were the silverware was kept to set the table with.

This is the finished mat board table. I did my best on the black line, but I think I need some touching up.
If I had known what I know now about using mat board, I would have never bought basswood for painted projects.
I hope some of you try this out, it's not as hard as it looks.
Have fun, expand on it, make it better, just keep making minis!!!
See 'ya next month, Kris