

It was suggested that I make a utility sink, this might not be what they had in mind when they made the suggestion but this is what came to my mind.
I inherited a full-size wash tub/sink that I copied from.

The wash tub makes a great companion to the wringer washer tutorial from September 21, 2014.
You could make this a sink by placing it against a wall and running the plumbing down the basement wall to the tub. I have a tutorial showing how to make faucets for this type of plumbing, How to make a faucet planter and daisies, March 20, 2013. This tutorial also explains the wire I use for my hoses.

This is the form I had to make to make the square tub.
I started with 5 layers of foam core glued together

If you have a scroll saw you can make your own form.

Draw a square 1 21/32" x 1 21/32".

Use your circle template to round the corners, I used the 7/8" diameter circle.
Your pattern should look like mine in the picture above. Trace your pattern onto the stack of foam core.
Set your saw to a 10 degree angle and cut on the line that you traced from your pattern.
I was merrily making this wash tub wondering why I had never seen directions on how to make a square tub . . . . Duh . . . you have to have the form to make this work, didn't think of that when I began the sample. I liked the sample too much to just leave it. The shape isn't something we can look around the house for. So . . . . for a limited time I will make the form and sell it to you. I will include some of the components, NOT ALL of them. Some things I think it's better that you make them, the results would be better. As I go along I will let you know what I'm including with the form. I will post the information for the cost of the supplies after I post the tutorial.

These are the patterns for the wash tub. Follow the instructions from the "Things to do, Things to see" list at the left of the blog. Remember, the 1 inch square is important, when your square measures 1 inch then you have the rest of the patterns correctly sized.
I have included the pattern for the top of the foam core form and HALF of the leg pattern if you want to trace onto a folded piece of card stock. My best advice is to follow my instructions and measure and draw your own. I don't include the legs in the supplies because it would be very hard to fold them in half once they are cut out.
On the bottom of the form make a mark on one side.
This is your seam.
I am a good cutter but there will be slight differences between the length of the sides. You will always put this mark on the seam side to keep the same shape when using the form.

Trace around the form onto mat board. Transfer the mark to the mat board.
(I will include a square of mat board with the form.)

This is the bottom of the tub. Cut it out, cut on the line this fits inside the tub.

Trace the body pattern onto card stock.
Rough cut it out.
(I will include a pattern with the form.)

Using CARPENTER'S YELLOW WOOD GLUE, because we want this to dry hard, not flexible, glue the traced pattern onto another layer of card stock.

Cut the body out and wrap it around the form, wrap tightly and secure with rubber bands.
(I will include two rubber bands with the form.)

There's my seam and there's the mark on the bottom of my form.
Let this dry for about an hour.

Remove the body from the form and apply yellow wood glue around the bottom edge.

Press the bottom into the tub body matching the mark to the seam.
Press the sides of the tub to the mat board bottom to make sure you have a good seal.

Trace around the bottom of the tub onto one layer of foam core. Make the mark on this, too.
( A square of foam core is included with the form.)

Carefully put the form back into the tub to help keep the shape while the tub finishes drying.
Set this aside for now.

Cut a strip of card stock the width of the foam core and glue to the edge all around.

I was going to have you score the card stock for the center of the legs. Scoring tears the surface of the card stock and is very difficult to cover with paint. Folding the card stock makes a nicer finish. I drew each leg onto my folded card stock. I made a pattern but it was too fiddly.

Total length of the leg is 1 11/16".
Width at the top is 3/16".
Width at the bottom is 3/32".
Mark at the bottom 1/8" from the bottom.
Mark at the top 1/8" from the top.
Use your square to draw these lines from the fold.
Make another mark from the top, this time 1/4" from the top.
I hope I don't lose you on the leg part, stay with me.
Now you are going to draw the side of the leg. The leg is straight from the top to the 1/4" mark, use your ruler to draw that. The leg tapers from there down to the bottom mark.
I have my four legs drawn on my folded card stock. The only line I don't show is the 1/4" mark, it was too light to show up in the picture.
I cut my four legs out.

I've rough cut them out.

The legs are cut out and I've transferred the bottom mark to the inside.
This mark is used to glue the bottom support to.

I've continued the top mark over to the other side.
This mark is used to glue the bottom to the legs.

Glue the first leg onto the bottom.
The top of the foam core should be on the mark.
Use yellow wood glue, please.
Another view.

Another view.

All four legs are glued on.
This is optional, when the legs are good and dry you can run a stylus on the little bit of card stock at the top to curve it. This is what the life- size one has to hold the tub onto the legs. The life size tub does not have the bottom, it's just legs fastened together and the curved top of the legs hold the tub.
If you scroll back up to the top you can see that I have the top of the legs curved to hold my tub.

Cut strips of card stock 3/32" to 1/8" wide. Either width is fine.
(I include strips all ready cut with the form.)

Cut two pieces 2" long.
Mark the center, mark 1/8" on either side of center.

On the life-size tub frame these supports are bent along the long sides and flat in the middle. They bent the metal to give the support more strength. I tried to make this bend, several times and couldn't get it to look nice. So, I decided to add a couple of strips to give the illusion of a thicker part of the support.
Glue a strip onto the support up to the 1/18" line.

Glue another strip over the first one. Trim off the extra.

Glue on strips to the other side of center.
Make another just like this one.

Here are your two supports.

Glue them together at the center.

Carefully trim the ends. DO NOT CUT OFF any length. Just trim the corners off.

Using your marks as a guide glue the support into the leg assembly.
It will fold up in the middle for now, we will take care of that.

Gently pop the support up and hold that for a minute or two.

The support should stay flat and push your legs out.

Cut strips 3/32" to 1/8" wide for the wheels.
Cut four pieces 1 3/4" long.
(I include strips for the wheels with the form.)

To make a quilling tool cut the top of the eye off of a large eye needle. Push the needle into a dowel for a handle.
I explain more about quilling in the paper pottery tutorial.
Slide the end of the strip into the slot and turn the needle, winding the strip tightly.

I applied yellow wood glue along the way to glue the wheel together.
Slip the wheel off the needle and make three more.

Four wheels.

I sanded the seam a bit. You can't get rid of it entirely but a little sanding can't hurt.

Sand the inside seam, too.

I suppose you could have drilled this hole before you glued the bottom on, but I forgot and I drilled it now.
This is probably a 3/32" bit, I drilled a little away from the side, in the middle.

Just a mention here about wire for hoses. I mentioned earlier that in the tutorial How to make a faucet planter and daisies I explain where I get my wire from. It's house wiring, that flat white wire, I cut it open and there are two wires, one black and one white. The big box stores sell it by the foot. I like this because it will stay bent in the way you bend it.

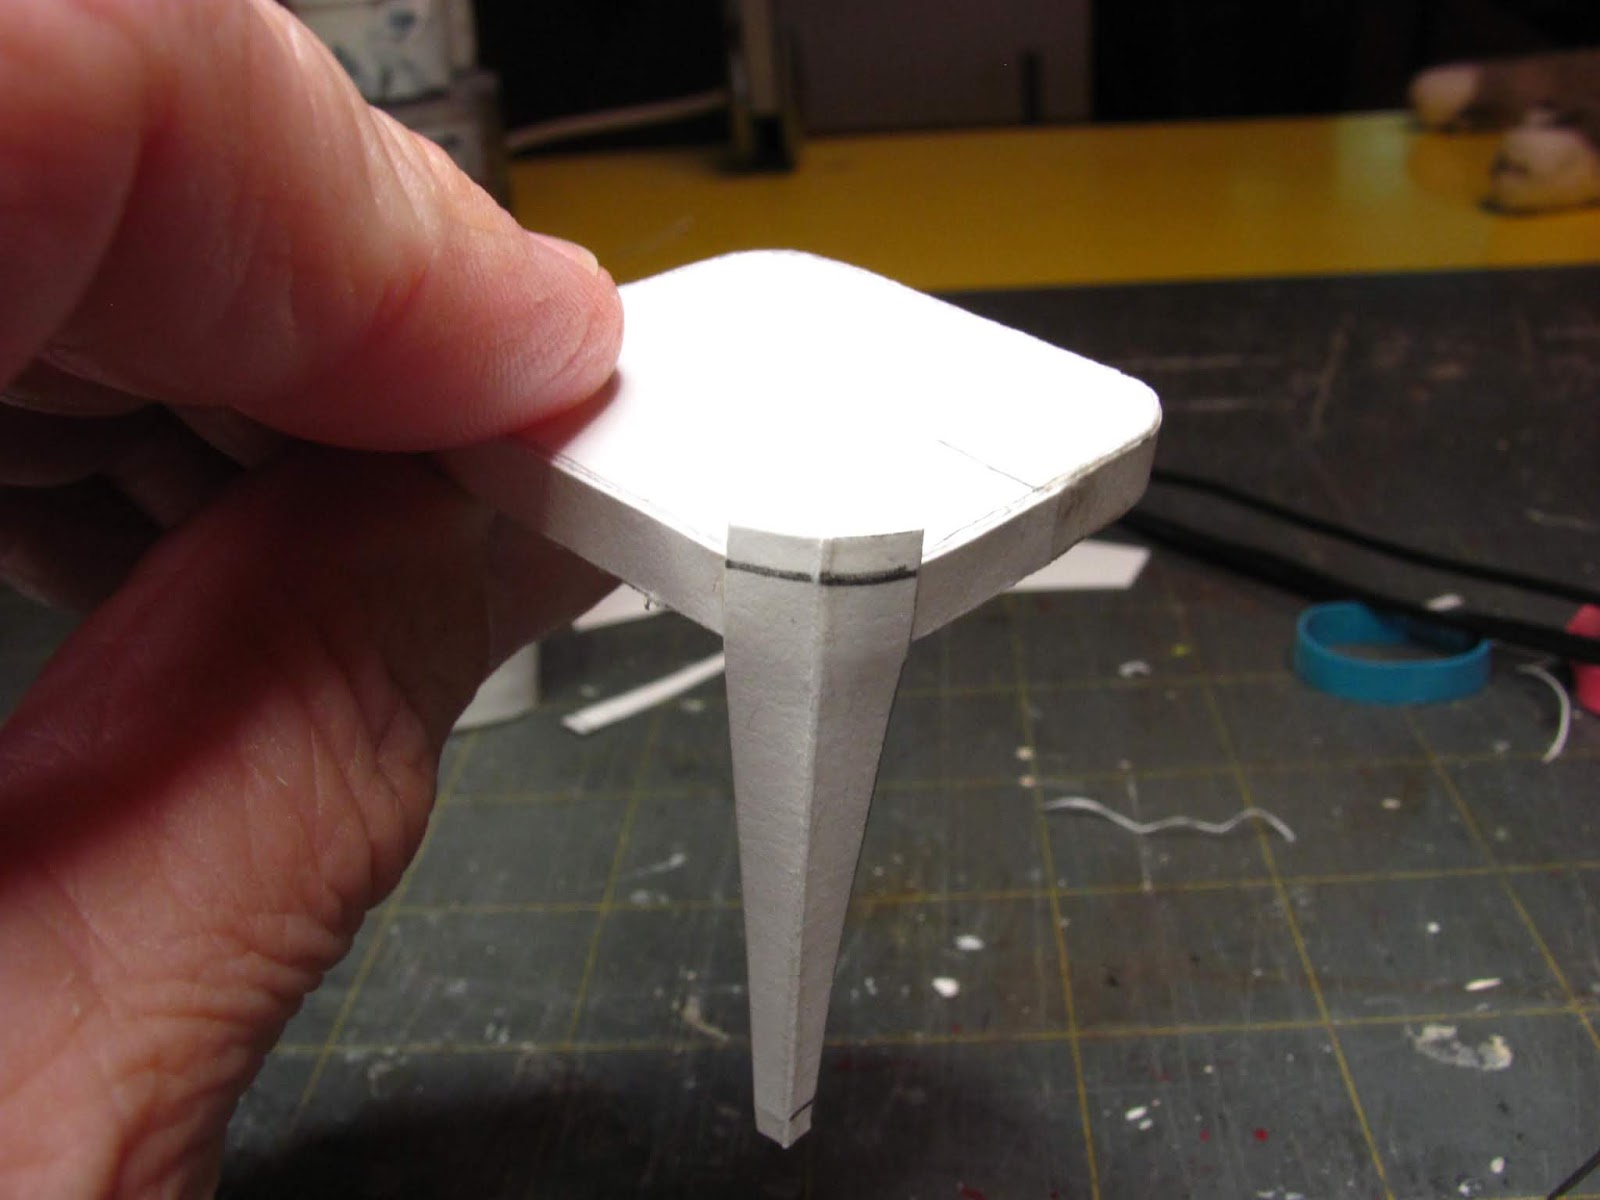
A trial fit.
I haven't used the stylus, yet on the top of my legs, they are still straight.

Marking the hole from the tub to the bottom of the stand.

Drill the hole in the bottom of the stand.
I am holding the tub and the stand together showing the holes.

Measure and mark from the top of the tub 9/16" and 13/16".
Glue size 10 crochet thread around the top and the bottom of the tub. Glue crochet thread around the tub on the marks you made.
Use yellow wood glue.
(I include the crochet thread with the form.)

The crochet thread is glued on.

Paint the tub a medium grey. I painted several coats letting each coat dry.
I wanted a little build up over the thread.

Give the inside a couple of coats and when that is thoroughly dry put the form back in and use it to hold the tub while you paint the outside.

I wanted a ring around the hole inside the tub.
I punched a 1/8" hold in card stock.

I tried to center my 1/4" punch over the hole and punched out my ring.

Glue the ring into the tub around the hole. Give it a couple of coats of paint.

This card stock strip is a little over an 1/8" wide.
Use a toothpick as a form to wrap around. Glue the card stock together, wrap it around the toothpick twice and remove from the toothpick.

Glue the tube you just made to the side of the stand on the side where the hole is.
I am told this is the spigot, I don't know, this is frozen and won't turn on the life-size tub.

My stand has little round ears on the side of the tube.
This is an odd size of circle, I used a combination punch to get this size. It's bigger than a 1/16" but smaller than a 1/8". I glued two circles together for each side.
(These circles are included with the form.)

Paint your wheels.

Paint narrow strips of card stock a brassy color. I added a little brown to a metallic gold to get a color I liked. Paint both sides.
(I include enough strips to make the bottom support, wheels and these pieces with the form.)

That is way too much paint for what I am going to do!!
Use a sponge to paint a metallic silver onto the tub. Dip the sponge and dab the sponge onto a paper towel or scrap paper to remove most of the paint. Then dab the sponge all over and inside of the tub.

Galvanized tub!

I have no imagination, the life-size stand was off white so I am painting the miniature off white, too.
I've bent the top of my legs, can you see them?

I am going to hang a hose off the tub.
I cut my wire 4" long, this is up to you and how you are going to use the tub.
I used narrow card stock to add metal ends to the hose.
One end is even and the other I've left about a 1/8" to glue up into the stand.

I've painted the ends a brassy color.

Paint the spigot grey.

Just another view.

Cut a strip of the brassy card stock 3/8" long.

Fold the strip over the wheel to make two creases.

Glue the bracket onto the wheel. The bottom of the bracket is about at the middle of the wheel.

Another view.
I will admit this is a crude bracket. Please go to the Wringer Washer tutorial and use that pattern for the wheel bracket.

Glue the bracket to the bottom of the supports.

Another view.

I've glued the tub to the stand.

Glue the hose into the bottom of the stand. I used yellow glue for this, if you want you can use tacky glue.

I've bent the hose over the top of the tub.

Aren't you glad we don't have to use these things to do our wash anymore?

There they are together.
I really liked the way this looked when I was trying it and I a glad I keep going. As I re-read the tutorial I think the only thing I don't include with the form are the legs. I really think using your ruler and measuring is the neater way to get them done.
I have information on the supplies: you will receive the form to make the wash tub, the body pattern, 8 card stock strips (3/32" wide), 2" x 2" squares of foam core and mat board, 2 rubber bands, 1 yard of crochet thread and 8 punched circles for the spigot. This is $6.50, the shipping on this is $3.50, (the form is more than a 1/4" thick so the shipping goes up), all together the supplies are $10.00. Please e-mail me if you want the supply kit, the supplies will only be available for a limited time. camceiling@frontiernet.net
The instructions are NOT included, you will follow the tutorial.
Have fun, Expand on it, Make it better,
Just Keep Making Minis!!
Talk to you later, Kris