My e-mail address for questions is camceiling@frontiernet.net
I try to answer your questions from the comments. I click on your name, if you don't have a way to e-mail you I can't answer your questions, I am sorry.
Kris

Learn how to make miniature dollhouse furniture, mini paper accessories and get techniques, tips and monthly tutorials.
Friday, July 17, 2015
1 INCH SCALE OTTOMAN FROM FAUX VINYL TUTORIAL - How to make a 1 inch scale ottoman from faux vinyl.

This is another post for #HBSCREATINCONTEST2015
This is my 1 room apartment room box. I made an ottoman for it years ago. I used painted wire for piping and the glue failed to hold it in place. I also used real vinyl, also tough to glue.
I am going to make the "vinyl" first.
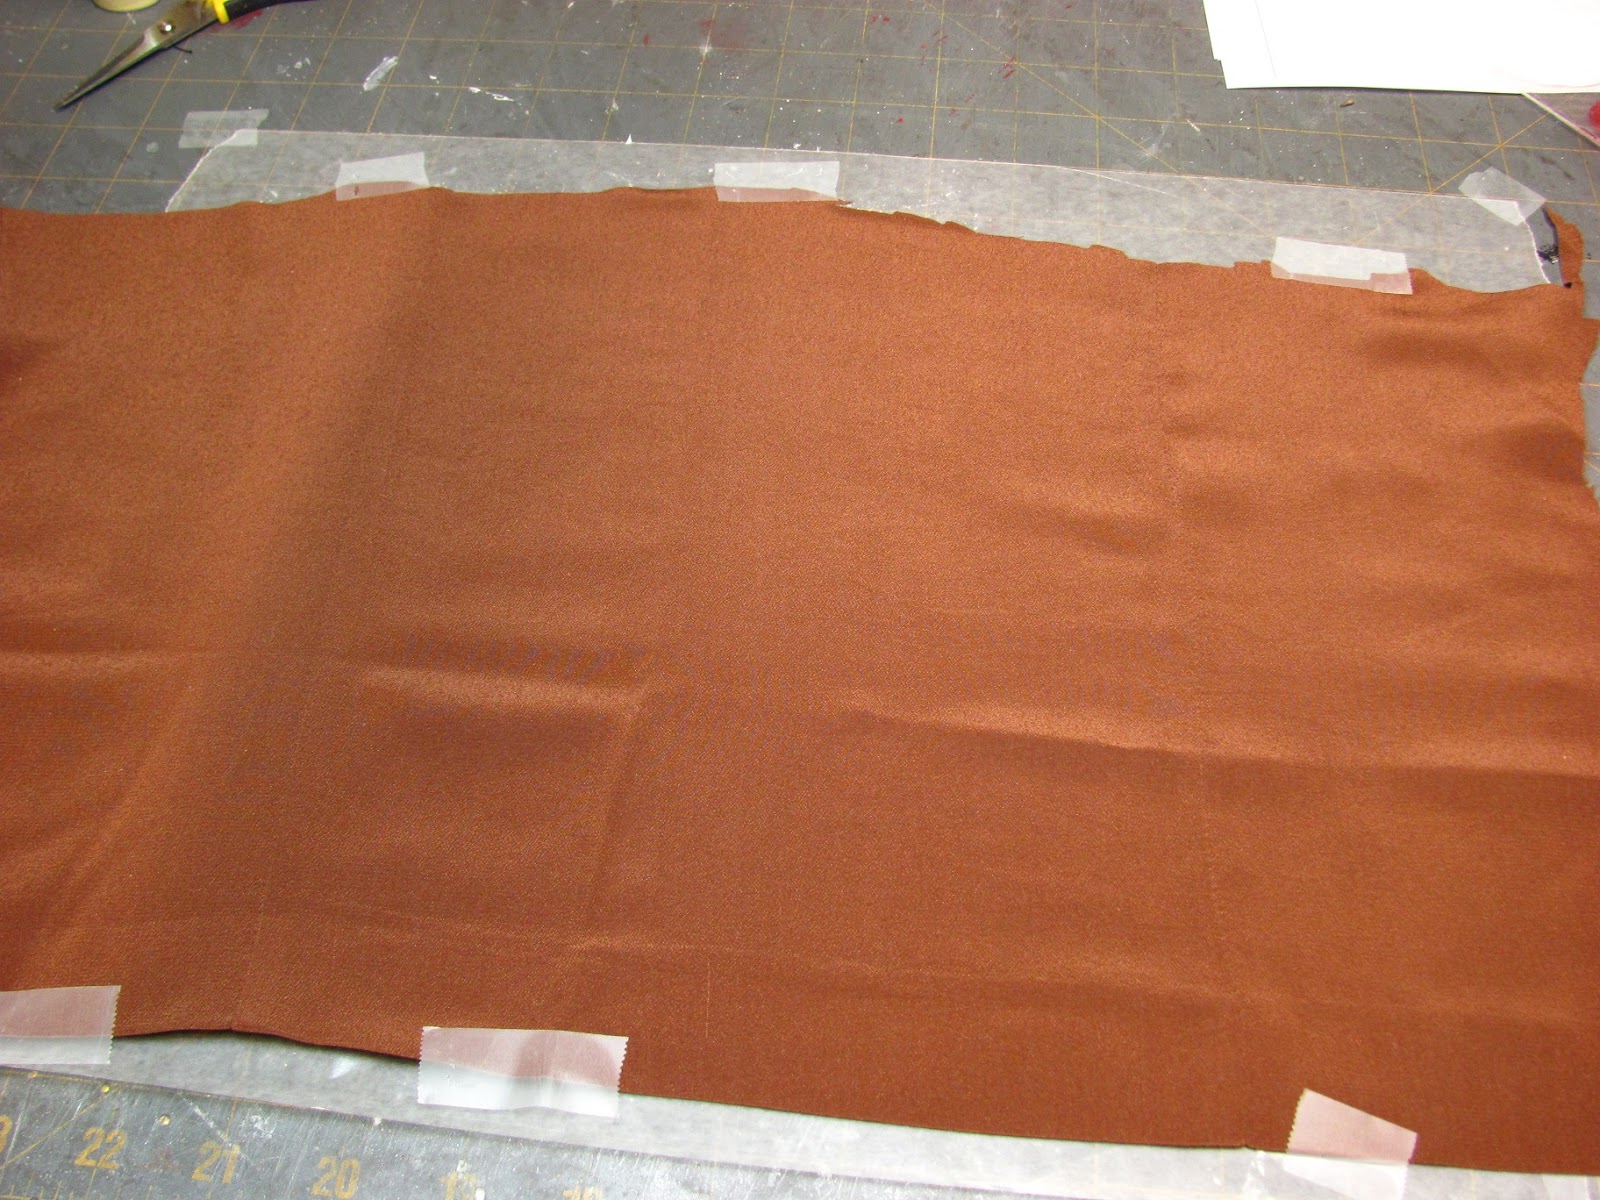
I shop for silk at the Goodwill or thrift stores. I pay $3.00 for a blouse or shirt. I don't use a blend, only 100% silk.
Tape a piece of waxed paper or waxed freezer paper to your table. Tape the silk down, too.

I used red craft paint to color the silk red. I squirted the paint on the silk and used a small paint roller to spread it around.
This first coat needs to saturate the silk.
Clean your roller.

You can see from this picture that my wax paper is covered with red paint.
This won't happen on the next two coats. The silk is sealed with this first coat.
You will have to throw this paper away.

Hang the silk up to dry. This won't take long.

When the first coat of paint is dry apply another coat of craft paint.
Hang to dry.
Clean your roller.

Here I am showing you that the second coat of paint doesn't penetrate the silk so much.
I am using wax coated freezer paper for the second coat. It was what I had in my room at the time. Either can be used.
Don't throw this away, we can use it for the third coat.

For the third coat I am using glass stain. Any brand will do, this brand is what I had on the shelf.

Tape the silk back down onto your paper.
Squirt the glass paint onto the painted surface and roller it on.
Hang to dry, throw away the paper and clean your roller.
Wait until the paint is dry and not sticky to use.
A note here about painted silk. I have used this before on the blog for faux leather. Use the finished product the same day or the day after. The silk is more flexible when it is fresh. Not that you can't use it after a long time for flat applications like book covers and such. For furniture I like to use it the same day. I store the extra flat or roll it onto empty paper towel cardboard rolls.

For the base of the ottoman I used foam core.
Two stacks, the first stack is 4 layers and the second stack is 2 layers.
Trace 1 3/4" circles onto the foam core and cut out separately with a craft knife and glue together or stack and glue four layers and two layers together and cut out on a scroll saw.

I shop used book stores and antique/flea markets for old catalogs.
This catalog is for S and H Green Stamps. My mom saved these stamps from stores. You would receive the stamps when you made a purchase, the more you spent, the more stamps you got.
I remember her getting a bedspread with her books of stamps.

I am going to make "M", the white round "hassock".

I've cut out the foam core.

NOTE: I am showing you to measure the height of the bottom stack of foam core.
I know that I have silk on the bottom.
After I made the ottoman I thought it would be best if we put 2 layers of card stock around the stacks of foam core. The silk is thin and one layer of card stock didn't hide the lines of the four layers of foam core.

After you have measured the height of BOTH stacks cut the card stock to fit.

Glue the card stock onto the stacks of foam core with tacky glue.

Pretend that I have a layer of card stock all ready on the stack of foam core you see!
Trace round the bottom of the tallest stack onto card stock.

Cut the circle out.
I used glue stick to glue the silk onto card stock.

Glue the card stock circle to the wrong side of the silk.

Cut out the silk circle with about a 1/4" extra all around.
Cut "V" notches all around.

Use tacky glue to glue the card stock circle of silk to the ottoman base.

The card stock circle is glued on.

Use the tacky glue to glue the silk onto the sides of the base.

Measure the height of the base.

Cut out a strip of card stock to fit.

Do a trial fit. The edges should meet.

Use glue stick to glue the silk to the card stock.
Trim around the card stock leaving about a 1/4" extra all around.
Cut the corners as I have in the picture.

Use tacky glue to the mitered short and long sides.

Showing the mitered corner.

Using tacky glue, glue the card stock around the base.
The folded long edge is at the bottom.
Begin with the short side that has the extra silk.

You will end with the short side that was folded over.

Cut "V" notches around the extra at the top.

Glue the notches down with tacky glue.

If you have an oval template use it, if you don't use the circle template.

I traced onto card stock two ovals, the size is: use the 50 degree ovals, 7/16".
I cut these out.
If using the circle template use the 7/16" circle.

I used glue stick to glue the silk onto the card stock ovals.
I trimmed the silk to the edges of the card stock on half the oval. The other half of the oval I left about an 1/8" extra and cut "V" notches.

I used tacky glue to glue the notches down.

Trace the same size ovals onto the wrong side of the silk.
Cut them out.

Use tacky glue to glue the ovals onto the backside of the covered ovals.
Glue the silk ovals a little away from the folded edge.

Divide the base in half and glue the ovals on using tacky glue. The edge that was folded is the edge that should hang over.

Measure the height of the two layer stack of foam core.

Cut the strip of card stock and do a trial fit. The edges should meet.

Use glue stick to glue the silk to the card stock.
Trim the silk leaving about a 1/4" all around.
Cut the corners as I have in the picture.

With tacky glue, glue one short end to the card stock.
Begin with the short end that has the extra silk.
Use tacky glue to glue the card stock to the foam core.

You will end with the short side that folded, just like you did with the base.
Cut "V" notches on the top and bottom of this section.
Glue the notches down with tacky glue.

Glue this new section to the top of the base using tacky glue.

Trace a 1 3/4" circle onto mat board.
Mark the quarters.

Cut the circle out.

Make a hole in the center of the circle with a "T" pin.

I use Thermolam Plus for the batting in my furniture. I buy this from Joann Fabrics or Wal-Mart.
Do not buy the iron on kind only the sew in kind.
Cut a circle of Thermolam Plus about a 1/4" smaller than the mat board circle. Cut a hole in the center of that.

Cut another circle of Thermolam Plus about an 1/8" smaller than the mat board circle.
Cut a hole in the center of that.

Sorry, this is so blurry.
Glue, using tacky, first the small circle then the larger circle of the Theremolam Plus onto the mat board circle.

The last circle of Thermolam Plus is cut to fit the mat board circle with a tiny, tiny bit to go over the edge.

This is where the painted silk needs to be fresh. Being pulled over a curved surface is difficult when the silk is too dry or old.
Measure around the padded top and cut the silk about a 1/2" larger. Use a needle and thread to sew a running stitch around edge.

Insert the padded top and pull the thread tight.
Begin another running stitch around the silk.

I've sewn three lines of running stitch with each getting closer to the edge. I pulled tightly as I sewed.

This is the top side of the padded top.

Insert some tacky glue under the silk at the edge of the mat board circle.

Press the silk down trying to eliminate as many folds as you can. Trim off the extra silk.

For the button on the top of the ottoman I couldn't decide whether to use a 1/4" or 5/16" punch.
I decided to use the 1/4" punch.

I glued the circles onto the silk with Elmer's white glue.

There they are glued to the silk.

Before the glue is dry, yes, before place the circles onto some craft foam and use a large stylus to shape the buttons.

I move the stylus around to get a rounded shape.

Here are the two buttons.

Before we sew the dimple it will help if we pressed down in the center of the padded top to stretch the silk a bit.
Use a needle and thread to sew a dimple into the padded top.

Start from the wrong side.

Make at least two stitches to pull down the silk to make a dimple in the top of the ottoman.
Tie off the thread.

Use tacky glue to glue the padded top onto the rest of the ottoman.

I am trying out the size of the buttons.

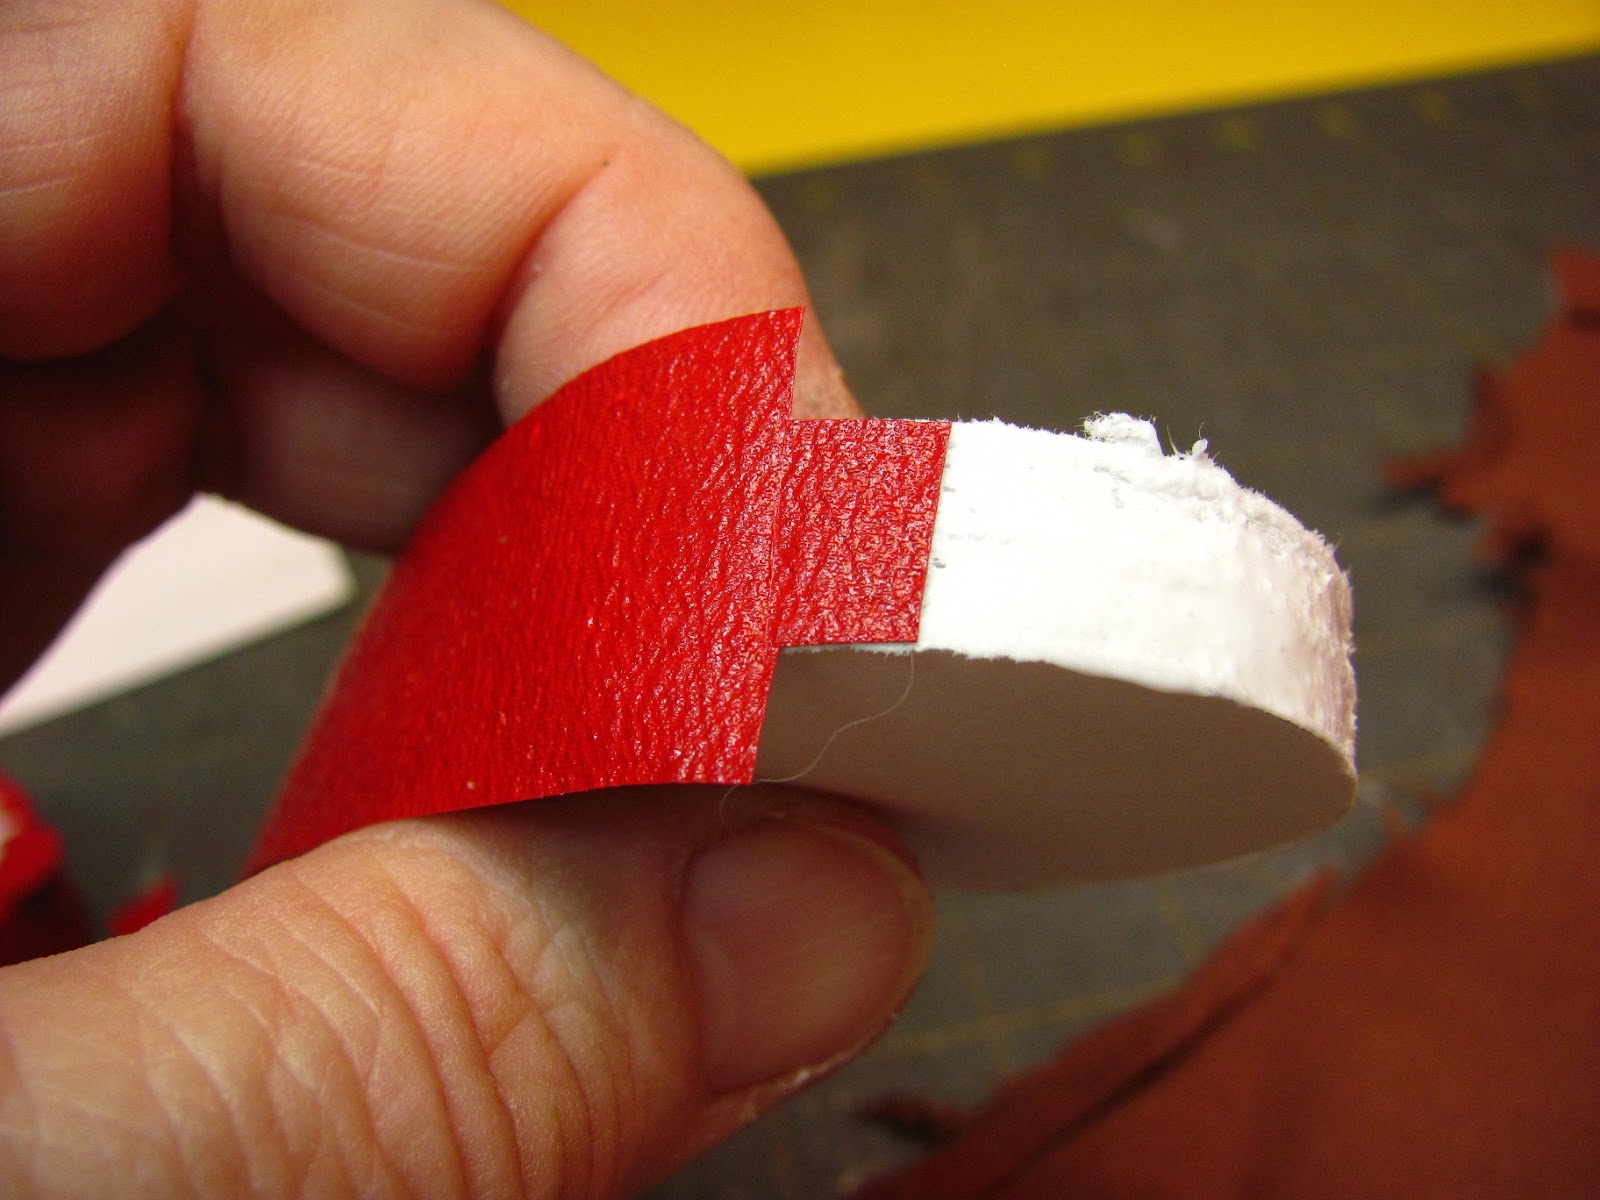
Piping is also better made with the silk fresh.
Use size 10 crochet thread.
Apply a line of tacky glue to the edge of the wrong side of the silk.

Spread the glue to the edge of the silk.

Press the crochet thread into the glue.

Fold the silk over the crochet thread making sure the crochet thread is in the very center of the fold.
Run your fingernail over the silk, forcing it together.

Turn the silk over and use your fingernail to force the silk together and pushing the crochet thread into the fold.
Turn the silk again, do this several times.

Use sharp scissors to cut the piping away. Cut very close to the crochet thread.

Use tacky glue to glue the piping into the first seam of the ottoman.
I glued the piping on top of the handles.

Use the circle template to mark quarters on the padded top of the ottoman.
Turn the template and mark eighths.

Make more piping and glue lengths onto the top at the marks.

Push the end of the piping into the seam.

I've got all eight pieces glued on.

Make another piece of piping and glue it into the top seam.

I chose the 1/4" button to use.
Glue this on with tacky glue.

Here is my finished ottoman.

There's the ottoman is in its new home. I like the bit of red with the avocado sofa. The silk is very easy to work with and easy to glue. It is a very good substitute for leather and vinyl. The painted silk could easily be used for restaurant booth seats.
I hope to see some variations of the ottoman for the Follower's Gallery, e-mail me at
camceiling@frontiernet.net with pictures.
If you have questions use the same address.
Have fun, Expand on it, Make it better . .
Just keep making minis!
Talk to you later, Kris
Subscribe to:
Posts (Atom)