

This is summer and we all need a bistro table and chair set for our patios. This month is the table, next month will be the chairs. They will have a woven seat and back.
How do you like my watermelon pink paint!?

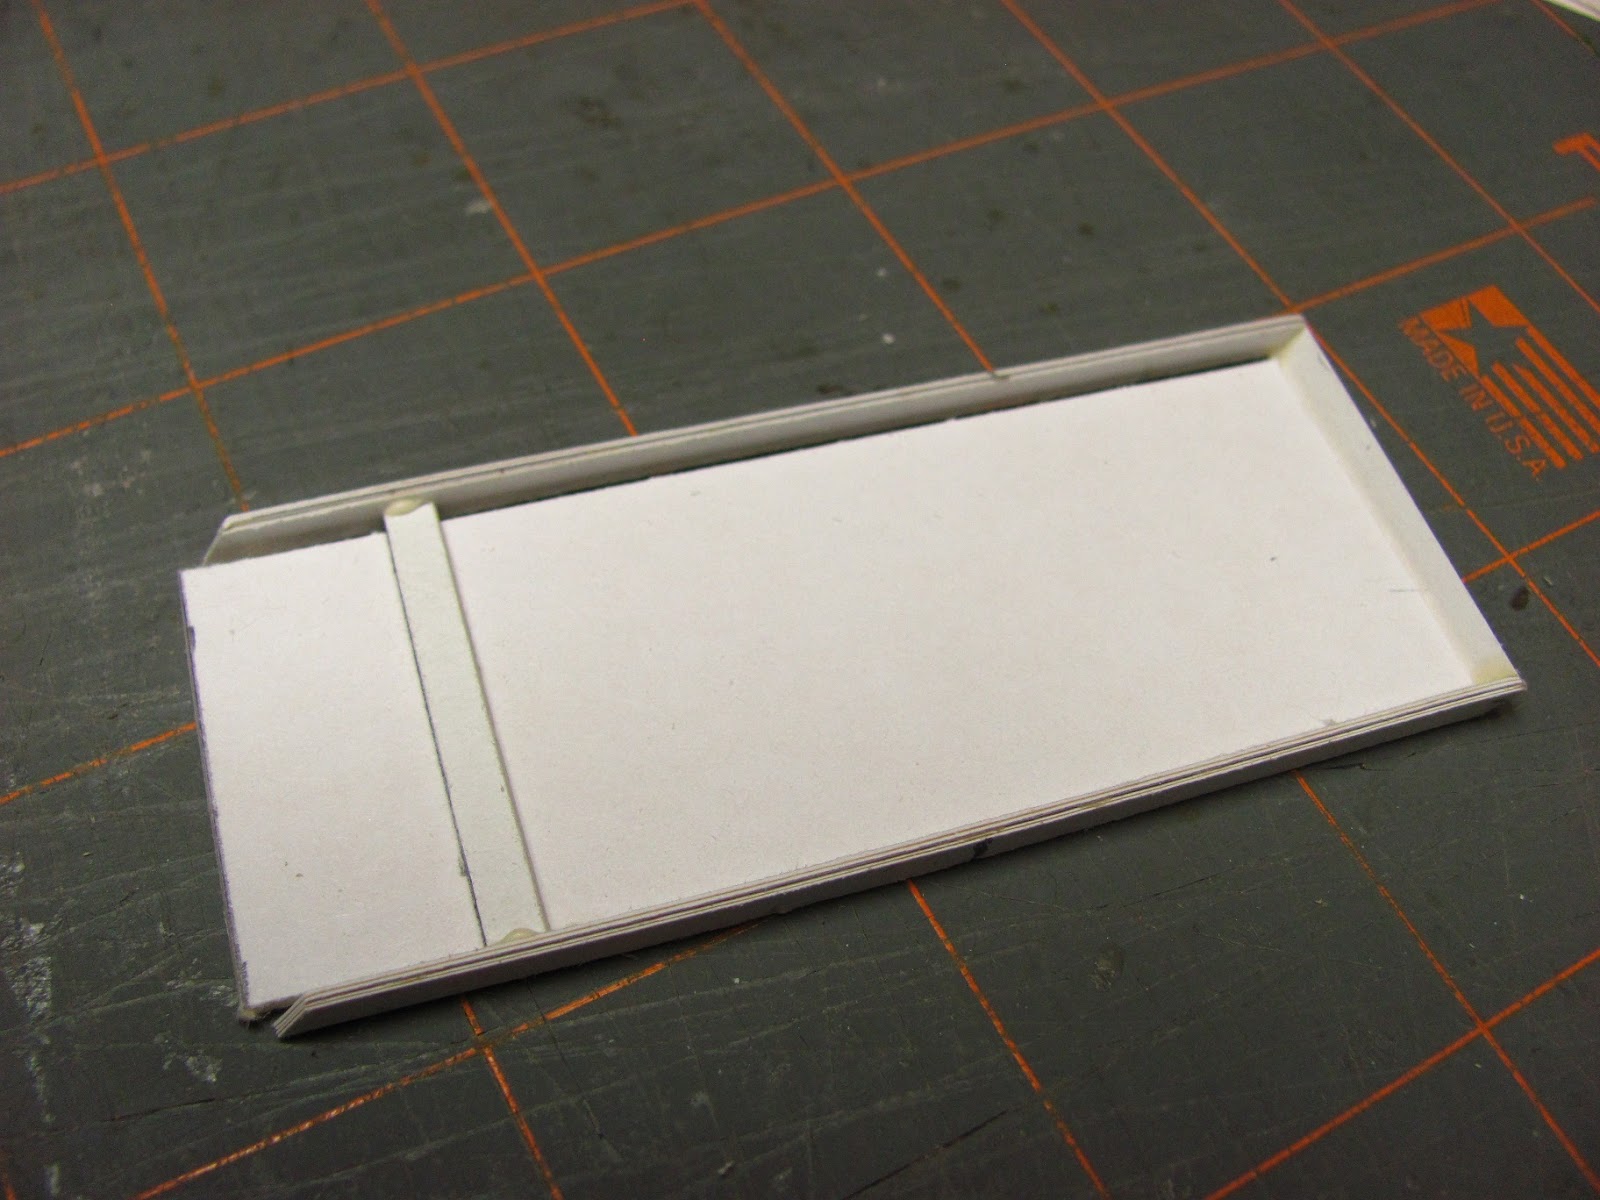
This picture showing the top.

Nancy has printed our patterns for us, thank you, Nancy. This is the first time I have actually used Nancy's patterns and I was treated to a wonderful time making this table. Usually I make the pattern and make the miniature. I then e-mail Nancy with my pattern that she cleans up and makes presentable to use. I wasn't getting sharp lines measuring and drawing with my pencil for my patterns. I gave Nancy the measurements I needed and she drew up the patterns for me to use and I loved it!
Use the tutorial on "HOW TO RE-SIZE THE PATTERNS" found in the "Things to do, Things do see" list on the left side of the blog to print the pattern out in 1 inch scale. Print onto card stock.

This is a block of 1/8 inch lines Nancy made for us. The lines are 1/8 inch apart. Print this out onto card stock, too.

Cut out the table top leaving extra all around.
Use a new blade in your knife and cut out the shaded areas on the table top.

All the shaded areas are cut out.
From one layer of card stock cut 1/16 inch wide strips for weaving.

For all of this tutorial I am going to use yellow carpenter's glue.
I have begun to weave.
Over, under, over and under. Most of the time the strips will end the opposite way you started.
I use tweezers to help me weave.

After my strip is woven and straight I am going to glue just the ends down.

I have started weaving more strips.
I am keeping the strips 1/16 inch apart, I am just eyeing this measurement.
After you have the strips where you want them trim the ends and glue them down.

I have my table top woven.
Trim off the extra around the table top.
Cut out the top and bottom patterns cutting out the centers.

Apply glue to one side and press a circle to the woven table top. Keep an eye on your edges, make sure they are even.

Apply glue to the other side and glue the last circle to that side. The woven table top now has a layer of card stock around the outside edge on each side.

On the edge of the card stock draw a line with your ruler.

I am using decorative scissors. I have scalloped scissors but I think you could use other designs, too.

I used the line as a guide to cut by.
By eye I marked a center for each scallop.

I used a 1/16 inch hole punch to punch holes on the center marks.

To cut the table edge trim I measured from the bottom of the scallop to 5/32 inch and cut using my craft knife.
Apply glue to the trim or the table edge and press the trim onto the outside edge of the table top. Keep the trim even with the top edge of the table.

Here is the finished table top.

I spritzed ONCE the top surface of the table top. I laid the top down onto paper towels, top side facing the paper towels. I found a jar with a flat lid that was close to the same diameter and placed that onto the table top and weighed that down with a can of spray paint. I did move this assembly around the paper towels to speed up the drying process. I was very satisfied with the results of the woven surface.

Print out the 1/8 inch lined pattern onto card stock. The lines run vertically between the 11 inch length sides.
Cut this in half.

Cut a matching plain piece of card stock.
Apply glue to the plain card stock.
Spread the glue around as much as you can. When you place the lined card stock onto the glue move the card stock around to smear the glue some more.

This is a two handed operation. Hold the card stock with one hand and slide your ruler over the card stock to press any extra glue out and to smooth the card stock.
I did this a few times in all directions.

I've done both pieces of the lined card stock.
They are wet with glue.

For the lined card stock to dry flat you could cover it with waxed paper top and bottom and place some heavy books on top. This would have to be left over night to dry. I didn't want to do that so I ironed my lined card stock. The iron was set on cotton, no steam and I slid the iron over the surface. The card stock gets and stays very hot so be careful if you do this.

Use your ruler and knife to cut four strips from the lined card stock.

Here are my strips.

Glue one on top of the other. You now have two strips that are 4 layers of card stock glued together.
You will build the table legs from this.

This is my pattern I sent to Nancy.
Cut your pattern from the card stock so that the strip of card stock is 2 1/2 inches wide.
I have a 1/8 inch strip under my pattern. Use your knife to cut the ends of the 1/8 inch strip on the angles at the top and bottom of the pattern.
Make a hole on the center dot of the pattern.

Mark the center of each leg with your pencil.
I have another way of marking the brace placement so you don't have to mark that.
Here are my legs cut with the angles from the pattern.

Cut another 1/8 inch strip from the lined card stock.
Cut the strip in half and glue the halves together making another 4 layer strip.

Cut two strips for the braces.
Measure and cut one at 1 3/16 inch and the other is measured and cut at 1 7/32 inch.

Measure and cut from 1 layer of card stock a strip 1/8 inch wide.
Cut this strip in half.

Measure and cut one strip 1 1/4 inch long and measure and cut another strip 1 5/16 inches long.
This with be glued to the top of the legs.

Here are all the pieces for the legs assemblies.
One set will have two legs, a single layer strip of card stock measuring 1 1/4 inch and a brace measuring 1 3/16 inch, that's the inside set of legs.
The other set, the outside set of legs with have two legs and a singe layer strip of card stock measuring 1 5/16 inch and a brace measuring 1 7/32 inch.
Keep this straight.

Glue the single layer card stock pieces onto the top of the legs. The outside edges are even.
Follow my pictures for the way the angles should be.

I've cut a strip of mat board (it's 1/16 inch thick) to fit inside the leg assembly. I've drawn a line 1/2 inch from the bottom.
Look at the right side of the picture, see the angle of the top of the leg assembly? Turn your leg assembly the same way.
Glue the brace to the legs. The brace is above the line, in other words the bottom of the brace is a half inch from the farthest angle tip.

Here are the two leg assemblies.

Glue the wider of the two assemblies onto the underside of the table first.
Press the the card stock onto the underside of the table to get a good seal.

Slide the narrower leg assembly into the other set of legs and glue the card stock to the underside of the table.
Set your table upright on its legs. Measure from bottom to top, this should be measuring 2 1/2 inches tall. You can move the legs a bit to get that measurement all around. When you have the height right glue where the legs cross. Turn the table again to check the height while the glue is still wet, adjust if necessary.

Give the glue time to dry.
I used spray paint but you could brush your paint on if you want.
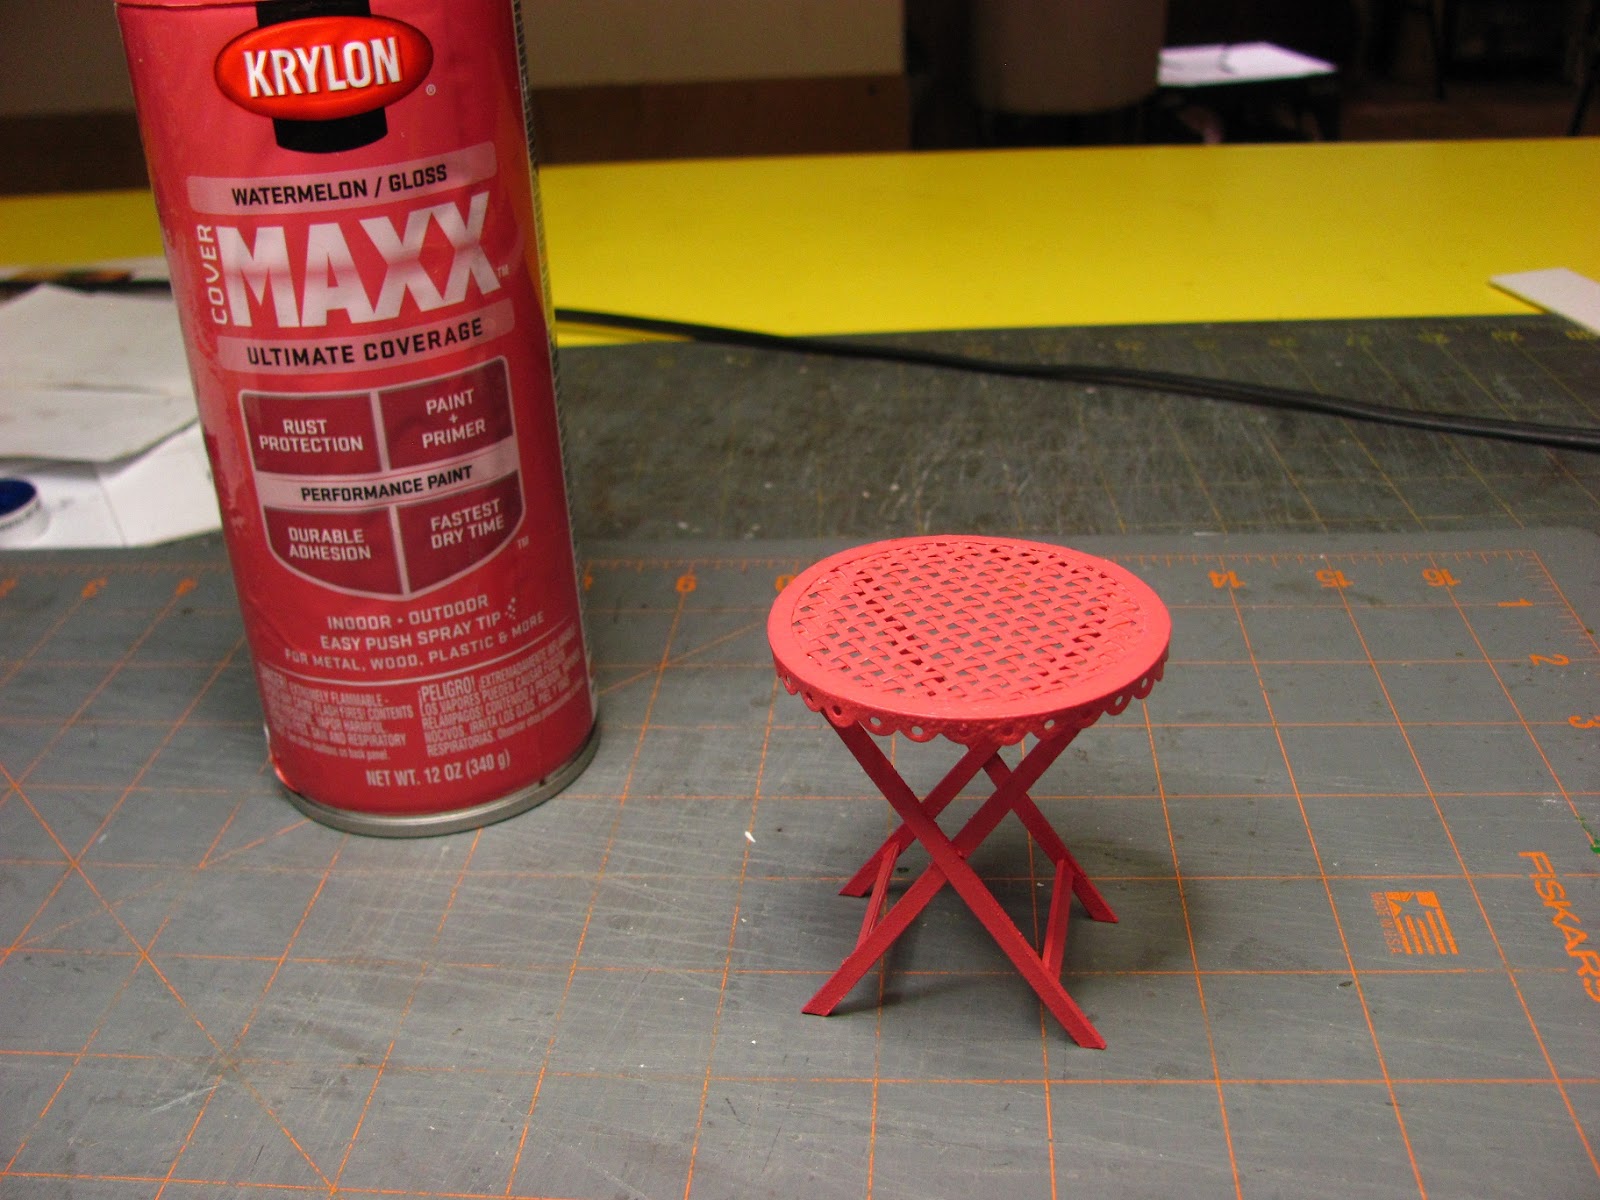
Have you seen the rainbow of colors the stores have of spray paint? It's awe inspiring, at least to me. I chose watermelon pink.

I thought this was a quick and easy project to make after the involved wicker chair of last month.

I hope you take time to make this table. I will have the chairs ready for you next month.
Remember, use camceiling@frontiernet.net to ask questions or to send me pictures of your finished tutorials.
I want to thank those of you that have been buying the furniture kits, I really appreciate it. I hope you have fun with them, more on the way.
Have fun, Expand on it, Make it better . . .
Just keep making minis!!
TTUL, Kris