

I thought I would show you how to make a simple interior door and jamb from mat board.
I took the opening measurement from the Hobby Builder's catalog so this door is standard for today's dollhouses.
Once you have learned the method you can make doors of different dimensions.

I have bought lots of books from Dover Publishers.com. This book is very good for doors and windows. It doesn't give measurements but the ideas are great.


Some examples of the pages.

I will begin with the jamb or the frame in which the door sets.
The Hobby Builder's catalog listed the opening as 3" wide, 7" high and 3/8" deep.
Cut strips of mat board 3/8" wide. Cut at least 40".

I am going to be using yellow carpenter's glue through out this tutorial.
Cut 4 pieces of the mat board 7" long, that's in the picture above.
Glue two pieces together and glue another two pieces together.
You now have two pieces 7" long that are double thickness of mat board.

Cut from the mat board 3 pieces 2 3/4" long.
Glue two of these pieces together. Leave the third piece for later.
Cut 1/8" wide strips from mat board, at least 20".

Measure and mark on the doubled strips of mat board the center, 3/16" from either side.

Glue the 1/8" wide strip along the line. There will be 3/16" left on one side.
This is called the "stop". It stops the door so it only swings one way.

Here are the three pieces of the jamb with the stop glued on. There are two sides and one top.
Pay attention to how I have this laid out.

With your craft knife cut off 1/8" of the stop at the top of one side.
Do the same thing with the other side.

This is what the top of the side should look like after you've made the cut.

I am holding the top of the jamb in my hand. The side in on the table. The top fits down onto the side. The stop should line up all around.

I have the sides glued to the top. Do you see that the sides are covering the ends of the top?
Look at the stop, it is lined up all around.

Now, for the third piece of 3/8" wide mat board you set aside earlier, this is the bottom of the jamb or threshold.
Measure and mark the center, then mark 1/8" away from that.

Use your craft knife to cut on the marks. Cut 1/16" deep.

This is the threshold with the cuts made.

Use 220 grit sand paper to round off the long edges of the threshold.

Glue the threshold to the bottom of the jamb. The stop is in the openings you cut out.

Showing another view of the threshold.

Please let this dry.

I measured the inside of the jamb for the measurement of the door. I left a little play, that's carpenter talk for extra space between the door and jamb.
This measurement is 2 11/16" x 6 3/4". Cut this from mat board.

You will notice I've got my 3/8" measurements together then I've got an oddball 3/4" measurement and then the 9/16" measurements are together.
If you are using a table saw or mat cutting system this makes it easy to follow. Set the width once and make those cuts and move onto the next one. You will have all your strips cut to width. All you will have to do is measure for the length and cut.

I've got my 3/8" strips cut.

I've cut 4 of the 3/8" strips 6 3/4" long and glued them along the sides of the door. I've done this to both sides of the door.

Although I have the length written down I usually just dry fit and mark with a pencil where I need to cut for length.
I will do this for the rest of the door, both sides.

I use my square and craft knife to cut the strips to length.

I've got a 3/8" strip at the top, 3/4" strip in the lower middle and a 9/16" strip at the bottom. I do this for both sides.
Just a word here, this would make a fine door right now if you want.

I am dry fitting and marking for the center pieces, they are from 3/8" strips.

I've got the center strips glued in, both sides.

I want to show you something.
Do you see the two pencil marks on the top strip?
I am measuring for the center.

This is an old carpenter's trick, the old carpenter being my husband, HA!
You don't have to divide fractions.
I'm using a scrap of mat board.
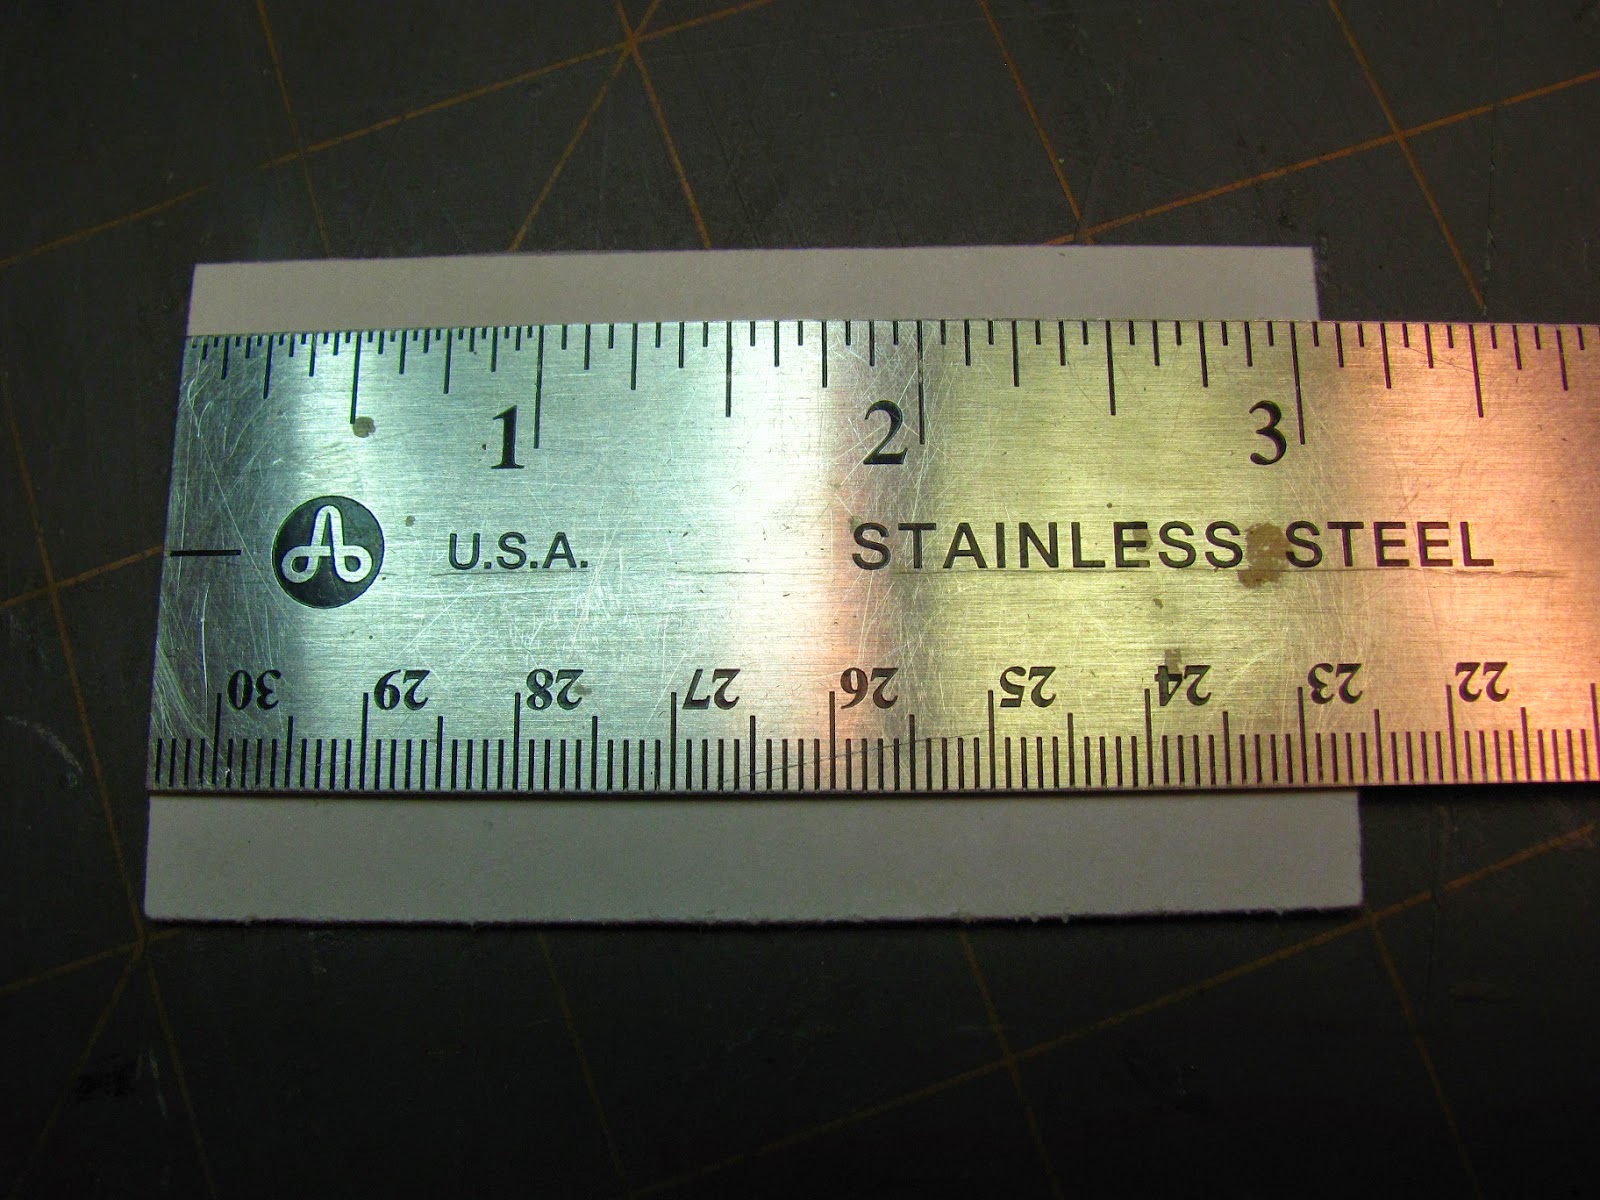
Lay your ruler down, it's length is between the 1/16 and 1/8 inch marks.

Make a pencil mark at what looks to be over half to you. Remember the measurement, mine is 1 11/16".
I am measuring from the left side.

Now, I've rotated the mat board and I am measuring from the other side, 1 11/16". I've made a pencil mark.

You should be able the "eye" the center without measuring.

Use 220 grit sand paper to round off the square edges of the mat board. Don't do the outside edges of the door just the inside of the rectangles you made with the strips.

Just a note here, this makes a fine door right now.

To imitate the raised panels we will cut from the 9/16" wide strips of mat board 4 pieces 3 1/4" long and 4 pieces 1 1/4" long.

Use 220 grit sand paper to round off all 4 sides of these pieces.

After you have rounded off the edges glue these pieces into the center of the rectangles of the door, both sides.

I've got the door just setting in the jamb.
I am using scrap mat board from a framer. Got a good buy on some large pieces for $3.00 and $5.00 a piece. They were discontinued colors. Last time I bought a piece from Michael's it was $15.00!

Going to make the trim for the jamb.
Cut from mat board a few pieces, enough for both sides of the door, a fat 1/8" wide and 5/16" wide.
Glue the fat 1/8" strip to one side of the 5/16" strip.

Use 220 grit sand paper to round off the the edges of the strips.

I use The Chopper for my mitres.

I've made the first cut.
I have no trick for you in cutting mitres, I am sorry. It's all in the measuring, measure twice, cut once.

Glue the trim onto the jamb, on the outside piece of mat board. Leave the inside piece showing, that's called the reveal. That's why I doubled the mat board on the jamb so we would have something to glue to, even if it is a single piece of 1/16" thick piece of mat board. The jamb is going to be glued into a door opening.

I have the trim glued on. Cut two of everything so you have trim for the other side of the door jamb. You will put that on after you have the door and jamb in the opening.

I used 180 grit sand paper to sand round one side of the door. This makes it easier for the door to swing with a pin hinge. The rounded side is the side that will have the pin hinge. That's all I use. I haven't gotten to putting real hinges on, yet.

I have a small stash of these short thick brass pins, I don't know where I got them from. You can use a straight pin or dollhouse nails for the hinge.

Putting the pins in is a little tricky. Place the door into the jamb and mark on the door and jamb, have the marks line up. You want to be 3 /32" from the edge of the door. Your door is 3/16" thick, you want to have the pin in the middle of that. Transfer the 3/32" mark to the top and bottom of the jamb and drill using a tiny drill bit. You don't have to drill into the door, only through the top and bottom of the jamb. The pin will go into the door pretty easily.
Insert your pins. Don't worry if you don't succeed on the first try. If you make too many attempts just put glue in the holes, let dry and try again tomorrow.

Tigger's on my table.
I hope you try this out. I had this made in a couple of hours, that beats waiting for it being shipped.
Have fun, Expand on it, Make it better . . . . .
Just Keep Making Minis!
TTUL Kris

P.S. I added a picture showing one of the pins in the bottom of the jamb or threshold. A pin goes in the top of the jamb, too. The pins are inserted into the side of the door that you rounded off with sand paper. I hope this helps a little more.


