Thursday, February 18, 2016

1 INCH SCALE BUSHEL BASKET TUTORIAL - How to make a dollhouse bushel basket from card stock.


This month's tutorial is a bushel basket to put all of  your garden goodies in.

This is a full bushel, life-size would measure: top diameter 18" (1 1/2"), bottom diameter 14 1/2" (1 3/16") and depth outside 12" (1").  The measurements in parenthesis are the 1 inch scale measurements.
At the end of this tutorial I will give the measurements of a half bushel basket.


Measure 1/8" on a strip of card stock.


Cut a few 1/8" wide strips for the vertical slats of the basket.


You are going to need 50, one inch tall vertical slats for the basket.


On scrap mat board trace two 1 1/8" circles.


Cut the mat board circles out.


I'll be using yellow carpenter's wood glue through out this tutorial.


Smear some glue onto one circle and glue the two circles together.


Keep the edges even.


Lowe's, Home Depot, Menards, and Wal-Mart carry touch-up markers filled with stain.  These will be in the paint department.  Any brand will do.


Michael's also carries these.  I believe their brand is MinWax.  I chose a golden oak shade.

You could also use colored markers.


Color both sides of the card stock strips.


A few finished.


Now, measure for 3/32" strips.

These will be glued around the outside and inside of the basket.


You will need enough for two tops, two middle and one strip for the bottom outside of the basket.  That's around 20" all together.


I went ahead and stained the strips with my touch-up marker.

I did not want my red and green horizontal rings to be too bright.  I thought if I stained them first and then colored them they would look old and worn.


There is my red and green colored over the stain.


Measure and cut at least 50 vertical slats 1 inch long from the 1/8" wide card stock.


My vertical slats for my basket.


Use the yellow wood glue to glue the slats to the edge of the mat board circle.  My circle took 25 slats.

A word about this; we all cut things out a little differently than the next person.  You might have to do some rearranging of the slats to fit 25 or 24.  The slats should be close together or touching one another.


The next thing we do is to glue slats over the seam of the first layer of slats.


You have a double layer of slats around the circle.


Let this dry a bit.  I'm going to play a little Mahjong.


Gently bend the slats out.


The top should fit into the 1 1/2" circle of your template.


Glue the first 3/32" strip around the bottom edge of the basket.


Glue another 3/32" strip together so it fits into the 1 1/2" template hole. This is your top outside ring.


I've got the basket on the bottom of the acrylic craft paint bottle (Apple Barrel, Delta, Folk Art. . . .).

Dry fit the ring around the top of the basket.  Push the slats out until the ring fits.


You want the basket to sit evenly on the paint bottle.


I took the ring off and applied wood glue to the ends of the slats.


Press the top ring into the glue.


Apply wood glue to the inside of the basket, at the top.


Glue the inside ring onto the top of the basket.


Apply wood glue to the middle of the basket and glue the green ring onto the basket.


Apply wood glue inside the basket, along the middle and glue another green ring inside the basket.


The rings are glued on.


After you have left the basket to dry a bit you can pierce two holes into each side for handles.
The holes can be 1/4" apart and right under the top ring.
Be sure to hold and brace the basket when you pierce the holes.  Put your finger inside the basket.  Be careful not the pierce your finger, though.


I used 28 gauge paddle wire for the handles.  I bought this at Michael's.


Use pliers to shape the handles.  They should also be 1/4" wide.


Place the ends of the handles through the holes.

Cut off the extra wire.


Use the pliers to bend the ends up to secure the handles.


Done, all ready for produce.


The measurements for a half bushel basket are: top diameter 14"  (1 1/8"), bottom diameter 10 1/2" (7/8") and outside depth 9" (3/4").  The measurements in parenthesis are your 1 inch scale measurements.  The size of the circle to trace is 13/16".  You will use fewer vertical strips.


This was quick and easy to do, I hope you will try it.  Maybe you could use this for a club project.


Thank you for all of the well wishes on the birth of my first grandchild, Luke.  Will be going back up to visit soon.


Remember, if the e-mail notification isn't working I try to get the tutorial up by the 20th of every month.  Stop by to check things out if you haven't been sent an e-mail by the end of the month.

Also, I am making kits of my furniture now and will announce that on the blog.  With this tutorial done I will begin to build, photograph and write the next kit, the small wing chair that coordinates with the Lisa sofa.

Pictures of finished tutorials and questions send to camceiling@frontiernet.net.


Have fun, Expand on it, Make it Better. . . . . 
Just Keep Making Minis!


Nancy sent us a pattern to print onto card stock to cut the verticals.  At the bottom is a red line, that's the "cut to" line.  This leaves  3/32 inch on the bottom to glue to the edge of the mat board circle. The green line is the middle.  By my count she has 64 verticals here,more than twice what we need, so you will cut the length that fits your circle.  The "Things to do, Things to see" list has the instructions to print this out in 1 inch scale.  You won't have to fiddle with gluing on each individual piece, so cool.  Thank you, Nancy!!


TTUL     Kris

Friday, February 5, 2016

KITS! KITS! KITS!


1 inch minis has begun to make kits for 1 inch scale furniture!!  I had hoped to get this introduced a little earlier but we have a new addition to the family, his name is Luke and was 6 lb. 10 oz., loving being a grandma!!

I will be making more kits as the weeks go on.  The second kit will be the matching small wing chair that goes with this sofa.

All the pieces are cut out and ready to be glued together.  All you need is 1/3 yard of 100% cotton fabric, tacky glue, needle and thread for sewing the pillows together and craft paint and satin spray finish for the resin feet.

There are two tutorials to help you out with more pictures, although I do have pictures in the instructions.  To review the tutorials are: Make and upholster a 1 inch scale chair, January 20, 2013 and How to  make piping for pillows, April 4, 2010.


The kit is $30.00   U.S. Shipping $4.00; International Shipping $14.00; e-mail me at camceiling@frontiernet.net with your shipping address and e-mail address for PayPal to order your kit.


P.S.  If anybody has an idea on how to fix the e-mail notification on the blog let me know.

O.K., I received notification this morning . . . so thank you to someone that fixed the problem!


Thursday, January 21, 2016

1 INCH SCALE HALF BUCKET TUTORIAL -- How to make a half bucket for your dollhouse.


I am making half buckets to hang on a wall.
These buckets can be filled with flowers for a very pretty display.
I have directions to make geraniums on the blog.  There is a list at the left side of the blog, "Things to do, Things to see", in this list is the tutorial "Rusty Pan of Geraniums". This tutorial will give the instructions to make geraniums.


To make the bucket you will need a scrap of card stock, old greeting cards work well.


You will also need a scrap of mat board or illustration board.
This can be found at art stores or stores that frame photographs.  Sometimes the framers will give  you the scraps left over from framing the photos.


Paint the mat board an acrylic craft paint color you would like your half bucket to be.
I've painted mine red this time, before I used green.  The card stock can be painted black or a brass color.


Apply a coat of acrylic varnish that is compatible with  your acrylic craft paint.  I apply this because I am going to age the surface of the half bucket with more paint.  The acrylic varnish lets me wipe off the paint I age with off.


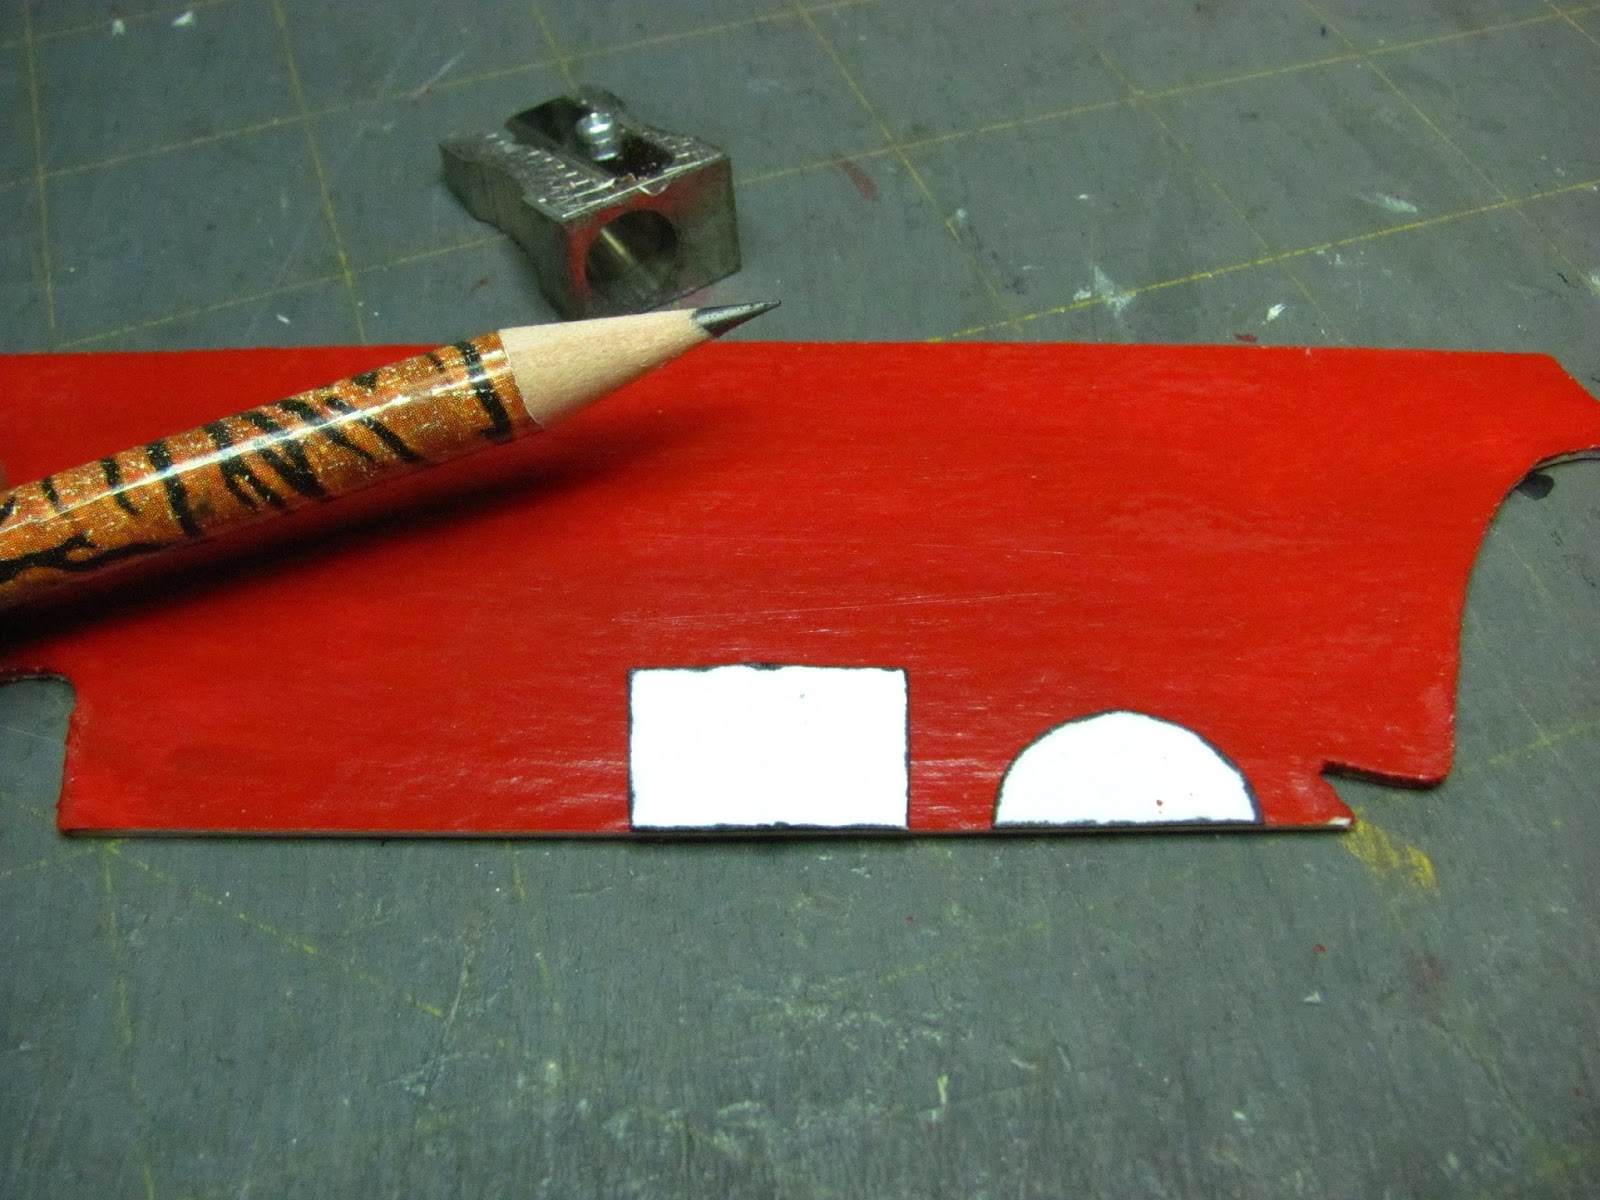
Use Nancy's patterns to trace the back and bottom onto the mat board.


Cut the back and bottom out.

Please notice the slight difference in the top and bottom of the back.

The top of the back is slightly larger than the bottom.  The bucket tips out a bit at the top.


Use fine sandpaper, 180 to 220 grit, to sand off the paint along the bottom edge of the back.

This will allow the glue to adhere better.


I've sanded the varnish and paint a bit.


For my paper projects I like to use yellow carpenter's wood glue.
When tacky glue dries it remains flexible, I don't want my bucket to be flexible.  The carpenter's glue dries hard.


Apply the glue to the bottom of the back on the sanded area.


Press the back to the flat edge of the half round bottom.


Let this dry.


Cut a couple of strips from the mat board 3 mm wide.


Paint the edges of the strips.


Cut 2 pieces from these strips 17 mm long.


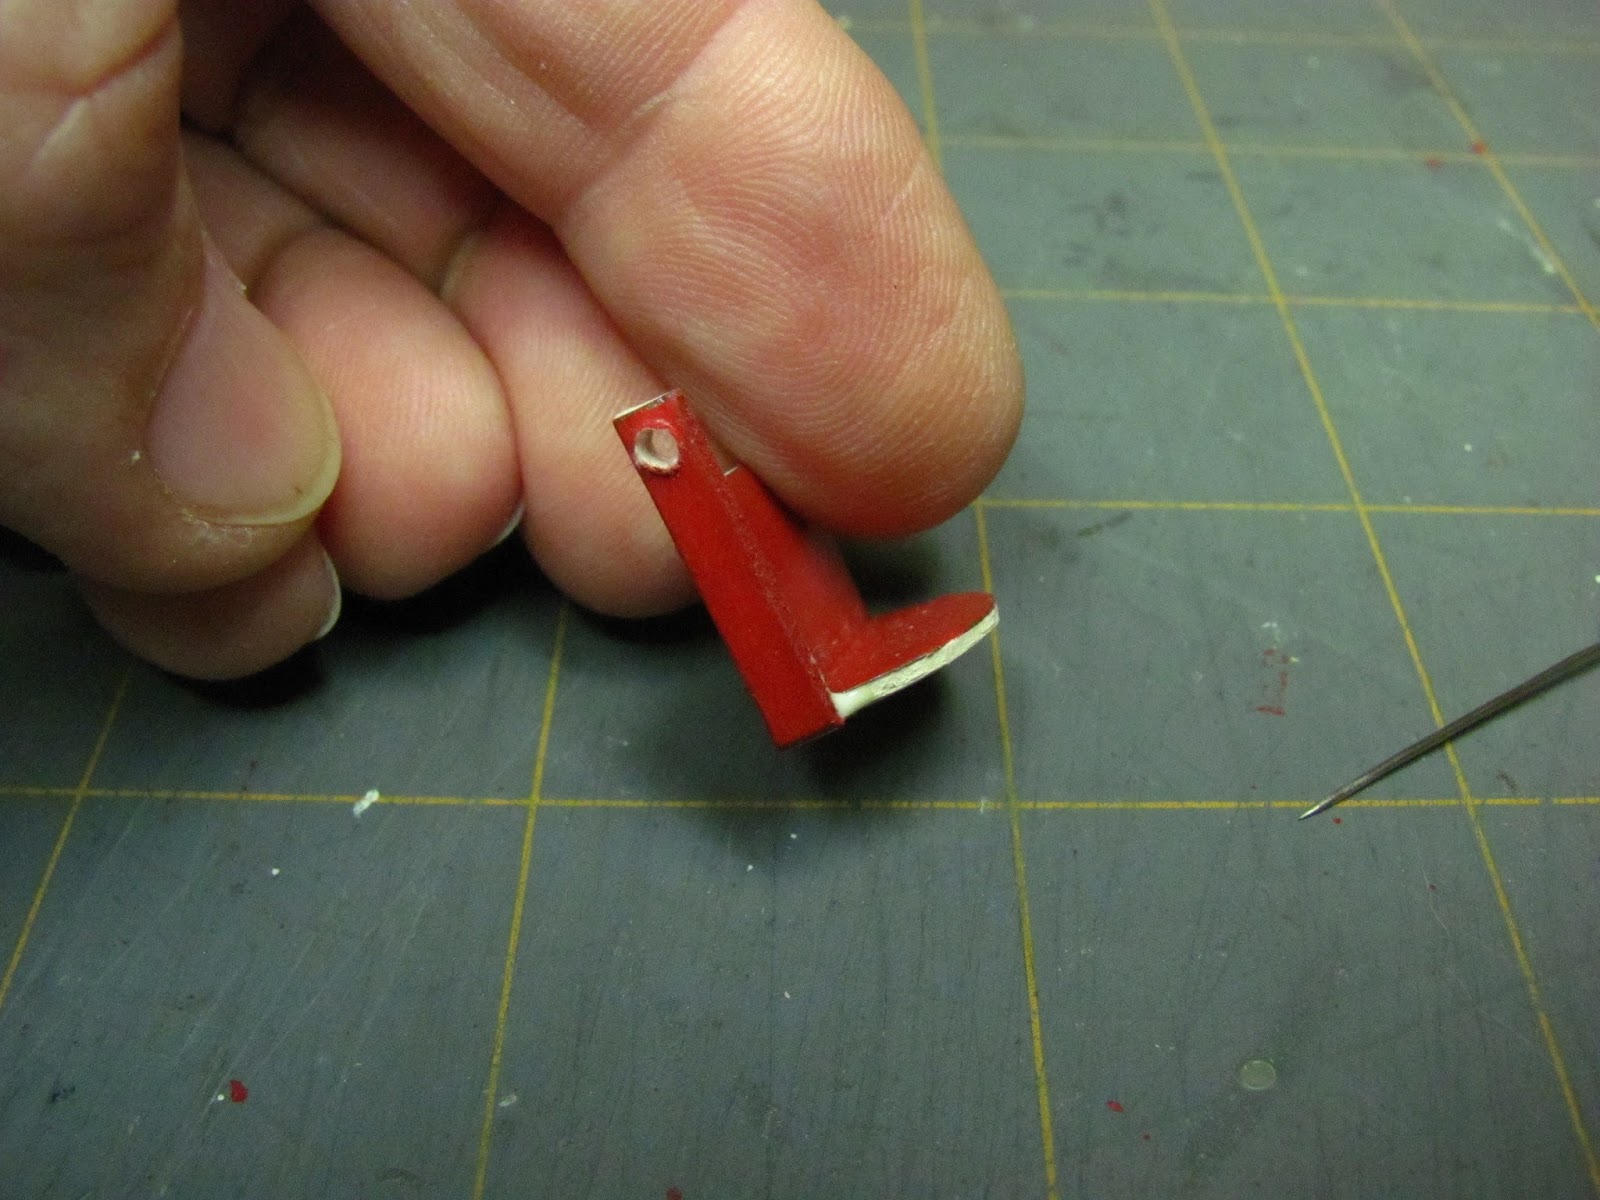
Before you drill holes in the ends of these strips use a "T" pin or corsage pin to start the hole.
This gives the drill bit some place to sit when you start to drill and will make a more successful hole.

Drill your holes in the ends of the strips.


Apply glue to the back and bottom.


Press one of the strips onto the glue.


Press the other strip onto the other side.

Let this dry.


Cut at least 8 pieces 13 mm long from your mat board strips.
I say at least 8 pieces because depending on your measuring and cutting you may use 7 or 8 pieces to finish the bucket.  On the green bucket I used 8 pieces and on the red bucket I used 7.  We are not machines and we all have slight differences in measuring and cutting.


Start gluing the pieces along the bottom.  Don't glue the sides together just glue the bottom.


I've got my pieces glued on with one extra.


Cut from your card stock scrap a strip 2 mm wide.  You can paint the edges is you want to.

Apply glue to the back of the bucket.


Press the 2 mm strip onto the glue.


Apply glue to the strip and bring the strip over the front and to the back of the bucket.


Finish gluing the strip to the back of the bucket.


I apply another strip towards the top of the bucket, when I glue the strip on I keep my finger in the bucket so the pieces will stick to the strip and not cave in.
Finish by gluing the strip to the back of the bucket.


To age the bucket I use dark brown acrylic craft paint and an acrylic thinner.  Mix these two together.  You don't need very much of either one.  Can you see my brush?  It's an old brush with its bristles all out of shape, this works well for applying the paint.


Apply the paint.


I wipe off as much paint as I want.  I will also add more paint and wipe off again.  If you want your bands to appear rusty you could add a little rust color paint to them in specific spots.


I used some twine to make a handle.  You could also make a wire handle.


The buckets are ready for flowers.


Here are Nancy's beautiful patterns to make the half buckets.  Go to "Things to do, Things to see" list to get the directions for transferring the patterns, "HOW TO EN-LARGE PATTERNS".


You noticed that the measurements are mm, this is an article I used for a European miniatures magazine a couple of years ago.  I've gotten a little busy lately crocheting things for my first grandchild and miniatures have been put on the back burner at times.  Please excuse that you don't have a "new" tutorial.
Some of you also may have noticed that I have not added to my CDHM site and are announcing something new for 2016.  I am still working on that and will get it all together between things.

As always I hope you can try this out, spring is around the corner and every dollhouse needs flowers.

Pictures for the Follower's Gallery and questions can be sent to camceiling@frontiernet.net.


Have fun, Expand on it, Make it better . . . .
Just Keep Making Minis!!

Kris