Yes, please feel free to use the tutorials for club projects, please link me, and you can refer to the blog as much as you want.
TTYL Kris

Learn how to make miniature dollhouse furniture, mini paper accessories and get techniques, tips and monthly tutorials.
Tuesday, July 31, 2012
Friday, July 20, 2012
1 INCH SCALE WHITE ENAMEL WARE EWER How to make a white enamel ware ewer/pitcher from card stock.

This is the picture that inspired me to make this month's tutorial. I love enamel ware.

This is my finished ewer/pitcher. I am calling it a ewer because it's bigger than a pitcher. I used some left over daisies I had from the "Floral Arrangement" tutorial.

This is Frank the fish. A left over boy friend gift that my youngest daughter left. He is spending time on my yellow table watching me. I don't have central A/C and the kitchen is very hot and I didn't want him to maybe die. I keep my work room/breezeway cooler than the kitchen, it's more important!
Enough of the small talk, on with the small stuff!!

We are going to make a bowl like in the paper pottery tutorial. If you have 1/8" quilling paper use it. If you don't cut from copy/computer paper 7 or 8 1/8" strips.

You will need a quilling tool. If you don't have one you can make one from a large eyed needle. Using wire cutters, cut off the top of a large eyed needle. Push the needle into a dowel.

This is the needle stuck onto the dowel.
Use yellow carpenter's glue to the strips together. Over lap about an 1/8". I glued 7 of the copy/computer paper strips together. If you are using quilling paper that will be different because the paper is sometimes heavier and longer. It is better to have glued too many strips and be able to snip off the extra, though.

To start the roll insert the tip of the strip into the slot of the needle.

Start to roll, try to keep the roll tight. A tight roll makes pushing the bowl out easier.

Roll until you can fit the roll into the 19/32" hole in the circle template.
Glue the end of the paper to the roll.

Push out the bowl. I work this over my thumb with my fingers. Work it until you get a shape you like.
This bowl shape will determine the finished height and character of the ewer.
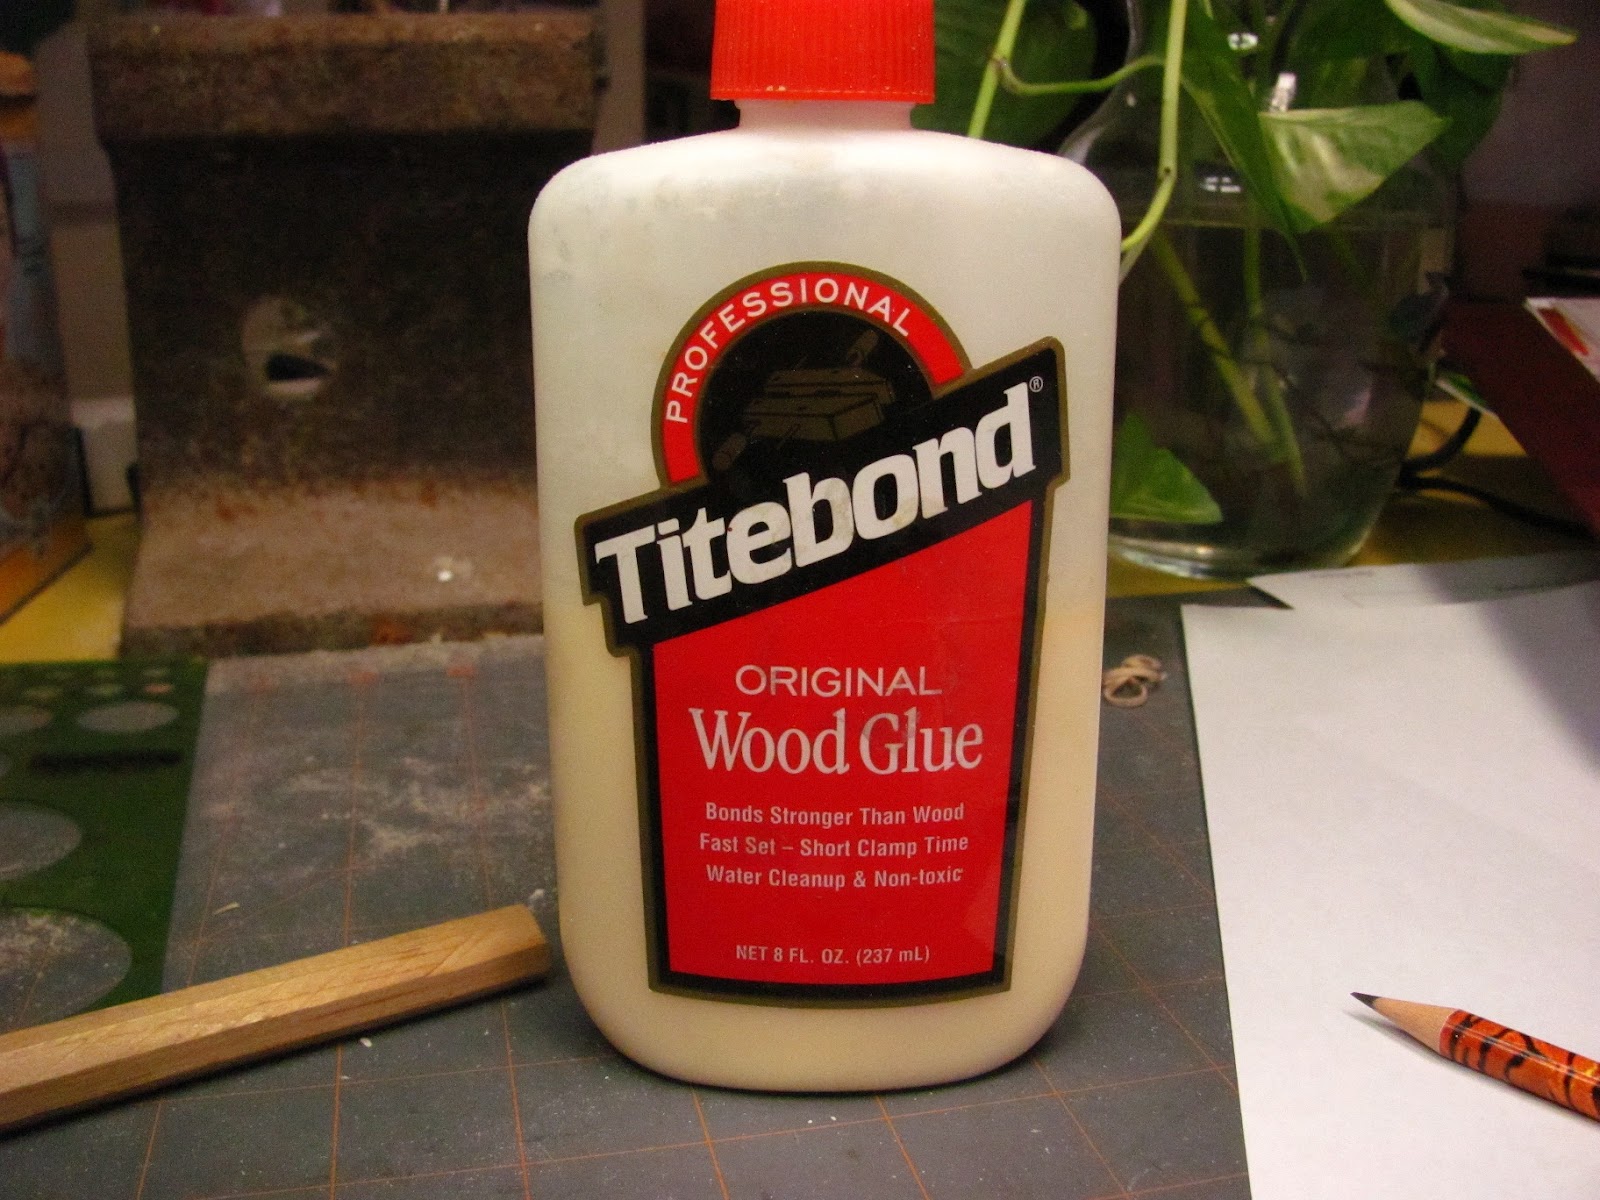
I've had some questions about the yellow carpenter's glue. I have Titebond right now. I also use Elmer's yellow carpenter's glue. I find this at a big box store like Home Depot or a lumber yard. It will be in the paint and stain department.

Fill your little bowl with the yellow carpenter's glue.
Don't skimp on the glue. Roll the bowl around, make sure the glue gets every where.

You can see I've filled my bowls with glue.
I let the glue set a bit and wipe the glue around some more to be sure the top part gets its share of glue.

I've made a few.
I want these to dry, dry hard. Leave these a few hours or over night.
We are going to sand them and I want them to be able to take that without becoming misshaped.

I have used 220 grit sand paper to sand the surface of the bowl.
I think the 220 grit leaves the surface smoother than if you would use a courser grit.


Cut the body out and run it over the edge of your table to get it to curve.

Glue the body together, we are using the yellow carpenter's glue.
Glue to the line.

Apply glue to the bowl.

Set the body onto the bowl.
Set this assembly up at eye level to check if it sets straight and level.
Let this dry.
O.K., I am now referring to the 5/8" bowl I asked you make earlier. You see how the body is hanging over the edge? This is fine, but for more width you might want to try using the 5/8" bowl. This is something you can play with.

Really make sure the assembly is dry before you start to sand.
Sand the seam. See how I have almost sanded all the extra card stock off?

Cut out the foot and bend it over a pencil to get it to curve.
Glue the ends together.

Glue the foot to the bottom of the bowl.
Set this assembly at eye level again to see if you are keeping the ewer straight and level.
I've added more glue to the bottom of the foot.

Cut the spout/lip out and bend it around a pencil to curve it.

This is the spout/lip ready to be glued together.

Glue the spout/lip together.

Glue the spout/lip onto the top of the body.
Let this dry a bit.

From card stock cut a strip 3/16" wide for a handle.

Cut this strip 1-1/4" long.

If your spout/lip is dry make a mark directly across from the spout, do you see my mark? This helps when gluing the handle on.
Glue the handle to the under side of the spout/lip.

Bend the handle over a pencil to shape it.
Glue the bottom of the handle to the body of the ewer, at the seam.
I applied the yellow carpenter's glue to both sides of the handle to stiffen it up a bit.
I would also apply a coat of acrylic varnish to seal the surface and cover the sanded paper. When the paper has that rough finish it's hard to cover with paint. Let this first coat of varnish dry and apply another. You can sand this last coat a little.
At this point it's up to you how you want to finish the ewer. I painted mine white and used button hole thread, (I didn't have black, so I had to paint some, that's why I have black fingers!) for the rolled edges. I don't know about the size of the button hole thread. It seems a bit large, but I tried regular sewing thread and it seemed too small. I glued the thread to each edge of the handle, to the edge of the spout/lip, to the bottom edge of the foot and at the seam of the body and bowl.
You could finish the ewer with a blue granite ware finish by painting the ewer dark blue and spattering with white paint. I would still use thread for the rolled finished.
This piece would also look nice painted like ceramic or pottery. You can make your own decals by applying clear nail polish to the front of the magazine picture you want. Let this dry. Soak the picture and carefully and slowly rub the back of the picture, the paper, off. Glue your decal onto the ewer.
My mom had an old, old pot. It was copper and brass, it looked like it could have been in a castle. It had a bowl at the bottom like this piece, it was copper. The rest of the pot was brass. You could do that and put it in your castle.
Of course, you can mess it up, age it, or dent it to give it character!!

I put some florist's foam into the ewer to hold my stems. I used some left over daisies from the "Floral Arrangement" tutorial. See, I told you making more flowers than you need comes in handy!
There we are, a nice pot of flowers.
I hope you try this out and make all kinds of different finishes on them. Try making them a little smaller by changing the size, make the 1 inch square smaller than 1 inch.
Have fun, Expand on it, Make it Better,
Just keep making minis!!!!!
P.S. Yes, please use any of the tutorials for club projects, and link, link and link.
Tuesday, July 17, 2012
Stove and Refrigerator
Marisa,
This would be a good tutorial. I can not do it right now. I wrote those instructions a long time ago. I had to write them because I didn't have a camera at that time. Those pieces were all ready built, to write a tutorial about them would mean I would have to build the pieces again to take step by step pictures.
I was still finding myself in the blog world and didn't know what I wanted to do with this blog. I wrote instructions on a few things in the boxes I had built to see if I would get any interest.
I will keep it in mind.
TTYL Kris
Subscribe to:
Posts (Atom)