Sunday, September 29, 2019

1 INCH SCALE LAMP FROM CHRYSNBON DRESS FORM - How to make a 1 inch scale floor lamp from a Chrysnbon dress form.


Hi, I am finally posting a tutorial.  I find that I am not bouncing back from my trips like I used to.


I have been wanting to make one of these for a long time.
I have a full-size dress form from the forties, it's just like the ones from Project Runway.  I've always wanted someone to make it into a floor lamp for me.  "Someone" hasn't, so I have made one in miniature!


You will need to order the Chrysnbon kit.  I ordered mine from Hobby Builders Supply.


I also ordered the suggested glue for it.

I can go on about glues and "plastics".  You know, everything us laymen call "plastic" isn't.  That stuff is made from a lot of different formulas and not all glues work on all "plastic".  I could go on, but I will spare you my rant.


This is a wonderful kit for making your own lamps. I love this kit and usually have a couple in my drawer.


I buy this directly from Cir-Kit Concepts, they do have a web-site.

The cost is about $10.00 per kit.

I wish Hobby Builders Supply carried these.
You have a choice between a plain shade or pleated shade.


These are the simple instructions.


Disconnect the dress form from the frame work in the package.


Then disconnect the bottom portion of the dress form.


This will leave small nubs.


File them smooth.


File the one on the side, too.


Cut off the knob at the top.


I used my Dremel to drill a hole in the top.


I know this seems silly but drilling the hole made it easier for me to cut off the rounded edge.


I have NOT glued the dress form together.

I am holding the dress form together and used my Dremel again to make a larger hole at the neck.
I had a 1/8" bit in and used it to carve out the plastic.  I want as much out as the neck can stand.  There is about a 1/16" left all around.


I used the 1/8" bit to drill a hole in the bottom of the BACK part of the dress form.  This is for the electric wires to pass through.


I am using a good quality muslin to cover the dress form and mat Mod Podge to glue it to the dress form.


Dab on the Mod Podge.

I did not apply any Mod Podge in the indentation on the center of the back and front of the dress form.


This is important: use the fabric on its bias or the fabric will not stretch over the form nicely.


Press the fabric onto the Mod Podge, pulling the fabric over the dress form.


Pull the fabric tightly leaving no folds on the outside of the dress form.

Trim the fabric leaving enough to fold to the inside of the dress form.

Apply the Mod Podge to the inside and glue the rest of the fabric down.

Cut out around the two knobs at the bottom.


Make sure all your corners are nicely turned.


Apply the Mod Podge to the front of the dress form and pull the fabric to fit.

This will be a little more difficult because of the shape but all the folds and wrinkles can be removed.


The fabric is on with no folds.


Side view.


Trim the fabric and glue the extra to the inside.

Trim out at the bottom corners for the holes that receive the knobs.


Just holding it together.


The neck that will receive the socket holder.


Always test the light to see if it's working.

This kit does have a replaceable bulb but I want to know if the wires have a good connection to the socket.


I have applied Elmer's White glue along the edge and into the holes at the bottom.

I do not like tacky glue for this.  Tacky glue remains flexible and I don't want this to be flexible.  Please use the Elmer's white glue.

(I didn't use Elmer's yellow glue because I did not want the glue to possibly squeeze out and dry showing a yellow line.)


In both necks apply Elmer's  yellow glue.


The yellow glue will hold the plastic socket firmly.  I tried this the day before with tacky and it was wobbly, I want a firm hold.

Thread the wires through the hole you drilled earlier.

Place the socket into the neck and press the two parts together.


Hold the two parts together until you can see that they are holding without spreading back apart when you let go.  This will probably take 3 to 5 minutes.

I let my dress form dry upside down to get the glue to dry around the socket.

PLEASE LET THIS DRY OVER NIGHT.


I've shown this lamp shade before but I've changed the size for this lamp.

Use the pattern to print out the pieces.


Use the directions from the "Things to do, Things to see" list at the left of the blog, HOW TO RE-SIZE THE PATTERNS.  Print it out onto card stock.


Use your fingers to bend the card stock shapes a bit.

Use Elmer's yellow glue, not tacky to glue the pieces together.

Butt the edges of the card stock together, do not overlap them.

Glue pairs together first.  Let these dry for about 5 minutes.


Glue two pairs together and glue the last piece to the last pair.

Let this dry for about five minutes.


Glue the two pieces together and let dry.


Glue the last seam.


We will need to enlarge the lamp shade base for our shade.

I am using plastic from packaging.


I've used my pattern and scratched using a "T" pin into the plastic.

Can you see my lines?


Cut the new lamp shade base out.


Using the Testors glue I centered the new lamp shade base onto the original lamp shade base and clamped.

I let this set over night, along with my lamp shade.


It's another day and the glue is dry on my new lamp shade base.


Another view.


Using the Testors glue glue the stand onto the form.


You will have to purchase a plug from Hobby Builders Supply to attach the wires to at the end of your light.


I painted the inside of my shade gold.


I am using a leopard print and some tiny braid I bought at a miniature show years ago.

This braid is available from miniature doll suppliers.  I used the braid instead of the ribbon for its ability to curve without folds.  I did not pull the threads on the braid, I left it flat.  That will be explained on the supplier's site.


I know this looks like a big chuck of fabric to cover this shade, it is.  We have to use the bias again and trimming that down has not always been a good idea for me, I've come up short a couple of times and lost the shade.

Give the fabric a good tug on the diagonal to get the stretch going.


I debated about using Elmer's white glue or the Mod Podge, I settled on the Mod Podge.

Apply the Mod Podge onto three of the shade's panels.

Press the fabric onto the shade, smoothing the fabric over the shade.


Apply the Mod Podge to another couple of panels and smooth the fabric onto the shade.

Apply the Mod Podge to the last two panels and bring the fabric together.

Trim off the extra fabric at the top and bottom, leaving about a quarter inch all around.


You can see the gold on the inside of my shade.

Trim the fabric to the very edge of the shade.


Using a tiny, tiny brush I painted the top and bottom edges of my shade gold.  Don't get any paint on the fabric.
You could probably do this before you glued the fabric on, huh Kris?
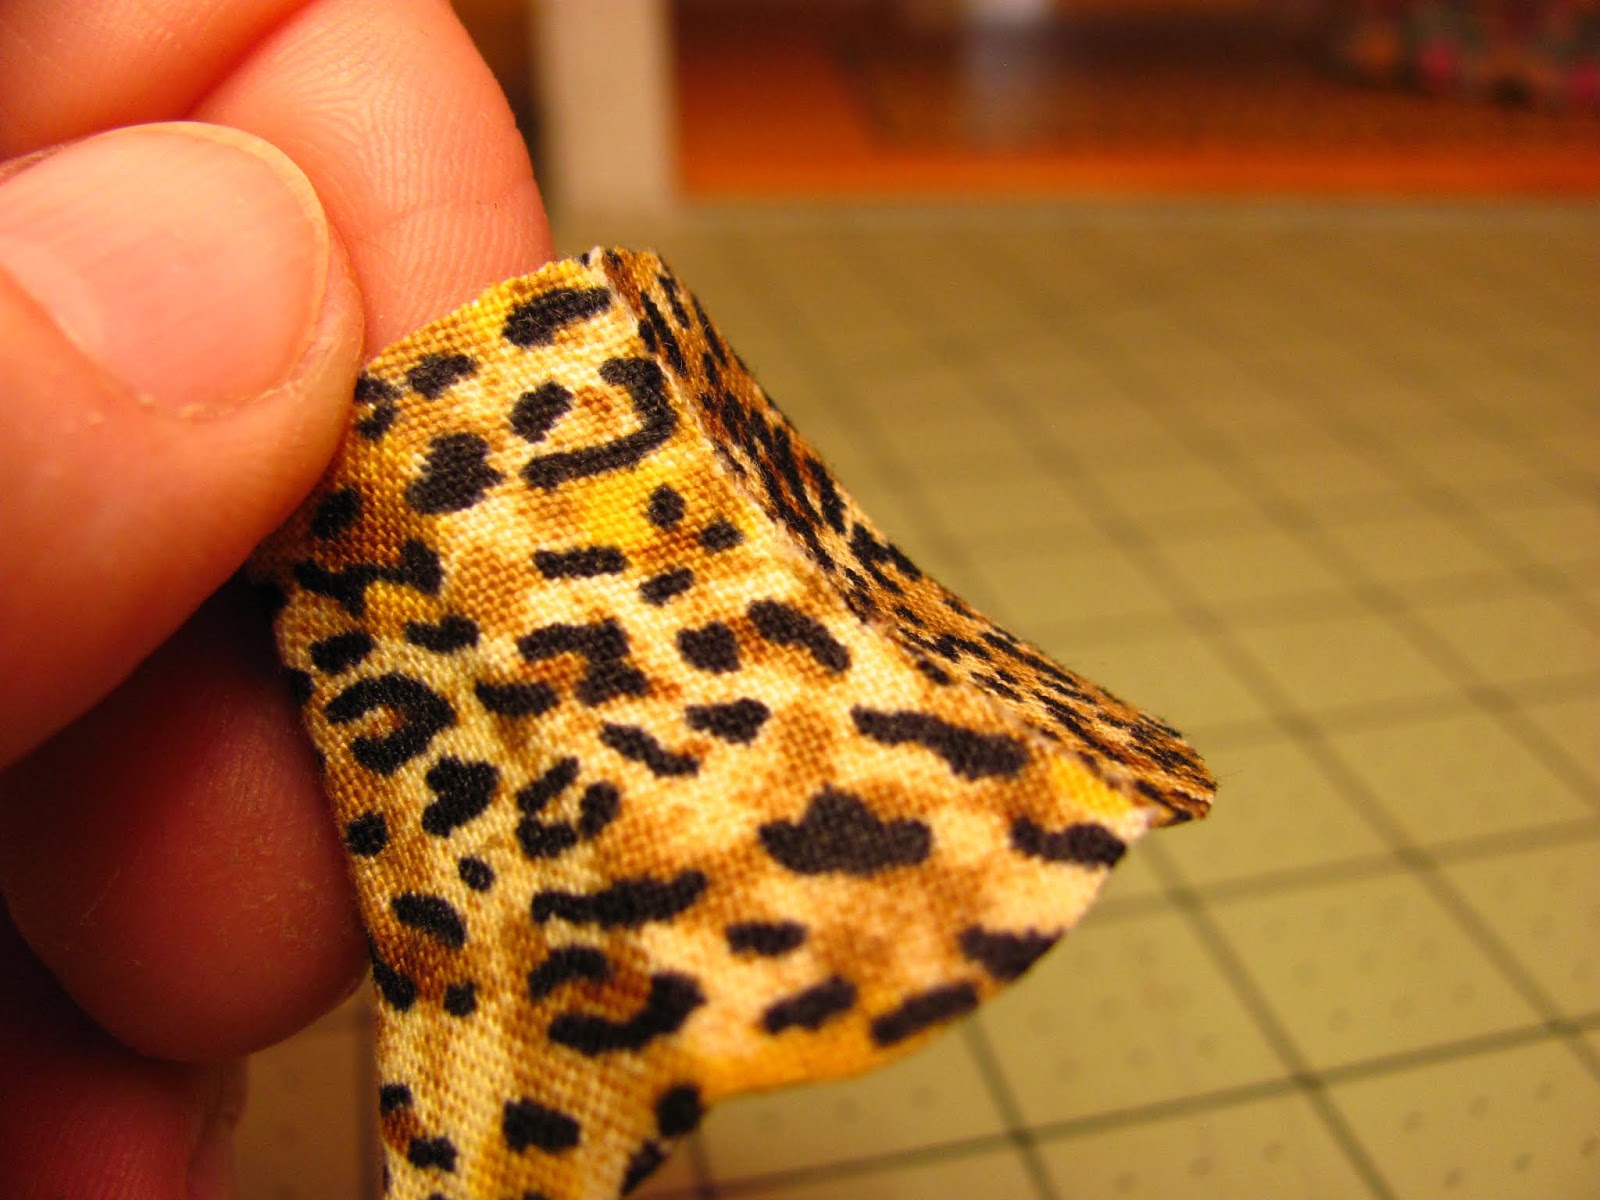


Cut the extra fabric off the side of the shade.

Cut as close as you can get!


I just realized that I did not show you a picture gluing on the braid.

Guess what, I used tacky glue to glue the braid to the top and bottom edges of the shade.

I did not glue my shade to the lamp shade base, it sets nicely on its own.  I will leave that decision up to you.


Here she is in the attic next to the chair.


I've got to get the second layer of foam core papered and on the walls.  I think that maybe the next tutorial.


Have fun, Expand on it, Make it better . . .

Just Keep Making Minis!


Kris


Tuesday, September 24, 2019


Posting a picture from Summer.  She was kind enough to send me a picture of the wing chair she made from one of my kits.

She used some faux leather that she reclaimed from and old purse.

Can you see the creative use of the purse handle?  She used it for the piping on the front of the chair seat.  Summer also used it on the wings and across the back.  The fabric was too thick to make piping, she improvised!

Thanks for the picture, Summer.


I know a lot of people follow The Game of Thrones.  Marisa made the throne.

It's very impressive, isn't it?  Kind of scary, too!

Miniatures is just so much fun.

Thank you Marisa for sending the picture.

Friday, August 23, 2019

Hello everyone,

I've been out of town helping my daughter and her family while she recovers from knee surgery.

I have an order from Hobby Builders for the new kits that will be in the new Holiday Catalog, so I will need to fill that.

I will get the new tutorial up soon.

I the mean time I really want to show you a picture that Linda sent me.  She purchased the Estate Chair kit and blew me away with the results.  It looks like she used a suede cloth for the upholstery, it is so beautifully done I had to show you all.


Good Job, Linda!


I am excited about the new kits, so I will show you their pictures.  You will have to wait until Hobby Builders puts them into the catalog, though!


The Abby Chair


The Abby Sofa


The Priscilla Chaise


I will get to the blog as soon as I can!!!

Kris

Sunday, July 21, 2019

1 INCH SCALE LEOPARD PRINT PAINTING - How to paint a leopard print on your wooden floor.


I am going to show you how I lay a wood floor board by board.

Then I will explain how I painted the leopard print on the floor.


I make a pattern from a brown paper bag.


I've got the width, now I am getting the two little niches on either side of the door.


I've got the pattern.


I am trying to get the pattern in the room box.
You can also fit the finished floor into the room box by slipping it in through the top.


Here's my wood.  My husband brings up scrap from his shop that will work for flooring.


I am going to use yellow wood glue to glue the wood to the brown paper.


I apply the glue to the paper.

I would spread the glue out so that you don't have the glue seeping up through the seams.


I have the main portion done and it's weighted down with books. 

Now to do the two little short parts.


The floor is finished.

It's important to weight this down while it's drying.

I left my floor to dry for a couple of days.


The books are off.


This is my pattern.

I will cut off the extra using my scroll saw.


I sanded my floor using a block of wood and started with 100 grit sandpaper.  I graduated up to 150 and ended with 220 grit sandpaper.

Wrapping the sandpaper around the wood block keeps your sanding even and level.


I've trimmed the floor.

The sanding is done.  I started with 100 grit sandpaper and ended with 220 grit sandpaper.

If you have a palm sander that works very well, too.  (That's in the shop and it's into the 90's today, I'm staying here and hand sanding this.)


I've stained the pine floor with Minwax Golden Pecan.

I think that looks good.

You can put on a satin or gloss finish right now and you're done.


It's in the room box.


I really like painted floors so I am going to try and paint a leopard print on this floor.

I looked up on-line for instructions on how to paint a leopard print.

Looks easy. 
I am using craft paint.  I have white, yellow ochre, a color called Moon Yellow, Burnt Umber, Raw Umber and black.
My paints are old, so that Moon Yellow may not be available.  I am using what I have, I did not match what the video suggested.


I am going to paint a rectangle 8 1/2" by 6 1/4" on my floor.

I cut out a piece of card stock to practice on.


You use the white, yellow ochre and the moon yellow first for the base.


I used a glazing medium to keep the paint wet so that I can blend the colors.

My paints are also old and I need to loosen them up a bit, too.


From the video I used a flat or Filbert brush and began with the yellow ochre.  I picked up the white and then the moon yellow and blended their edges together.  I repeated this pattern across the paper.

It should look a little stripey.

I really worked at getting this blended.  I really didn't need to because when you get all of the spots on you can't tell that the background is gradated.  If I were to do this again, I would show more gradation.


For the spots I used a 20/0 round brush.


Trying out different size spots and trying out a small Filbert brush for the spots.

I decided on the round brush.


The video said to use irregular shapes.  Use two colors of dark brown, her two colors of dark brown were very close to each other.

Then you are supposed to outline the spots with black.
Don't outline all the way around all of the spots.

Then add some small spots in between with no outlining.


I'm committed.

I've taped off the floor.  I would tape off the whole floor, paint has a way of getting places where you don't want it to go.
I then painted the rectangle white.  You know how I am about painting and sanding until you have a smooth surface.  I sanded this coat and painted again.  I applied a third coat and sanded with 220 grit sandpaper.
(I sanded with 220 grit for all the coats.)


I painted my gradated yellow floor and let this dry.

I am painting my spots, alternating between the two browns.

After the spots are on I will outline with the black paint.

I used the glazing medium to keep the black flowing for me.


The spots are all done.  I want a border of brown around the print.

I was afraid that the tape would lift off the acrylic paint so I sprayed a couple of coats of gloss Krylon.  I get this at Walmart.
I measured a 1/8" and put on my tape and painted the border using the burnt umber color.


The tape did not lift off my paint!

I really like the floor!!

I sprayed a few coats of the gloss Krylon to get the floor nice and shiny.


I am glad I tried this out.


The attic is coming along.  Maybe a few of you noticed that the outside corners were not finished.  I neglected to mention that I will be putting corners on.  The corners are made from card stock.  This will look just like real siding when were done.

I am going to cut foam core to fit inside to room box for the wallpaper.  I am going to wallpaper this foam core piece first.  I will then glue the form core into the room box piece by piece.  I've never done this.  The only thing that I really need to do is to get good adhesion between the layers of the foam core. 

I will run any electricity  between the walls.  This is my plan, we'll see how this goes over the course of the blog!

I have a light that I want to make for next time. 


Have fun, Expand on it, Make it better,
Just Keep Making Minis!

TTUL  Kris